Odoo 19 is the newest release, designed to enhance business process management with its wide range of powerful features. The backend is built on Python 3.12 or later, PostgreSQL is used as the core database, and the frontend is powered by JavaScript for a smooth user experience.
Ubuntu delivers a reliable operating system with guaranteed security and maintenance updates for five years. It also includes regular improvements to the Linux kernel and graphics drivers, ensuring better performance and wider hardware compatibility.
In this blog, we will guide you on how to install Odoo 19 using the PyCharm IDE on Ubuntu.
Before setting up PyCharm for Odoo development, you need to install the necessary libraries and packages. The process also involves preparing PostgreSQL, configuring the Python environment, and handling project dependencies.
Now, let’s go through these initial steps in detail to make sure your system is properly set up and ready for Odoo development.
PyCharm IDE installation
| Requirement | Minimum | Recommended |
| RAM | 4 GB of free RAM | 8 GB of total system RAM |
| CPU | Any modern CPU | Multi-core CPU. PyCharm uses multithreading to handle different tasks and processes, which means its performance improves when more CPU cores are available. |
Disk Space | 3.5 GB | SSD drive with at least 5 GB of free space |
| Monitor Resolution | 1024×768 | 1920×1080 |
| Operating system | Officially released 64-bit versions of the following: - Microsoft Windows 10 1809 or later
- Windows Server 2019 or later
- macOS 11.0 or later
- Any Linux distribution that supports Gnome, KDE , or Unity DE.
- PyCharm is not available for the Linux distributions that do not include GLIBC 2.27 or later.
| Latest 64-bit version of Windows, macOS, or Linux (for example, Debian, Ubuntu, or RHEL) |
You can install PyCharm by downloading the Debian package (.deb) file from the official JetBrains website at the following link:
PyCharm Community Edition
Alternatively, PyCharm can be installed directly from the command line. Open the Terminal (press Ctrl + Alt + T) and execute the following commands:
sudo apt-get update
sudo apt-get upgrade
sudo snap install pycharm-community --classic
Installing Python 3.12
Python 3.12 isn’t included in Ubuntu’s default repositories, so an additional source is required. The deadsnakes PPA on Launchpad provides updated Python versions, including Python 3.12.
You can add the deadsnakes repository by running the following commands:
sudo add-apt-repository ppa:deadsnakes/ppa
sudo apt-get update
To confirm the updated Python package list, run the following command.
apt list | grep python3.12
Install Python 3.12 by executing the following command:
sudo apt-get install python3.12
Use the following command to install the required packages for Python 3:
sudo apt-get install python3.12-dev build-essential libjpeg-dev libpq-dev libjpeg8-dev libxml2-dev libssl-dev libffi-dev libmysqlclient-dev libxslt1-dev zlib1g-dev libsasl2-dev libldap2-dev liblcms2-dev
Install Web Dependencies
The next step is to set up the required web dependencies.
sudo apt-get install -y npm
sudo ln -s /usr/bin/nodejs/usr/bin/node
sudo npm install -g less less-plugin-clean-css
sudo apt-get install -y node-less
Install Wkhtmltopdf
To enable report generation in Odoo, install Wkhtmltopdf by running the following command:
sudo wget https://github.com/wkhtmltopdf/wkhtmltopdf/releases/download/0.12.5/wkhtmltox_0.12.5-1.bionic_amd64.deb
sudo dpkg -i libssl1.1_1.1.1f-1ubuntu2_amd64.deb
Install PostgreSQL
The next step is installing PostgreSQL, which Odoo uses as its database system:
sudo apt install postgresql postgresql-client
Configure a Database User Role for Odoo Databases
Create a new database user using the steps provided. Assign a password to this user and make sure to store it securely, as you’ll need it later when setting up the configuration file.
sudo su - postgres
createuser --createdb --username postgres --no-createrole --no-superuser --pwprompt odoo19
Next, assign superuser privileges to the selected user account.
psql
ALTER USER odoo19 WITH SUPERUSER;
Finally, log out of both the psql shell and the PostgreSQL user session.
\q
exit
Get Odoo 19 Source Code
The Odoo 19 Community source code is available on Odoo's GitHub repository. You can also clone it using Git. To do this, first install Git by executing the following command:
sudo apt-get install git
Next, run the following command to clone the Odoo code into a directory named odoo19 in your home folder:
git clone https://www.github.com/odoo/odoo --depth 1 --branch 19.0 --single-branch odoo19
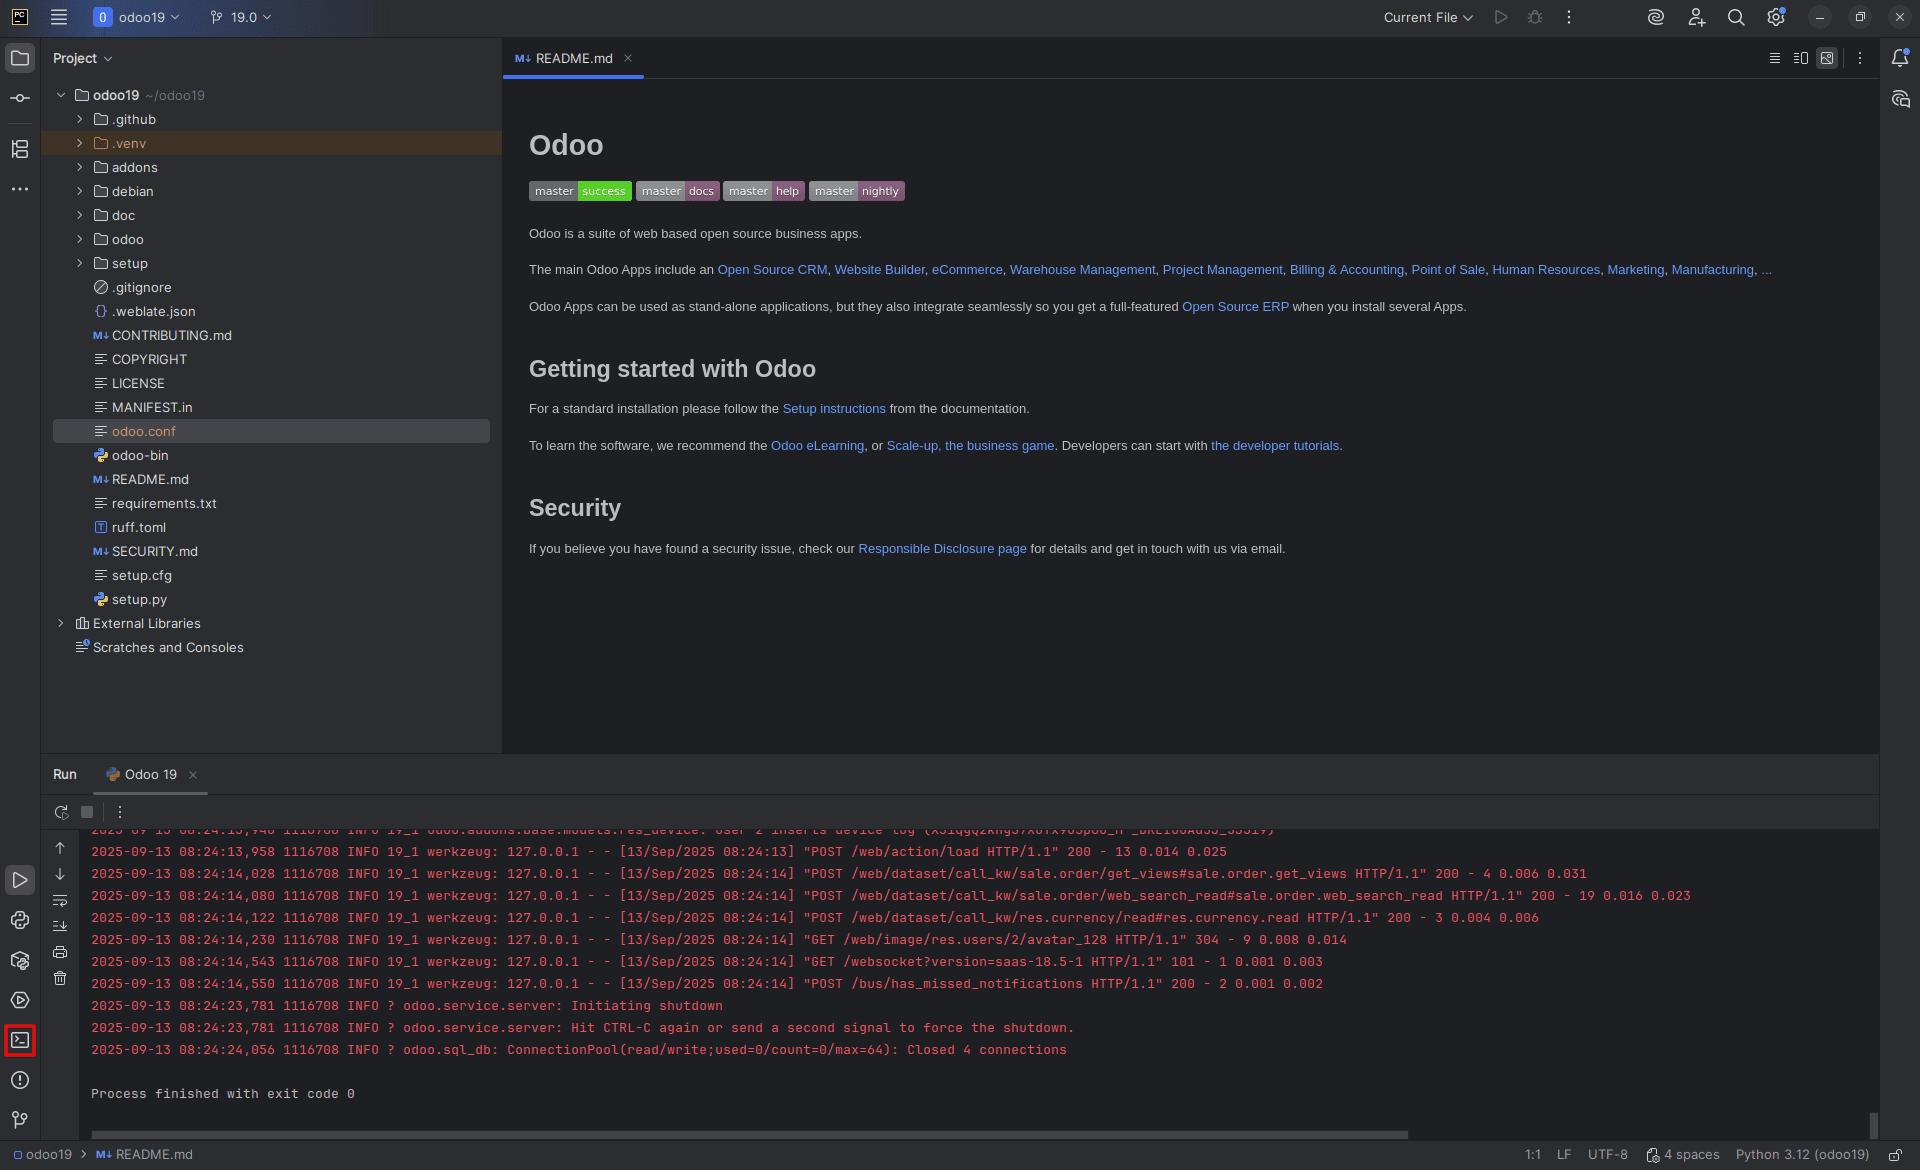
Open the cloned Odoo Project in PyCharm
Start PyCharm Community Edition and open the Odoo19 directory. If a dialog appears prompting you to create a virtual environment, you can cancel it, as we will set up the virtual environment manually using the terminal.
To launch the terminal, click the icon shown below or press Alt + F12.
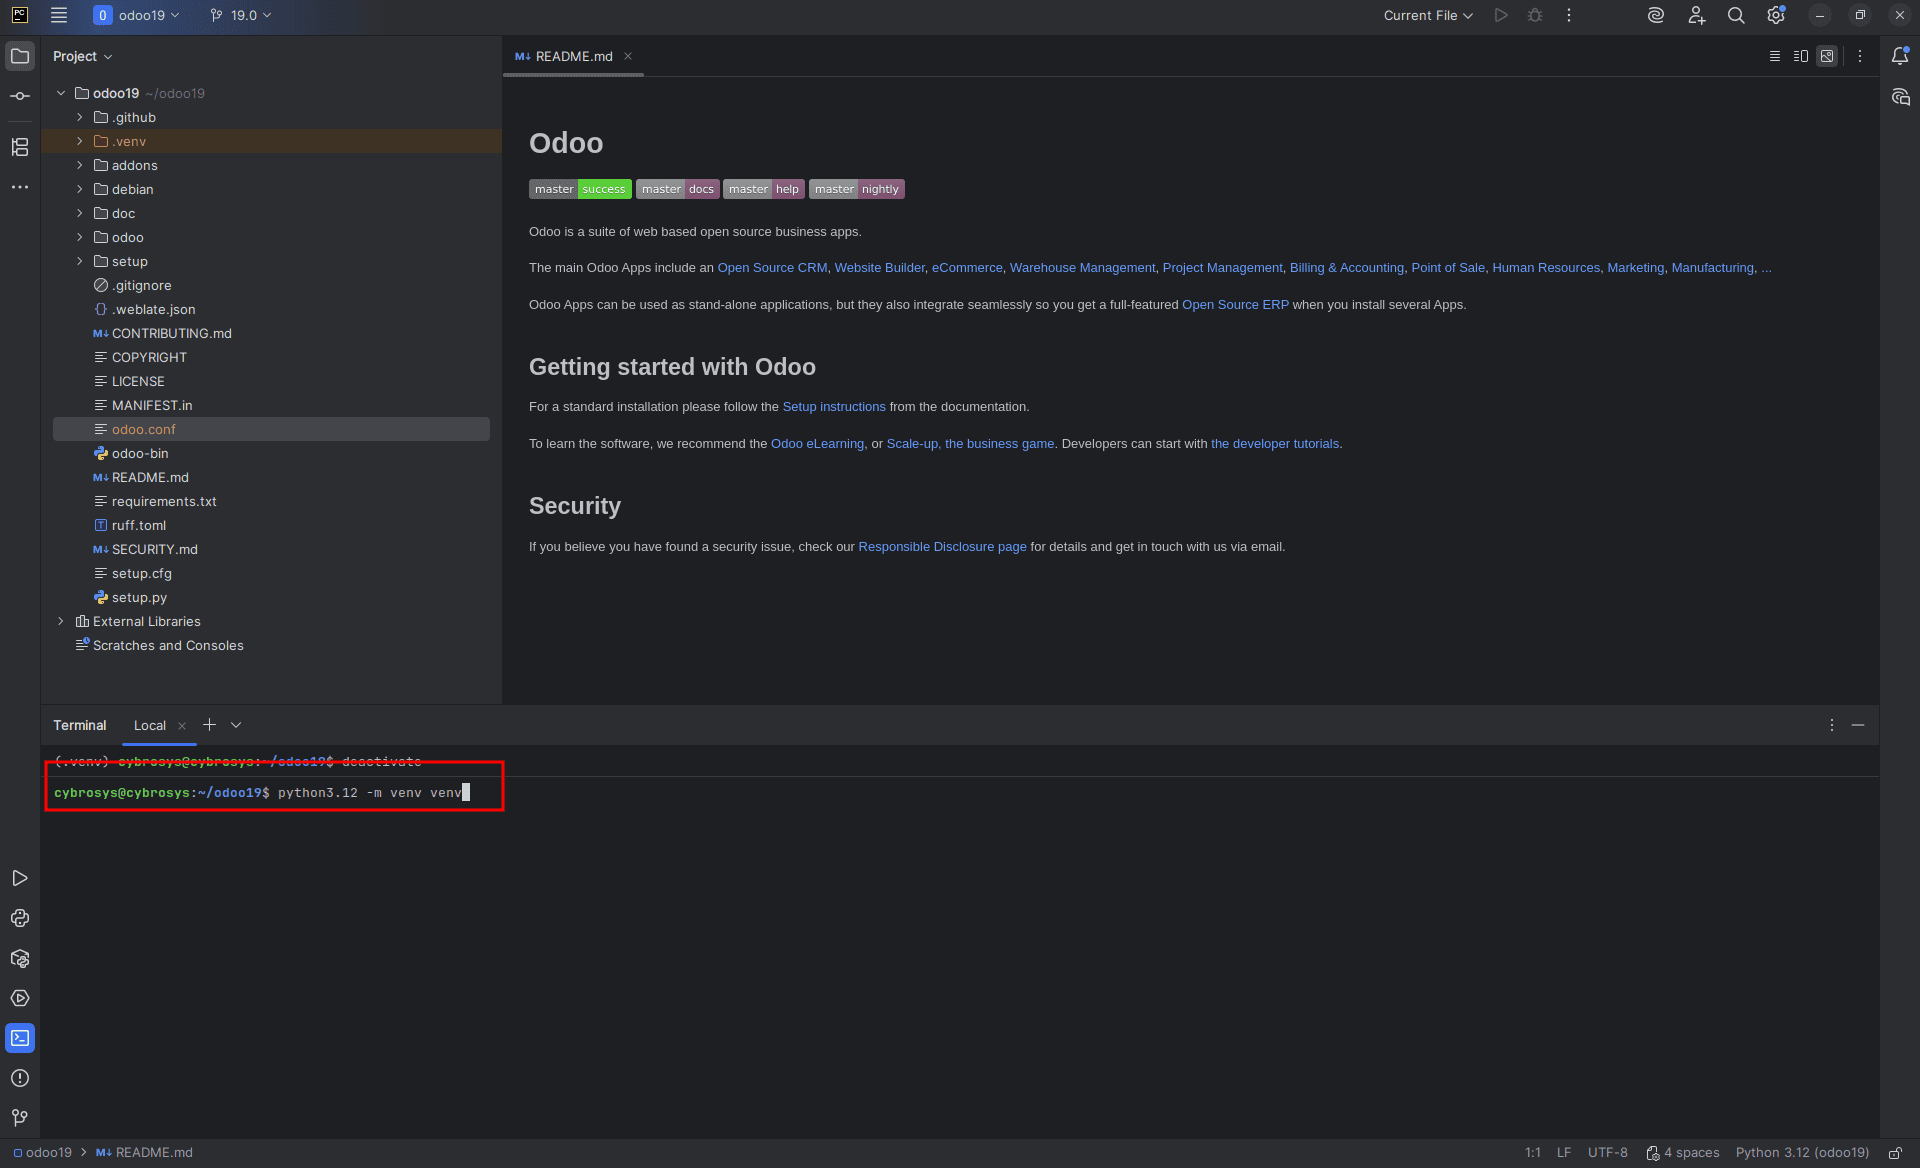
Next, execute the following commands to create a virtual environment with Python 3.12.
curl -sS https://bootstrap.pypa.io/get-pip.py | python3.12
sudo apt install python3.12-venv
python3.12 -m venv your_venv_name
When you restart the terminal, your virtual environment will automatically activate. You’ll see its name displayed in the terminal prompt, as illustrated below:

If the virtual environment does not activate automatically, run the following command to activate it manually:
source your_venv_name/bin/activate
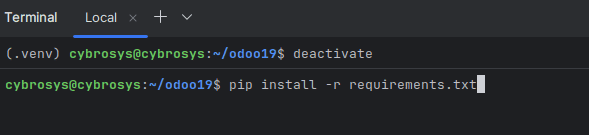
Install Required Python Packages
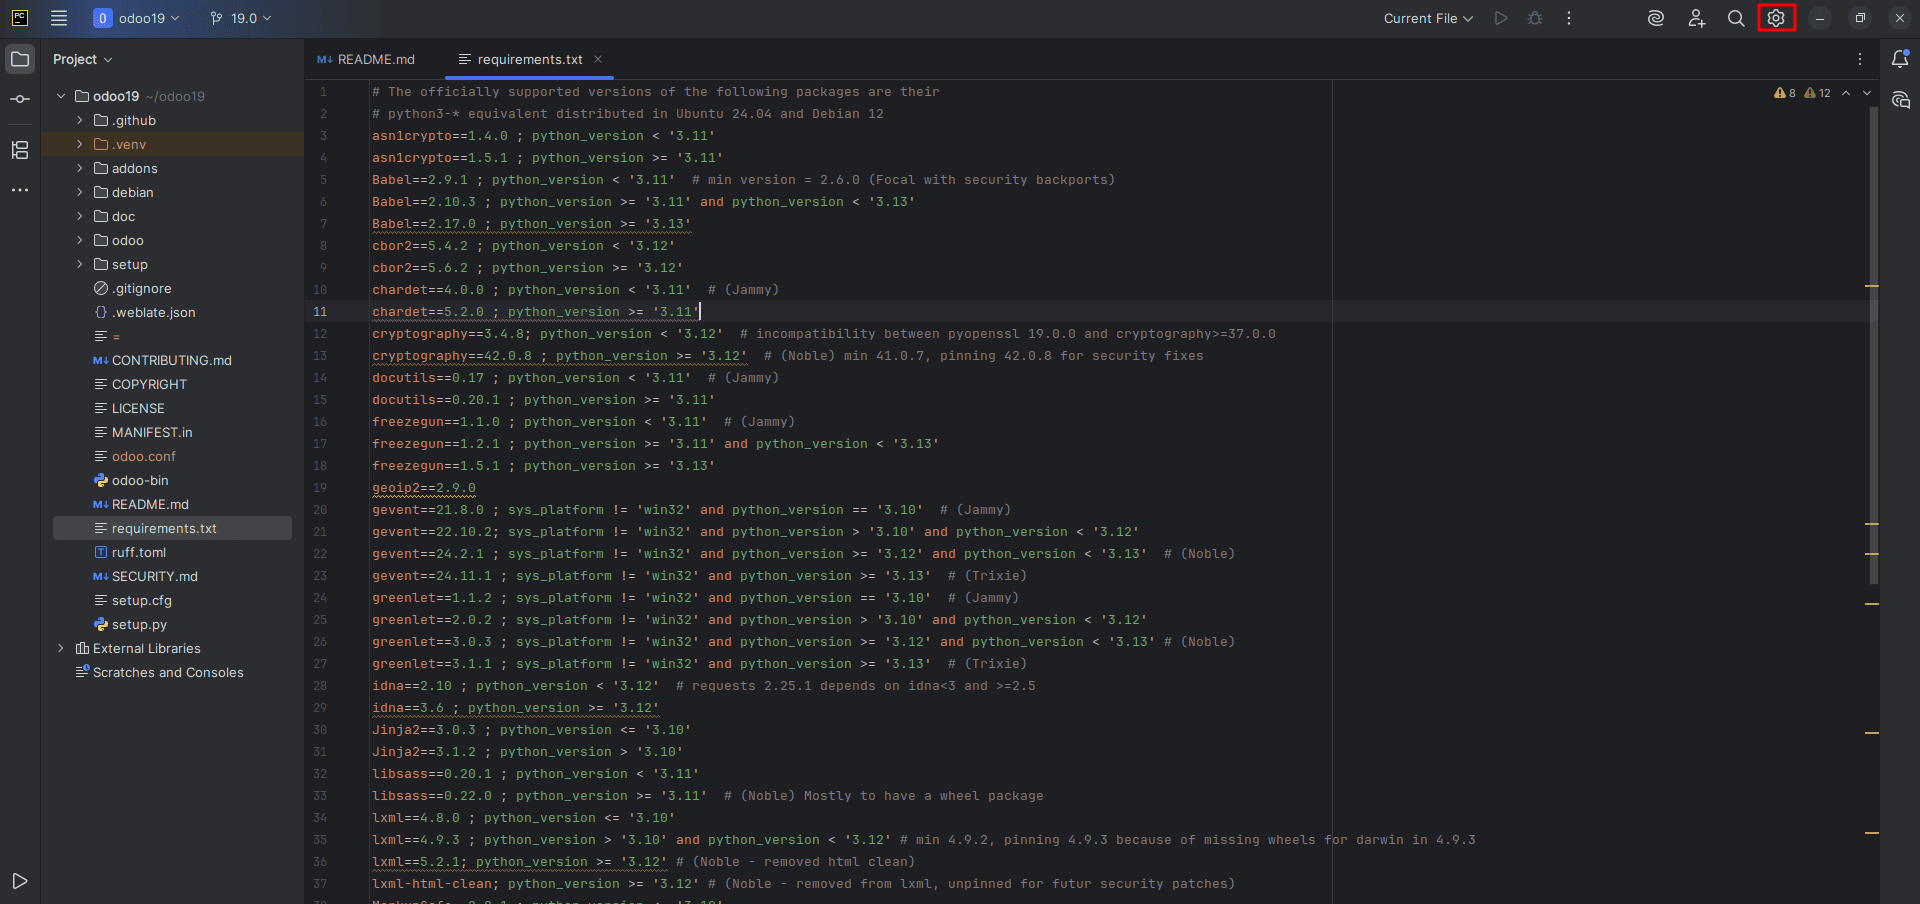
Odoo requires multiple Python packages specified in the requirements.txt file within the odoo19 directory. Install them by running the following command in the terminal:
pip install -r requirements.txt
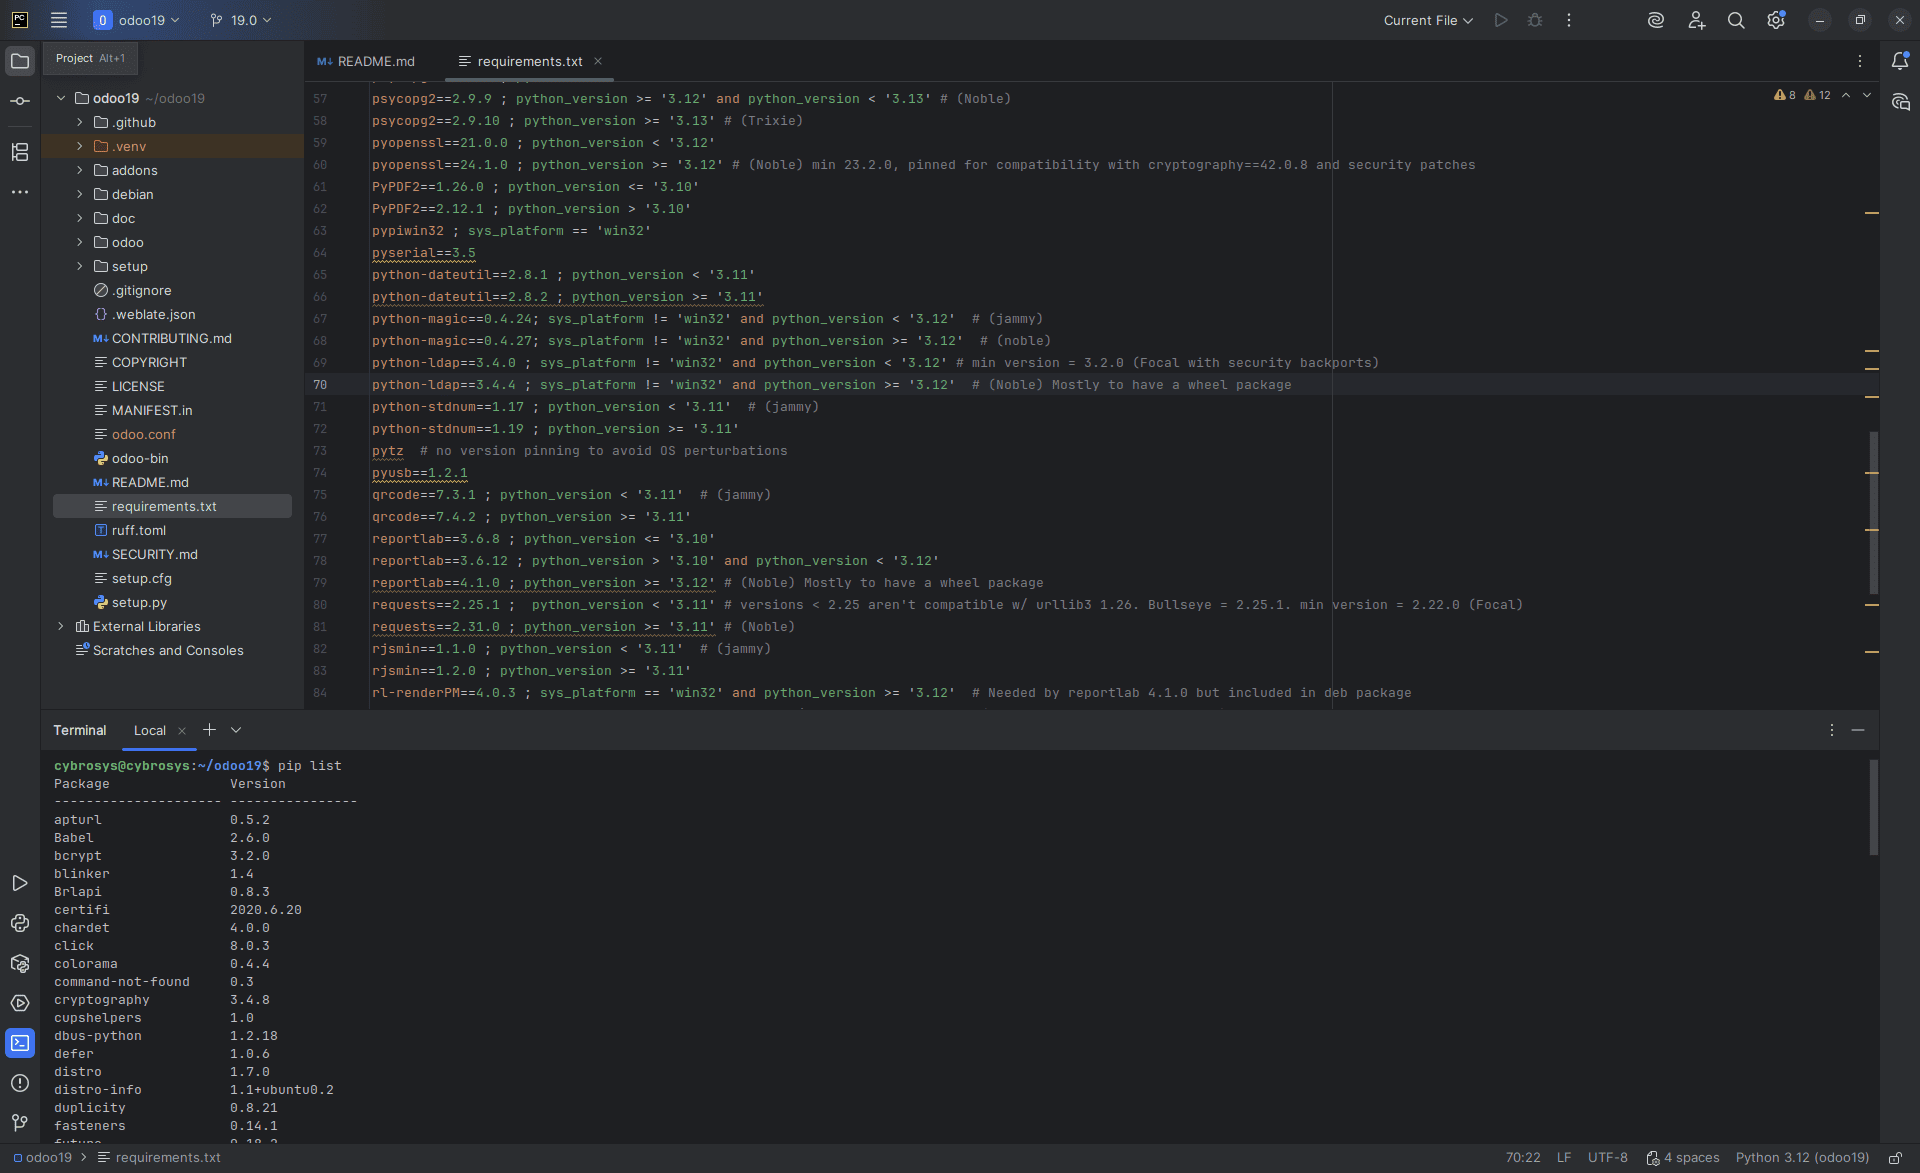
If there are no errors, you can run the following command to confirm that all dependencies specified in requirements.txt have been installed correctly.
pip list
If any errors occur, open the requirements.txt file and install each package individually with the following command:
pip install requirement_name
Example :

In most cases, duplicate entries in the package list only require a single installation. Therefore, if one installation fails, it generally does not cause any problems.
Additionally, any prerequisites specified for sys_platform as 'win32' can be safely skipped if they fail to install on your system.
If you encounter errors during the installation of a package - psycopg2, run the following command to install a compatible alternative package.
pip install psycopg2-binary
Create the odoo.conf File in the odoo19 Directory
To create the configuration file, right-click on the Odoo19 directory, choose New ? File, and name it odoo.conf.
Once the odoo.conf file is created, add the following block of code. Be sure to replace the db_password field with the password you assigned to the Odoo19 database user earlier.
[options]
admin_passwd = admin
db_host = localhost
db_port = 5432
db_user = odoo19
db_password = your_password
addons_path = /home/user/odoo19/addons
http_port = 8019
Also, update the addons_path field with the full path to the Odoo19 addons directory. To get this path, open the addons folder and press Ctrl + Shift + C to copy the current directory path, then paste it into the addons_path field. If you have a separate directory for custom modules, include its path as well, separated by commas.
eg: addons_path = /home/user/odoo/addons, /home/user/odoo/custom_addons
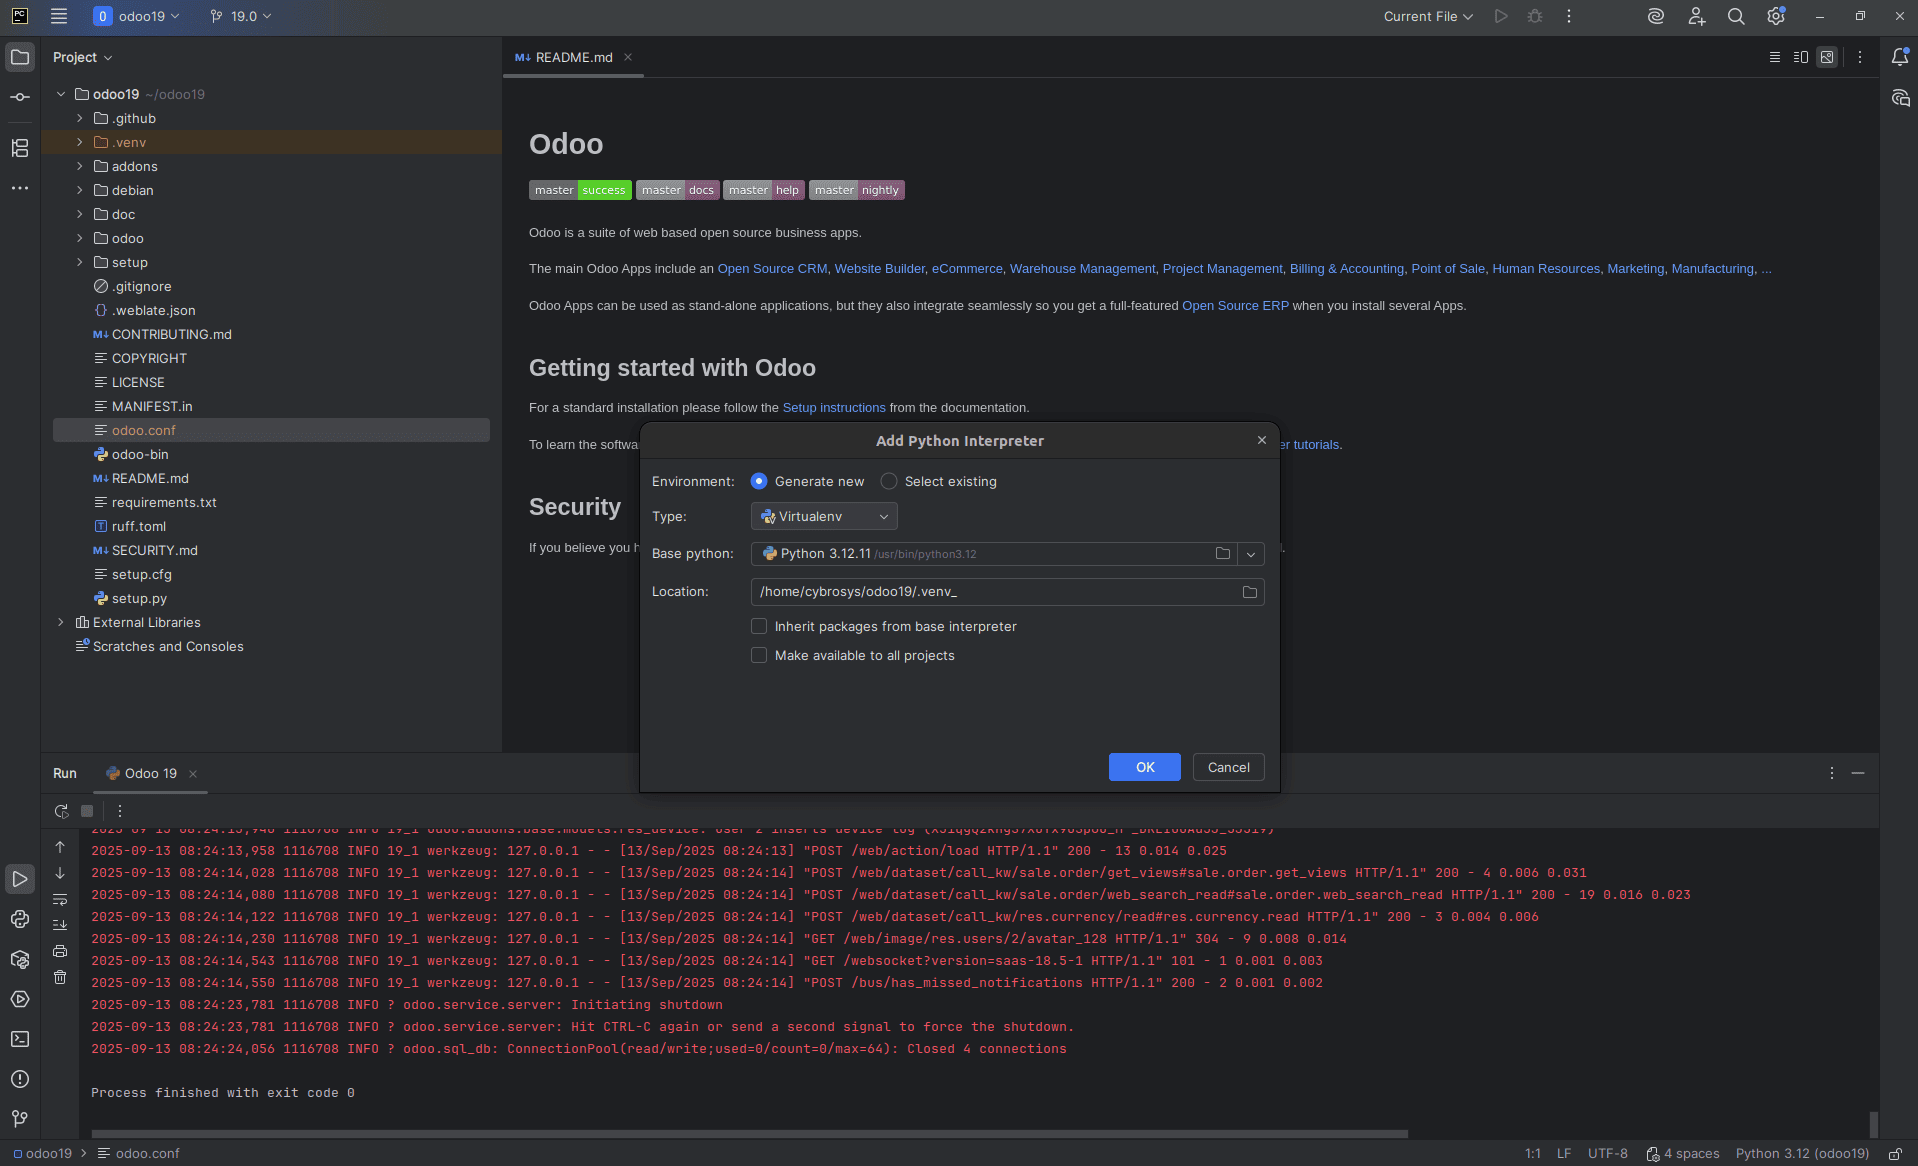
Add Python Interpreter
To set up the Python interpreter, go to Settings ? Project: odoo19 ? Python Interpreter in PyCharm.
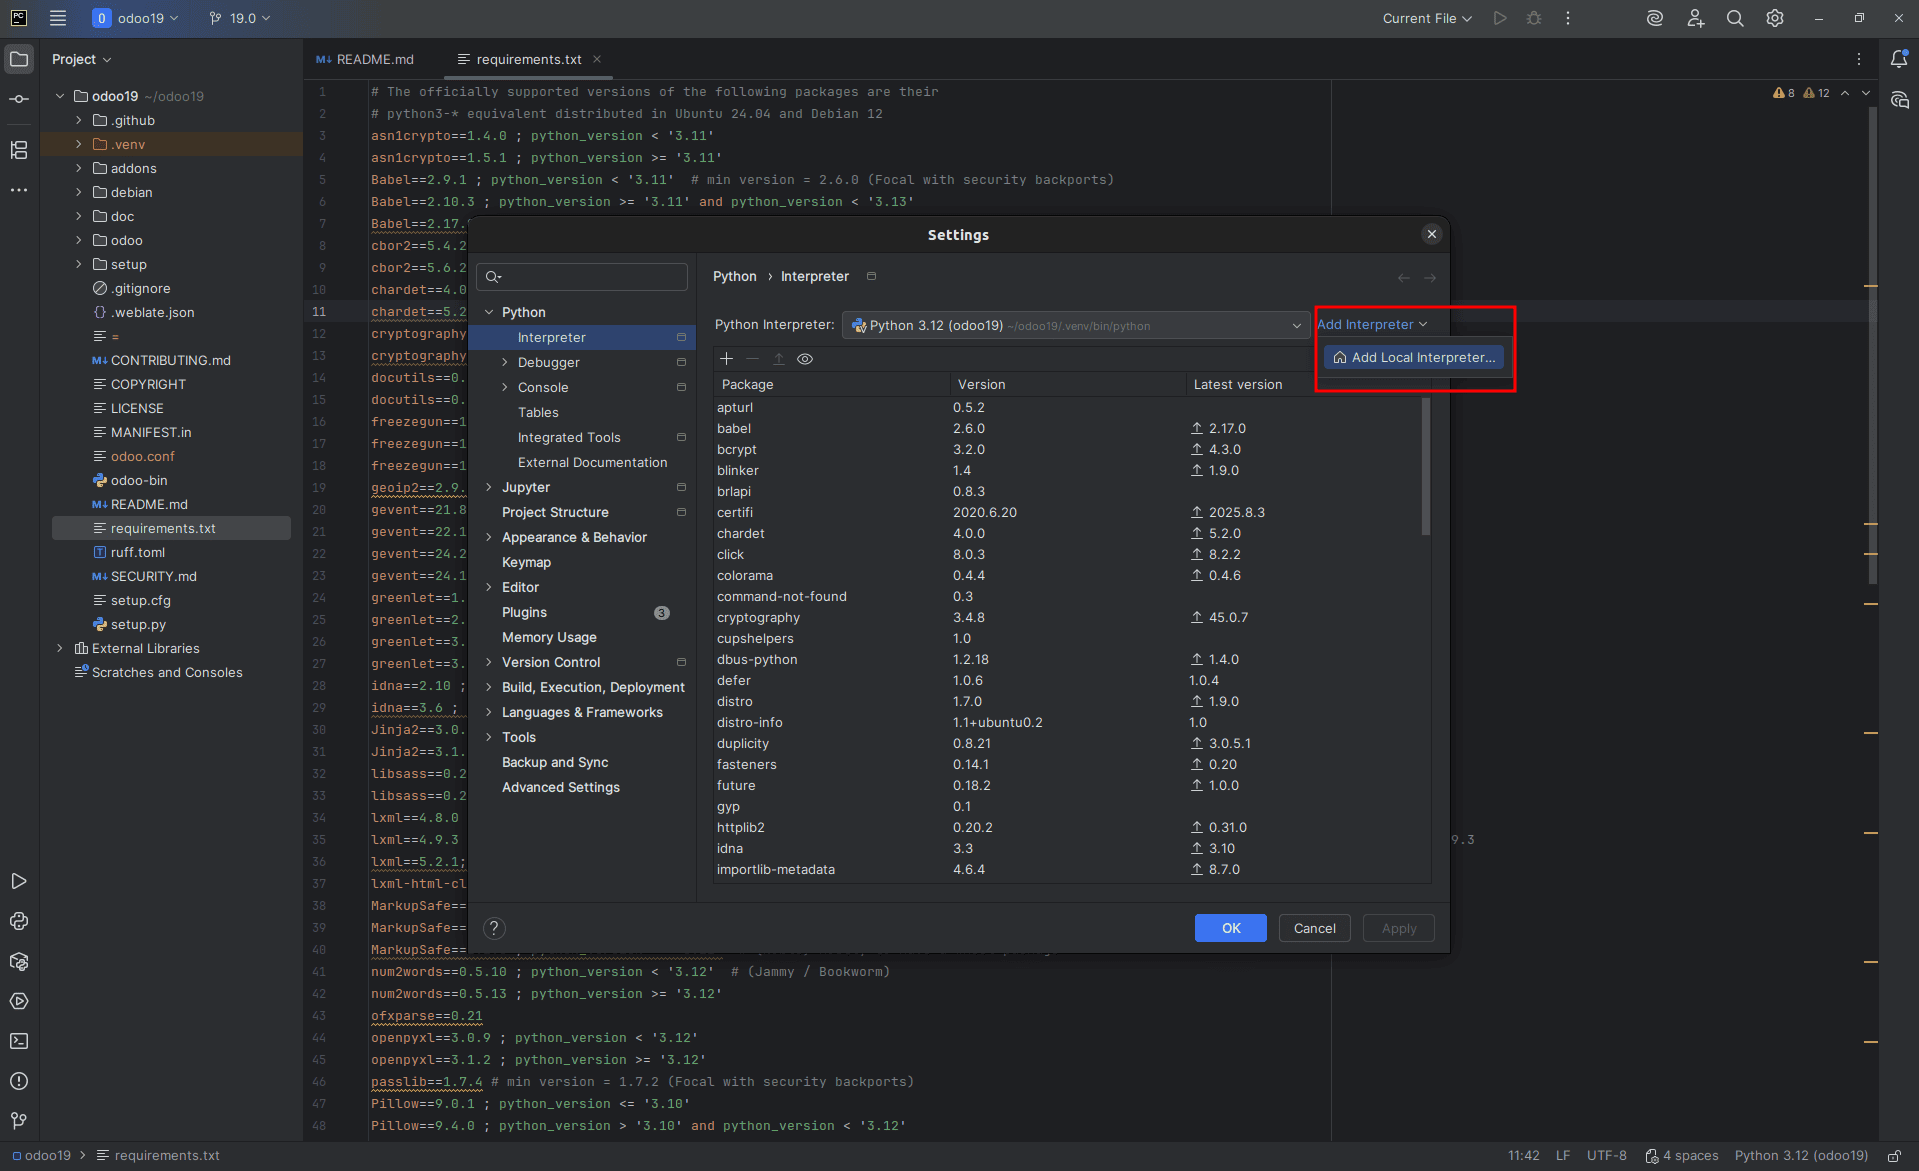
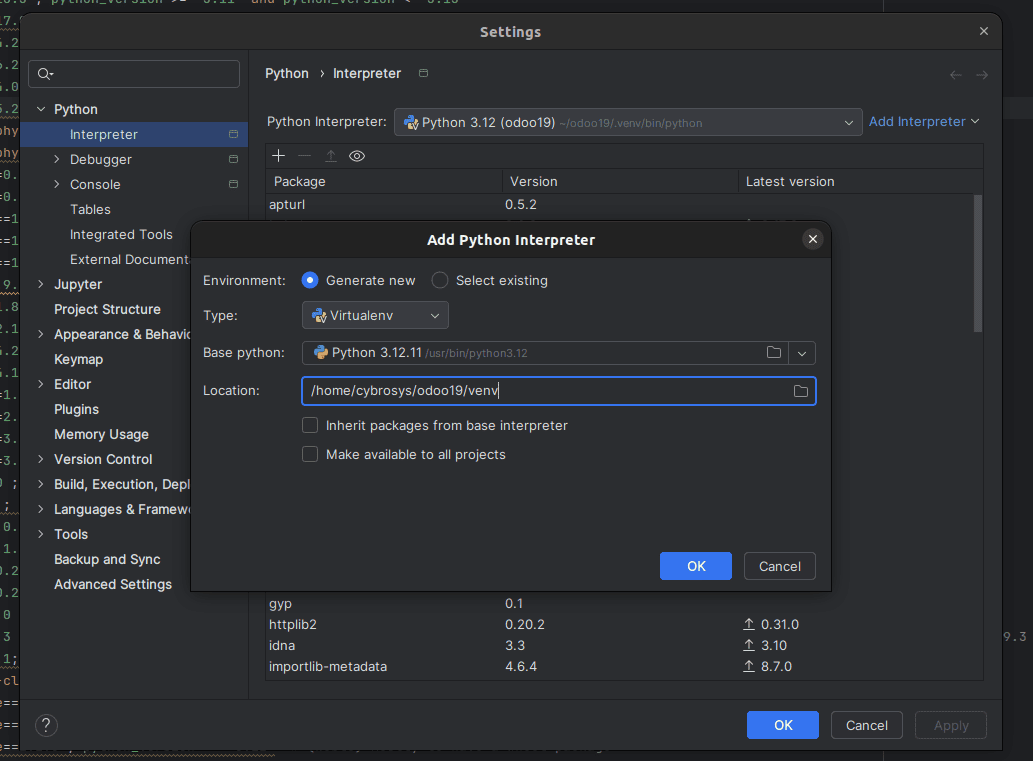
When the Python Interpreter window opens, check if the interpreter from your odoo19 virtual environment (Python 3.12) is already set. If it is, no changes are necessary. If not, select Add Interpreter and follow the steps below to configure it.
Configure the Project in PyCharm
To configure the project settings, navigate to Edit Configurations under Current File.
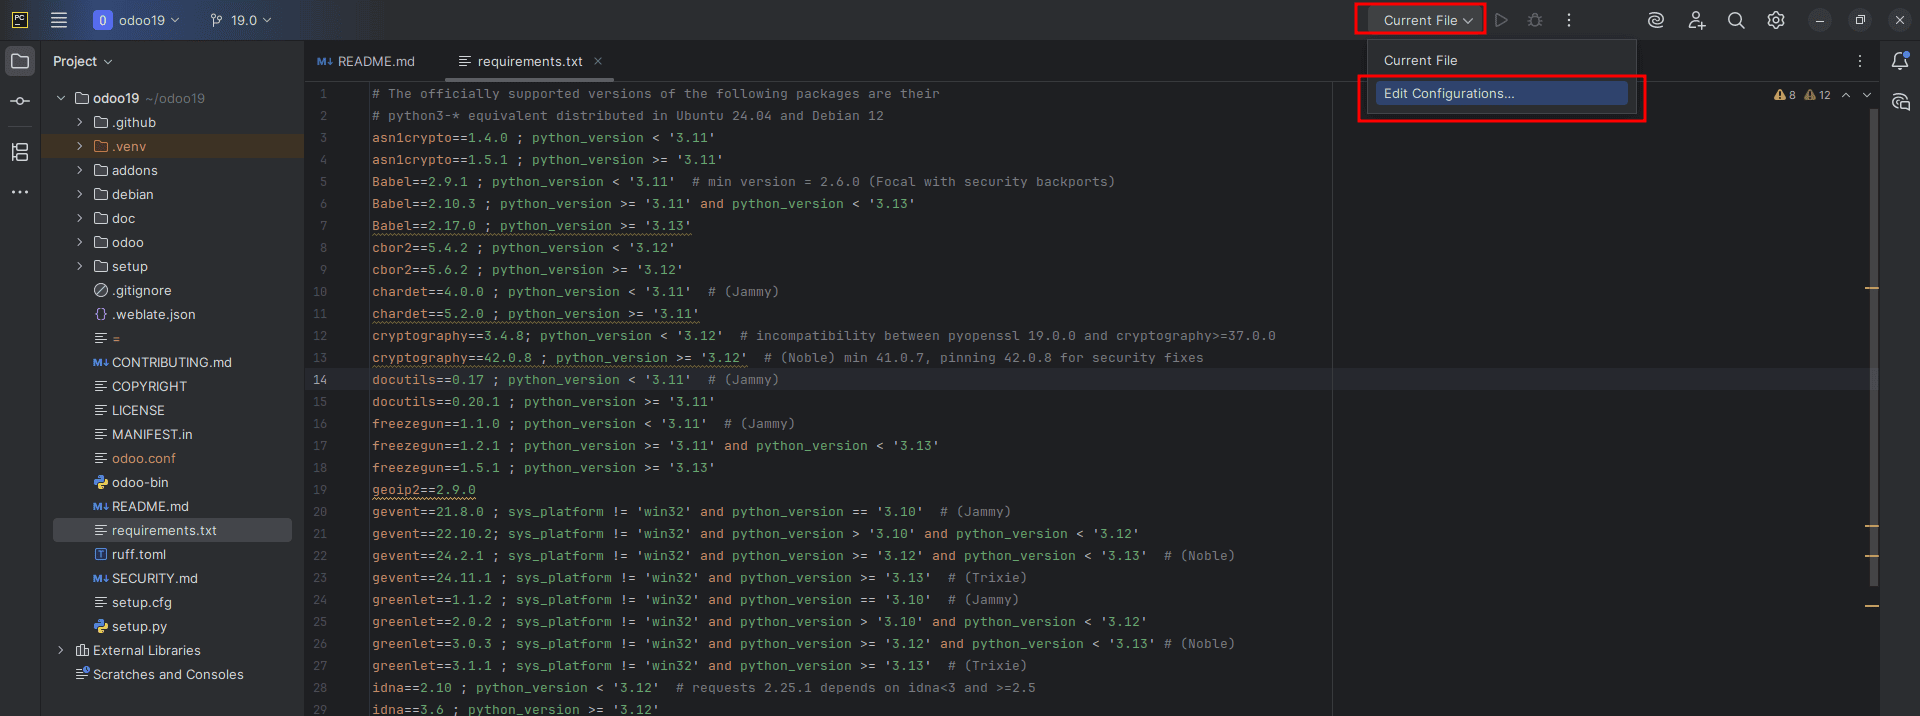
In the dialog that appears, click the “+” button and select Python from the available options.
Next, complete the fields according to the example shown in the image below.
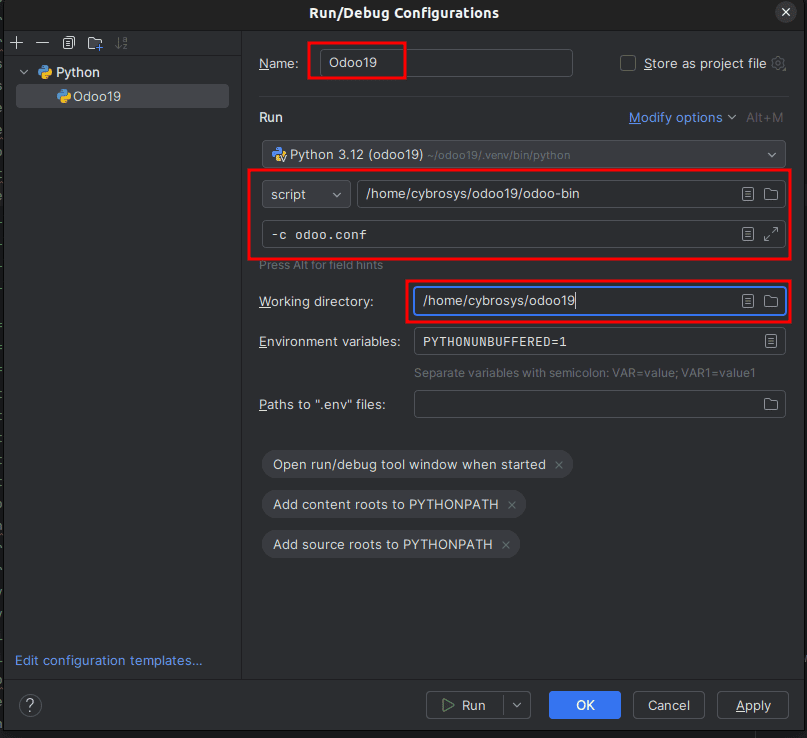
Name: Assign any name you prefer for this configuration.
Python Interpreter: Choose the Python interpreter for this project. If you completed the previous step, it should be selected automatically.
Script Path: Point to the odoo-bin file located in the odoo19 directory.
Parameters: Add any parameters needed to run the script. The -c parameter is mandatory, and you may also need to include the path to the configuration file.
Working Directory: Set this to the path of your project’s current working directory.
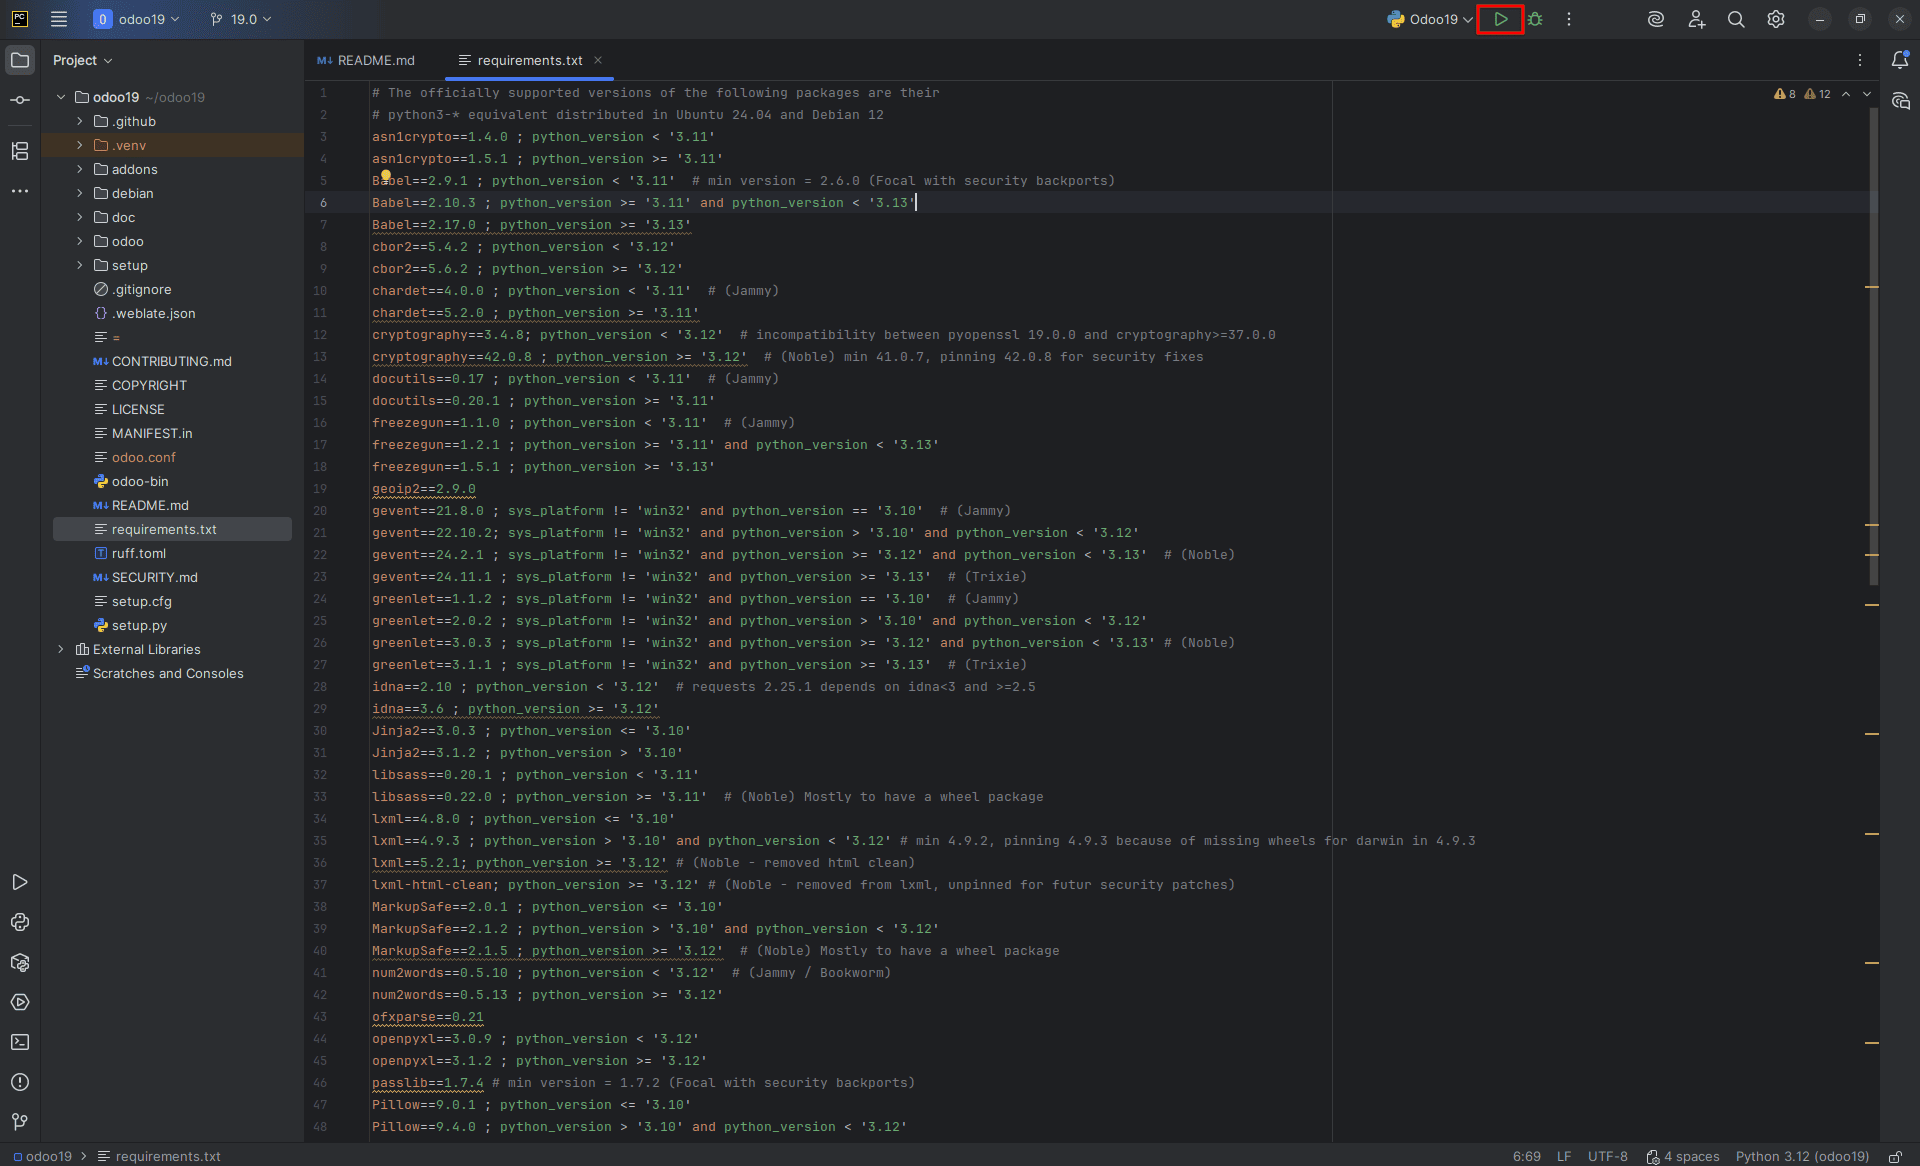
Test Run Odoo 19
The Odoo setup is now complete. You can test it by clicking the button below to start the project.
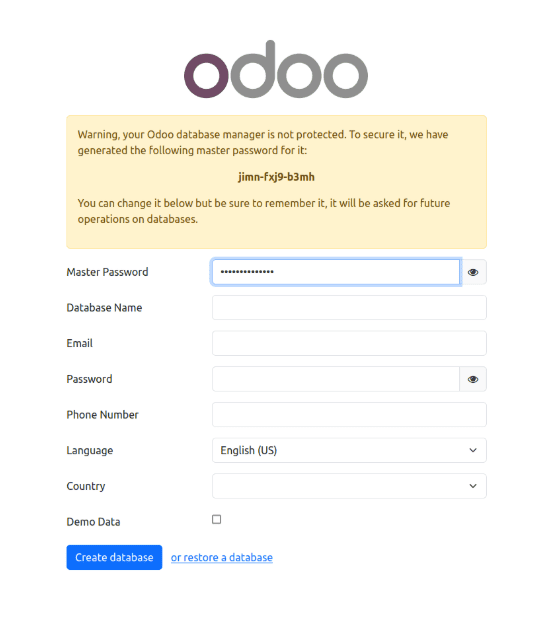
You can now verify your setup by opening localhost:8019 in your web browser. If everything is configured correctly, the Odoo database management page will appear, as illustrated below.
This completes the setup process for configuring an Odoo 19 development environment in PyCharm on Ubuntu.
To read more about How to Setup Odoo 18 Development Environment Using Pycharm in Ubuntu 22.04, refer to our blog How to Setup Odoo 18 Development Environment Using Pycharm in Ubuntu 22.04