Odoo's web framework provides a powerful way to customize field widgets to enhance user experience. In this blog post, we'll walk through creating a custom Many2one widget that displays additional partner information when clicked.
The Many2one field is one of the most commonly used field types in Odoo, representing a relationship between models. By default, it provides a dropdown selection with search capabilities. We'll extend this functionality to show a pop-up with partner details.
Create the JavaScript Component
First, let's create our custom widget component that extends the standard Many2OneField:
/** @odoo-module **/
import { registry } from '@web/core/registry';
import { Many2OneField, many2OneField } from '@web/views/fields/many2one/many2one_field';
import { usePopover } from "@web/core/popover/popover_hook";
import { useState, useRef } from "@odoo/owl";
export class Many2OneFieldWidget extends Many2OneField {
    static template = "blog.Many2OneFieldWidget";
    static props = {
        ...Many2OneField.props,
    }
    setup() {
        super.setup();
        this.popover = usePopover(this.constructor.components.Popover, { position: "top" });
        this.DetailPop = useRef("detail_pop");
        this.state = useState({
           ...this.state,
           data: []
        })
    }
    async showPopup(ev) {
        if (this.DetailPop.el.classList.contains("d-none")) {
            this.state.data = await this.orm.call('res.partner', 'get_partner_info',[ this.props.record.data.partner_id[0]])
            this.DetailPop.el.classList.remove("d-none");
        } else {
            this.DetailPop.el.classList.add("d-none");
        }
    }
}
export const many2OneFieldWidget = {
    ...many2OneField,
    component: Many2OneFieldWidget,
    fieldDependencies: [
        ...(many2OneField.fieldDependencies || []),
    ],
    extractProps({ options }) {
        const props = many2OneField.extractProps(...arguments);
        return props;
    },
};
registry.category("fields").add("m2oo_info", many2OneFieldWidget);
Creates a custom Many2One widget by extending Odoo’s default Many2OneField. It adds an info button that, when clicked, toggles a popover displaying extra details (name, email, phone) about the selected partner. The setup() method initializes the component state and DOM references, while showPopup() handles the logic of fetching partner data from the backend and showing/hiding the info box. The widget is then registered under the name m2oo_info for use in views.
Add the Python Method
Make sure you have a method in your res.partner model to fetch the required partner info:
# -*- coding: utf-8 -*-
from odoo import api, models

class ResPartner(models.Model):
    _inherit = 'res.partner'
    @api.model
    def get_partner_info(self,vals):
        partner_id = self.browse(int(vals))
        data = [{'name': partner_id.name,
                 'email': partner_id.email,
                 'phone': partner_id.phone}]
        return data
Create the XML Template
Next,we need to define the template for our widget:
<?xml version="1.0" encoding="UTF-8" ?>
<templates>
    <t t-name="blog.Many2OneFieldWidget" t-inherit="web.Many2OneField"
       t-inherit-mode="primary">
        <xpath expr="//t[@t-if='hasExternalButton']" position="before">
            <button class="m2o-info-icon btn btn-sm btn-outline-primary ml4"
                    t-on-click="showPopup">i
            </button>
        </xpath>
        <xpath expr="//div[hasclass('o_field_many2one_extra')]" position="before">
            <div class="popover d-none" style="max-width: none"
                 t-ref="detail_pop">
                <t t-foreach="state.data" t-as="item" t-key="item_index">
                    <b>Name</b>: <t t-esc="item.name"/><br/>
                    <b>Email</b>: <t t-esc="item.email"/><br/>
                    <b>Phone</b>: <t t-esc="item.phone"/><br/>
                </t>
            </div>
        </xpath>
    </t>
</templates>
The QWeb template inherits the default Many2One field template and adds an “i” button next to the field. When clicked, it shows a custom popover containing partner details. The popover is hidden by default (d-none) and is filled dynamically using the data fetched in the JavaScript code.
Apply the Widget to a Field
Finally, we apply our custom widget to a Many2one field in an XML view:
<?xml version="1.0" encoding="UTF-8" ?>
<odoo>
    <record id="purchase_order_form" model="ir.ui.view">
        <field name="name">purchase.order.form.custom</field>
        <field name="model">purchase.order</field>
        <field name="inherit_id" ref="purchase.purchase_order_form"/>
        <field name="arch" type="xml">
            <xpath expr="//field[@name='partner_id']" position="attributes">
                <attribute name="widget">m2oo_info</attribute>
            </xpath>
        </field>
    </record>
</odoo>
This XML code modifies the Purchase Order form to apply the custom widget to the partner_id field. By setting widget="m2oo_info", the field now uses the custom behavior defined in the JavaScript and template, enabling the info popover feature.
After implementing the custom Many2One widget, here’s how it appears on the Purchase Order form:
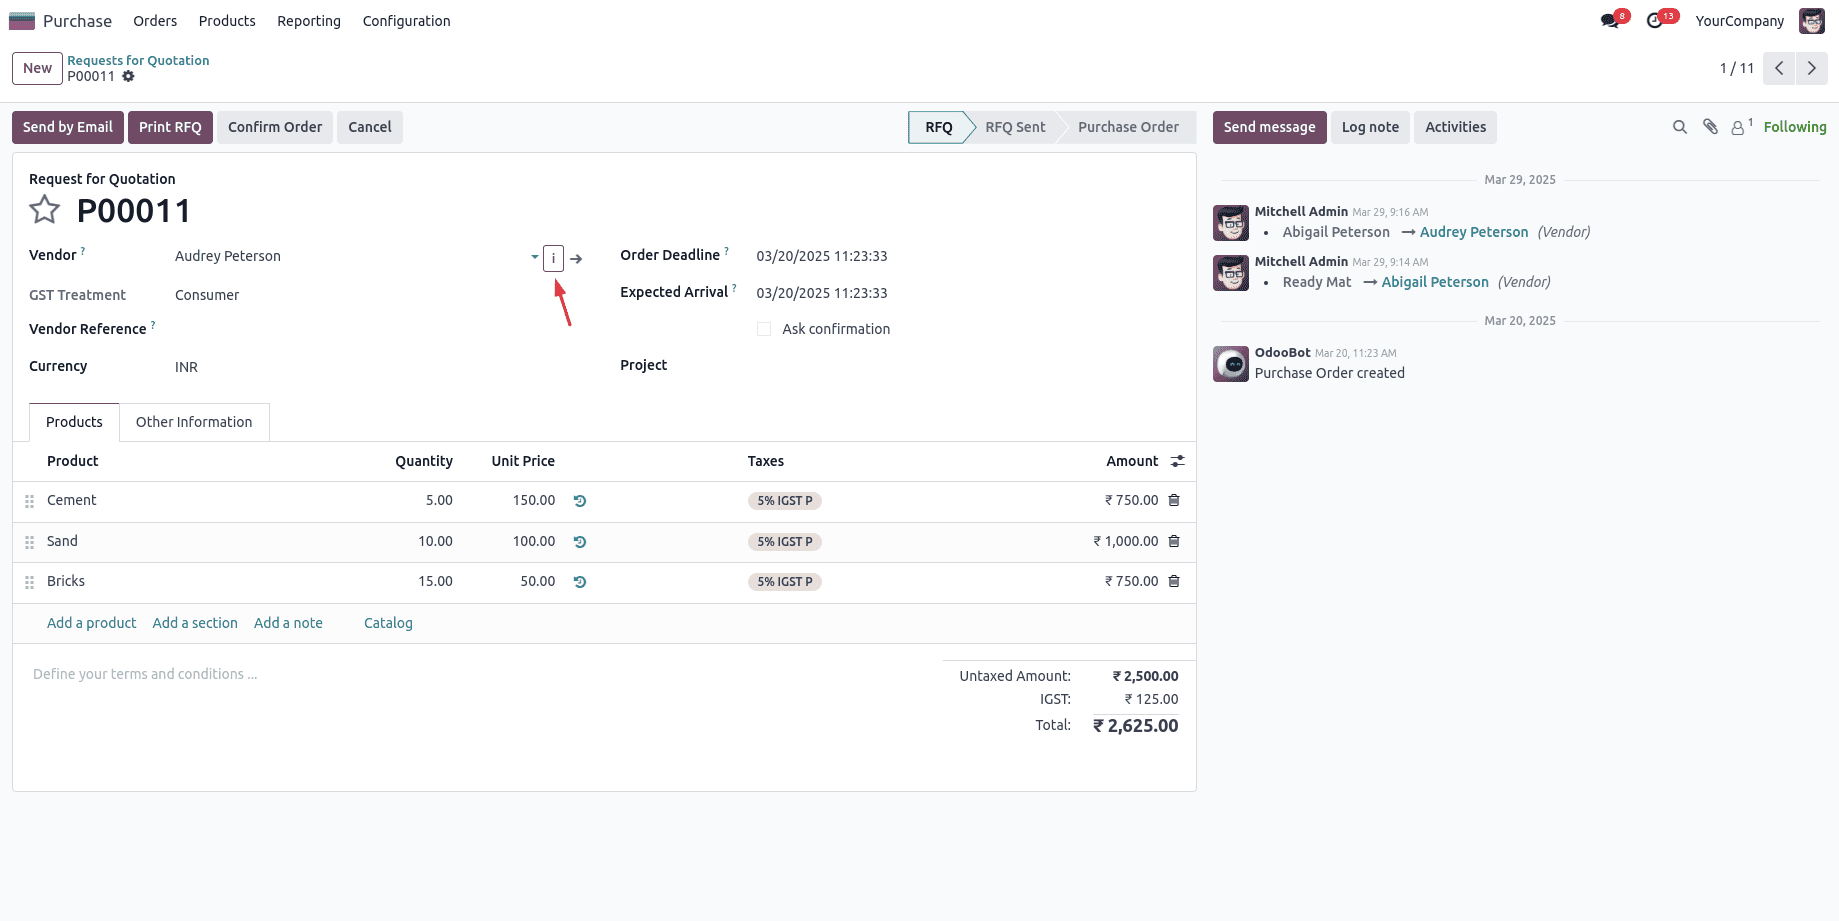
The “i” button appears next to the Vendor field. Clicking it will reveal more details.
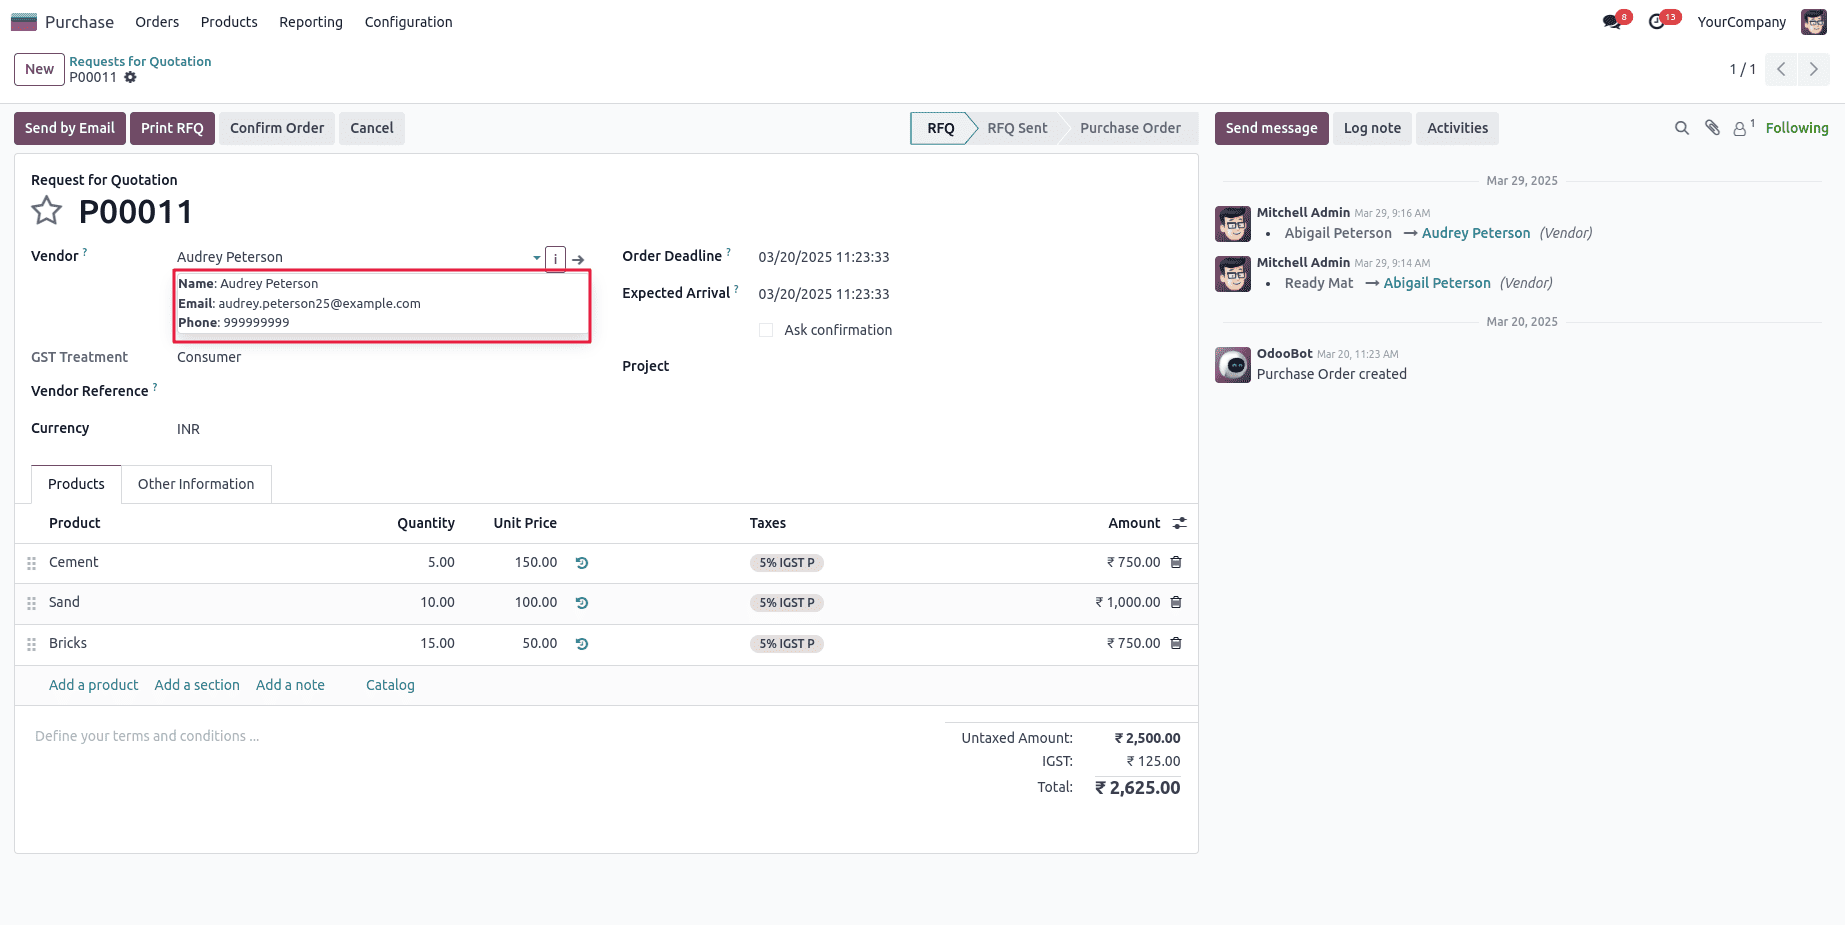
The popover displays detailed information about the selected vendor, including their name, email, and phone number.
With this custom Many2One widget in Odoo 18, you’ve enhanced the user experience by adding an interactive info button that quickly shows key partner details without navigating away from the form. This approach keeps your UI clean, improves usability, and demonstrates how flexible Odoo’s OWL framework is for building rich, dynamic interfaces.
To read more about How to Create a One2Many Field in Odoo 18 Website, refer to our blog How to Create a One2Many Field in Odoo 18 Website.