The regular appraisal of an individual's performance and contributions to the company is known as employee assessment. Using assessments to identify and reward employees is easy. A company can quickly decide on bonuses, promotions, and pay raises after evaluating employee performance. Employee morale and company culture can both be improved by an effective appraisal system. A proper assessment management system is typically implemented with consideration for business culture. With the use of an appraisal system, staff members can obtain a comprehensive awareness of the organization's aims and objectives.
Regular feedback helps a business succeed by enabling employees to easily achieve its ultimate goals. We can effectively forward the appraisal activities with Odoo 18's Appraisal module.
Appraisal
Under the Configuration tab, you have got the Appraisal Template option. The basic template used by the Appraisals app is preconfigured and sufficiently universal to be used by all employees. The default template can be changed if desired, or additional templates can be made if other templates are required, like department-specific appraisal templates.
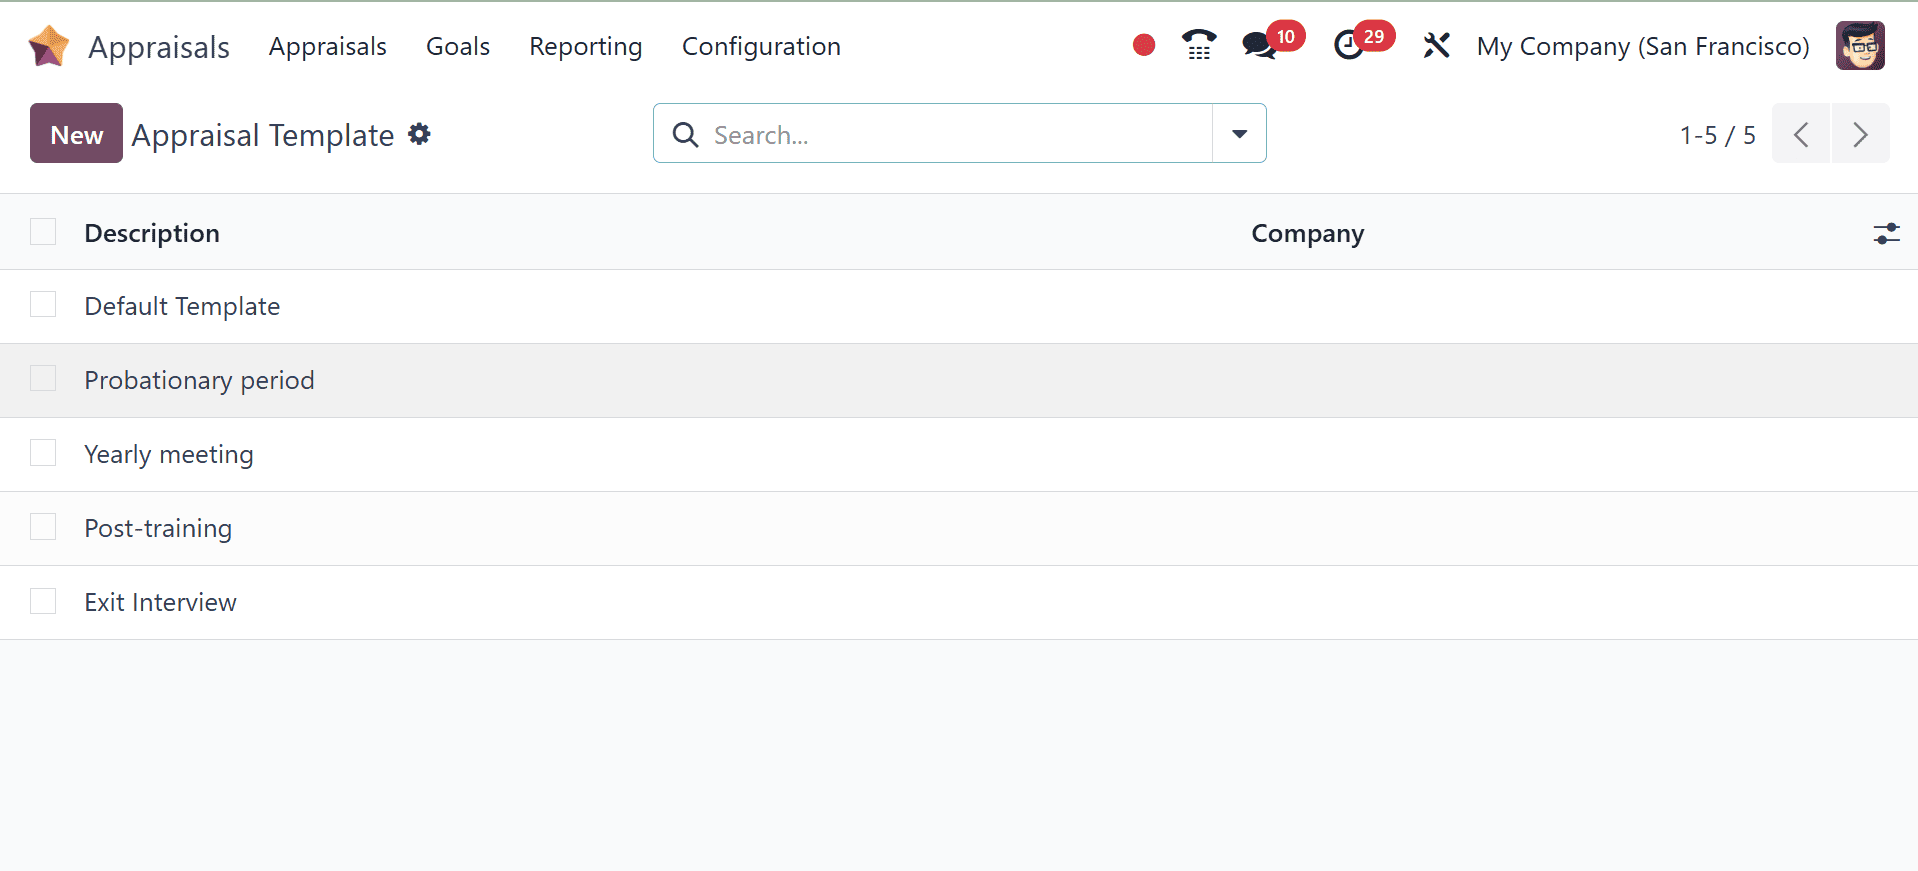
The default template, called Default Template, is displayed in a list view. To see the template specifics, click on it. Modify the template as you see fit. Click the New button in the top-left area to start a new appraisal template.
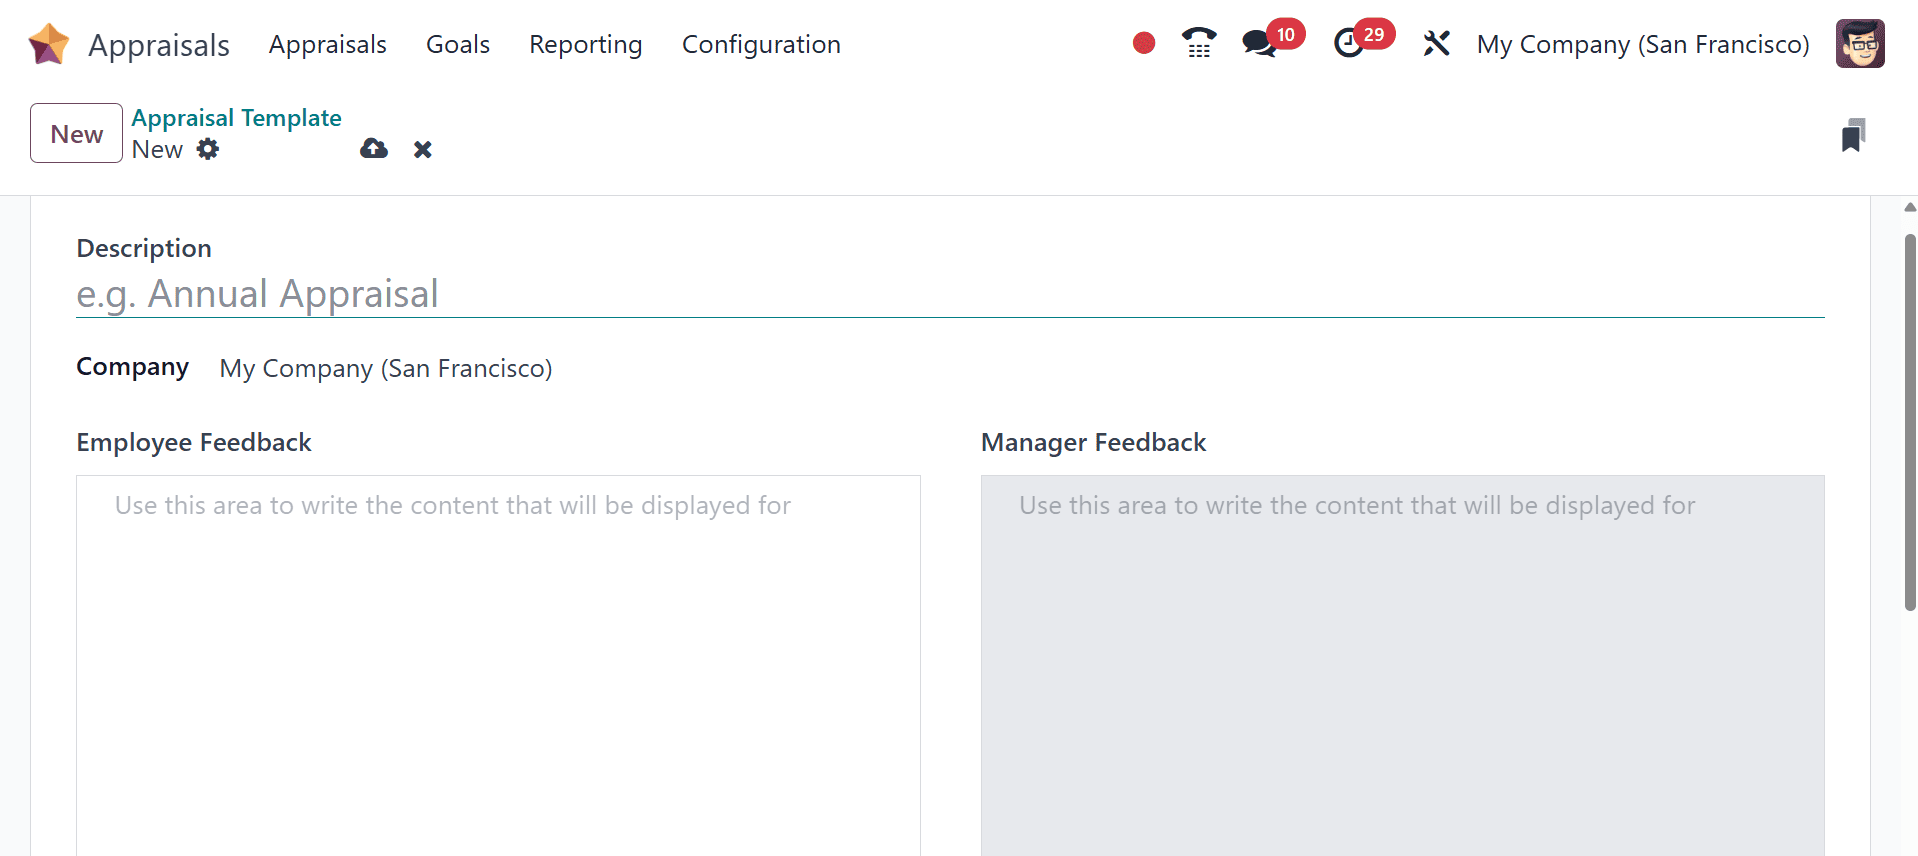
Next, add questions to the template to set up the appraisal. Make any necessary modifications to the template after changing its name.
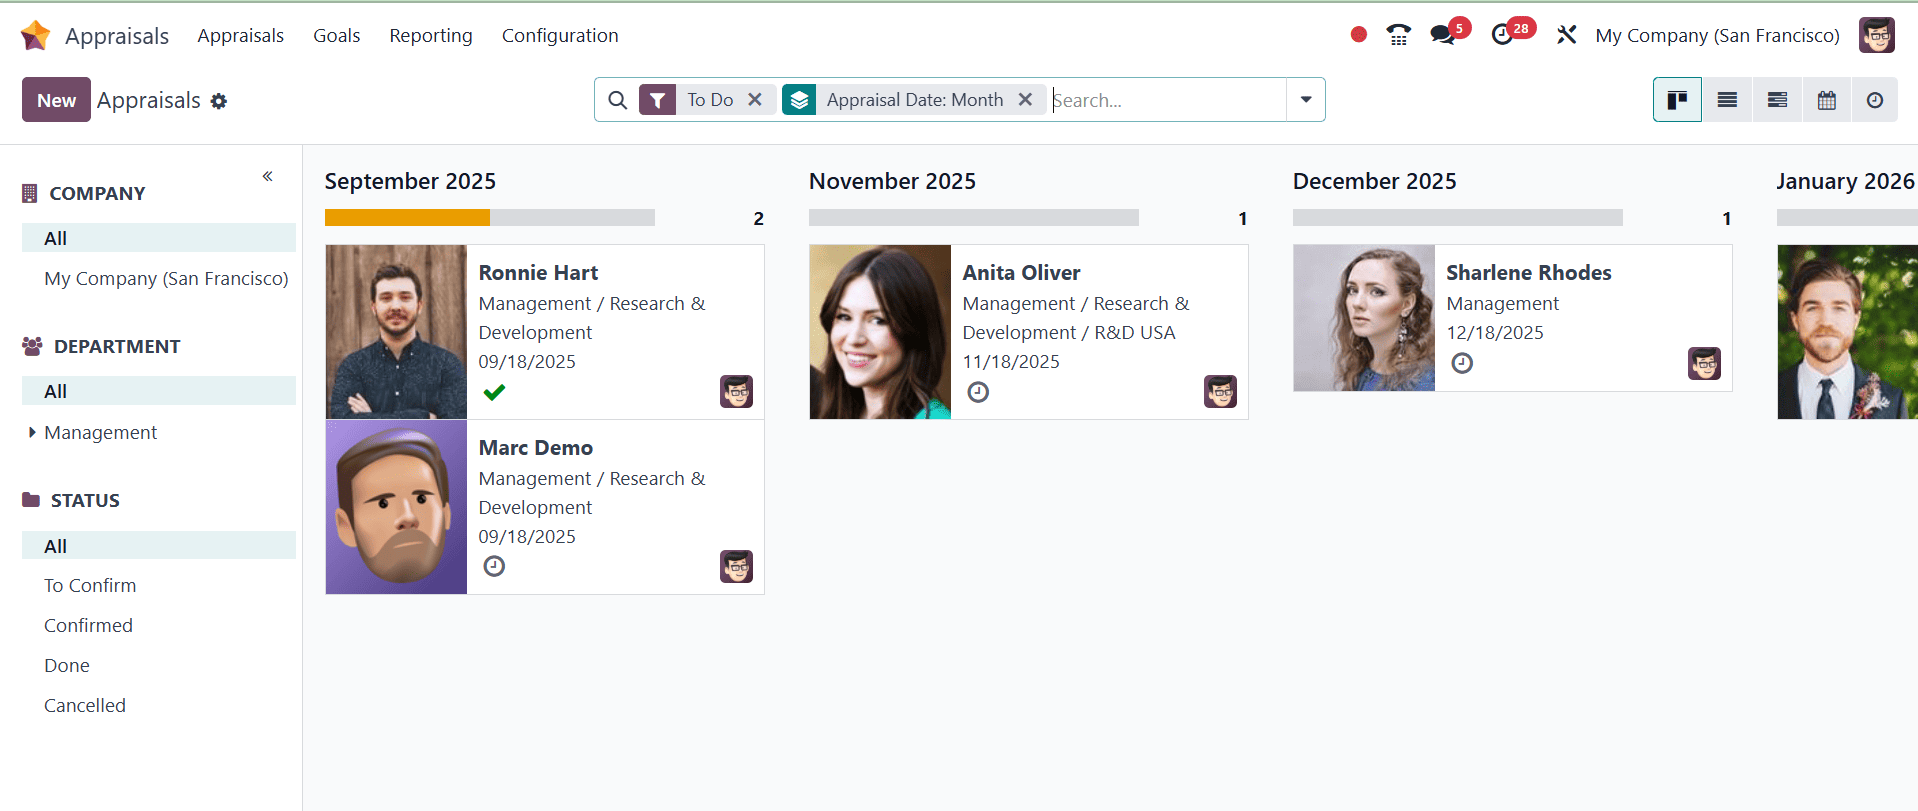
Now, let us look at how to create a new Appraisal. Each employee's profile is displayed in the Kanban view of the appraisal window. Dates, names, and departments of the employees are known. On the left side of the screen, you can sort appraisals by COMPANY, STATUS, and DEPARTMENT.
By choosing the New icon, we may generate a completely new employee appraisal.
In the window that now appears, enter the following details, as in the screenshot below.
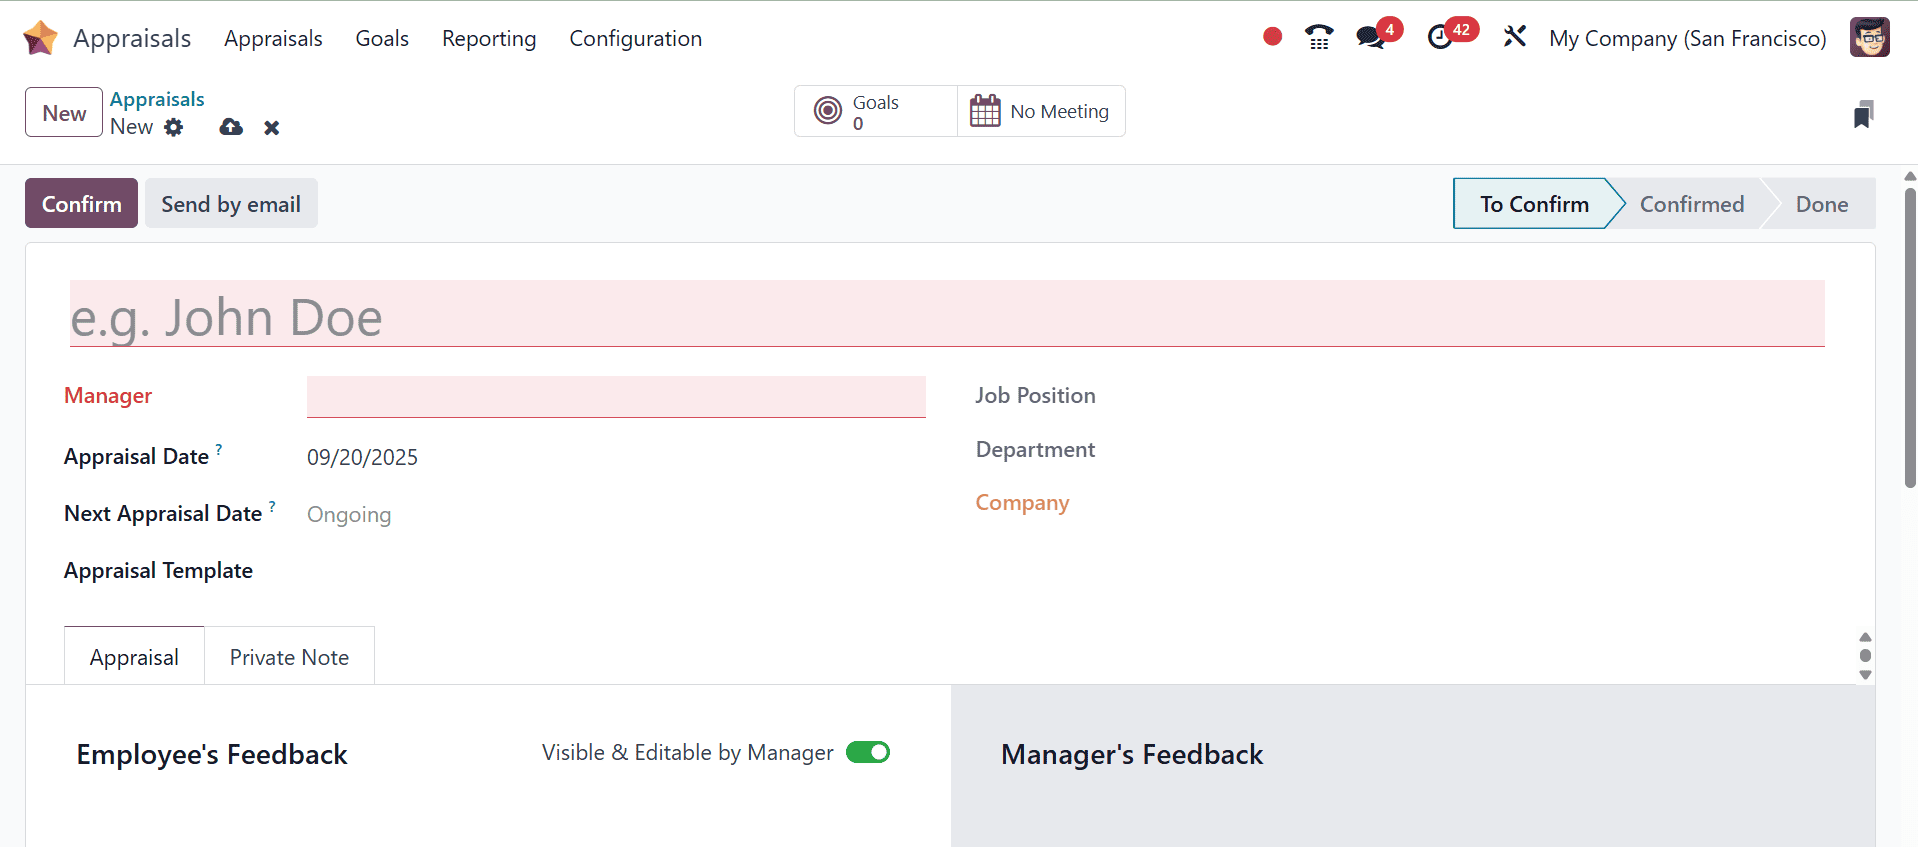
Manager: From the drop-down menu, choose the worker's manager. The management's Feedback portion of the appraisal must be filled out by the management. If the employee has a manager configured on their employee profile, this field automatically appears after the employee is chosen.
Appraisal Date: This field automatically enters the current date. Following the completion or cancellation of the evaluation, this field is automatically updated with the relevant date.
Next Appraisal Date: The date of the next appraisal is shown by the "Next Appraisal Date" field in an employee's record or an Odoo appraisal form.
Appraisal Template:To standardize the appraisal procedure and guarantee uniformity in the gathering of feedback, Odoo permits the usage of appraisal templates. These templates may contain pre-made areas for private notes, skills evaluation, manager and employee feedback, and more.
Job Position: The employee's current job position, as listed in their employee profile, is used to automatically fill out the "Job Position" column when creating a new assessment in Odoo.
Department: From the drop-down menu, choose the employee's department. If the employee has a department selected on their employee profile, this area will automatically fill up after the employee is chosen.
Company: From the drop-down menu, choose the worker's employer. If the person has a company listed on their employee profile, this field will automatically appear after they are selected panel.
Now, you have the Appraisal tab and private note tab, as in the image below.
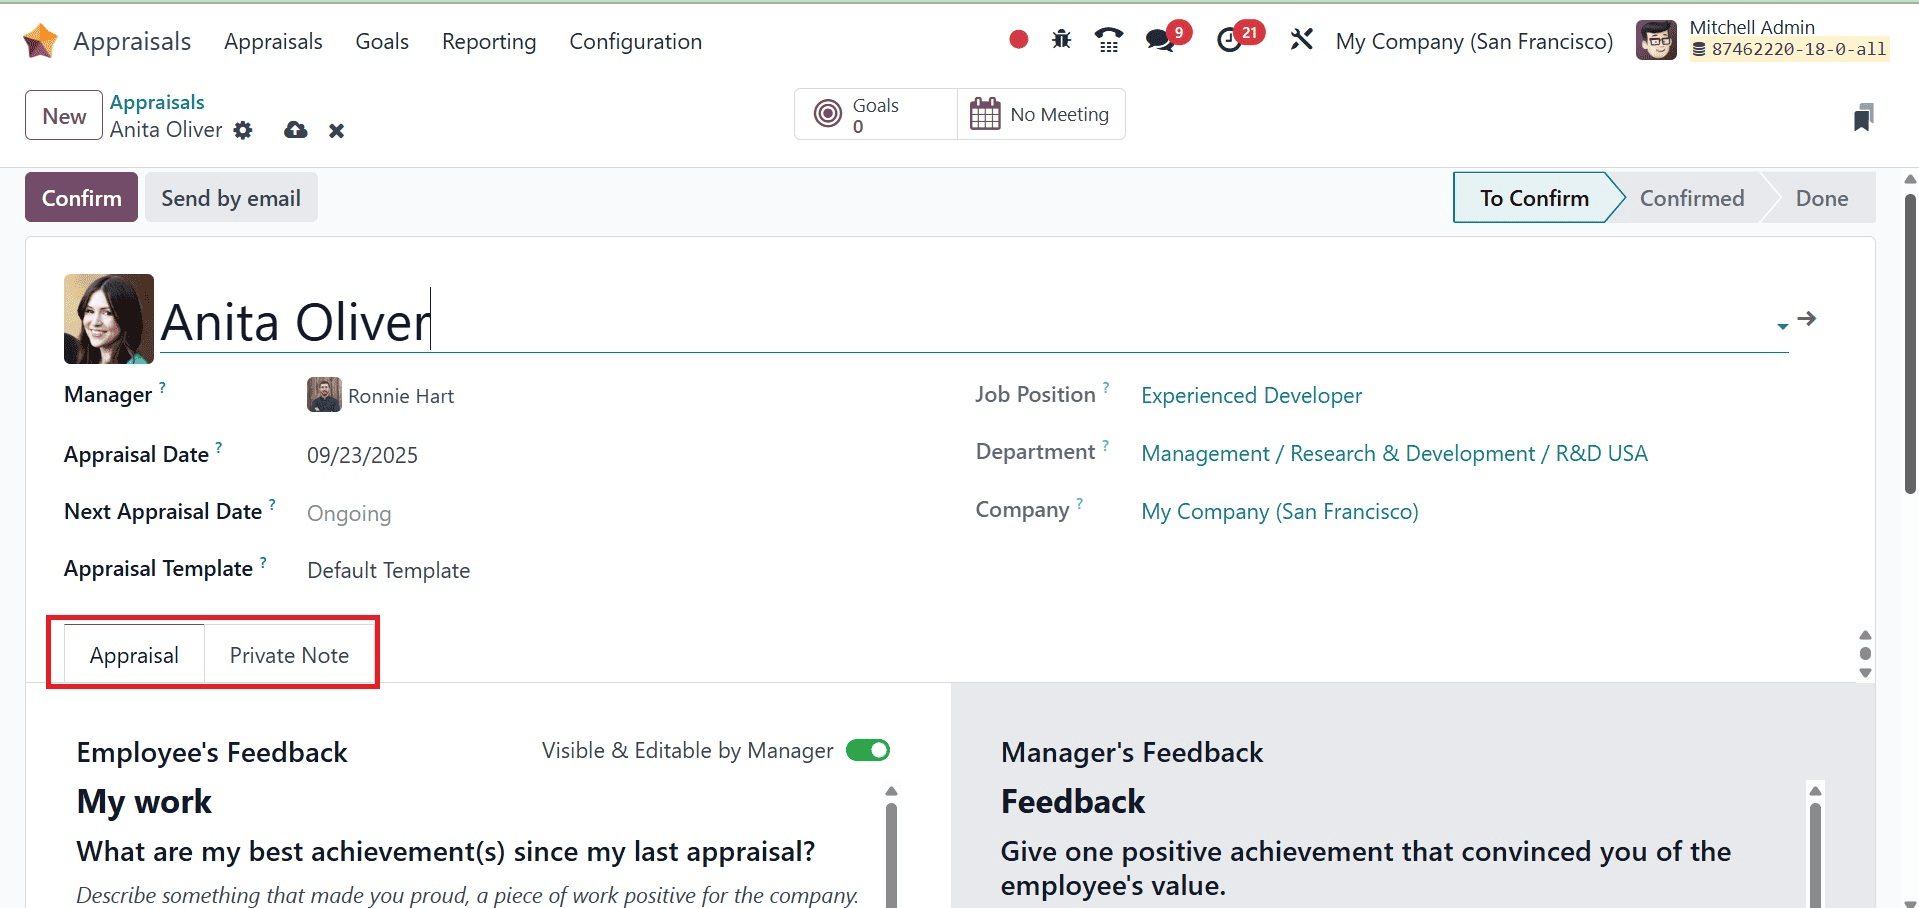
Under the Appraisal tab, you have the options like:
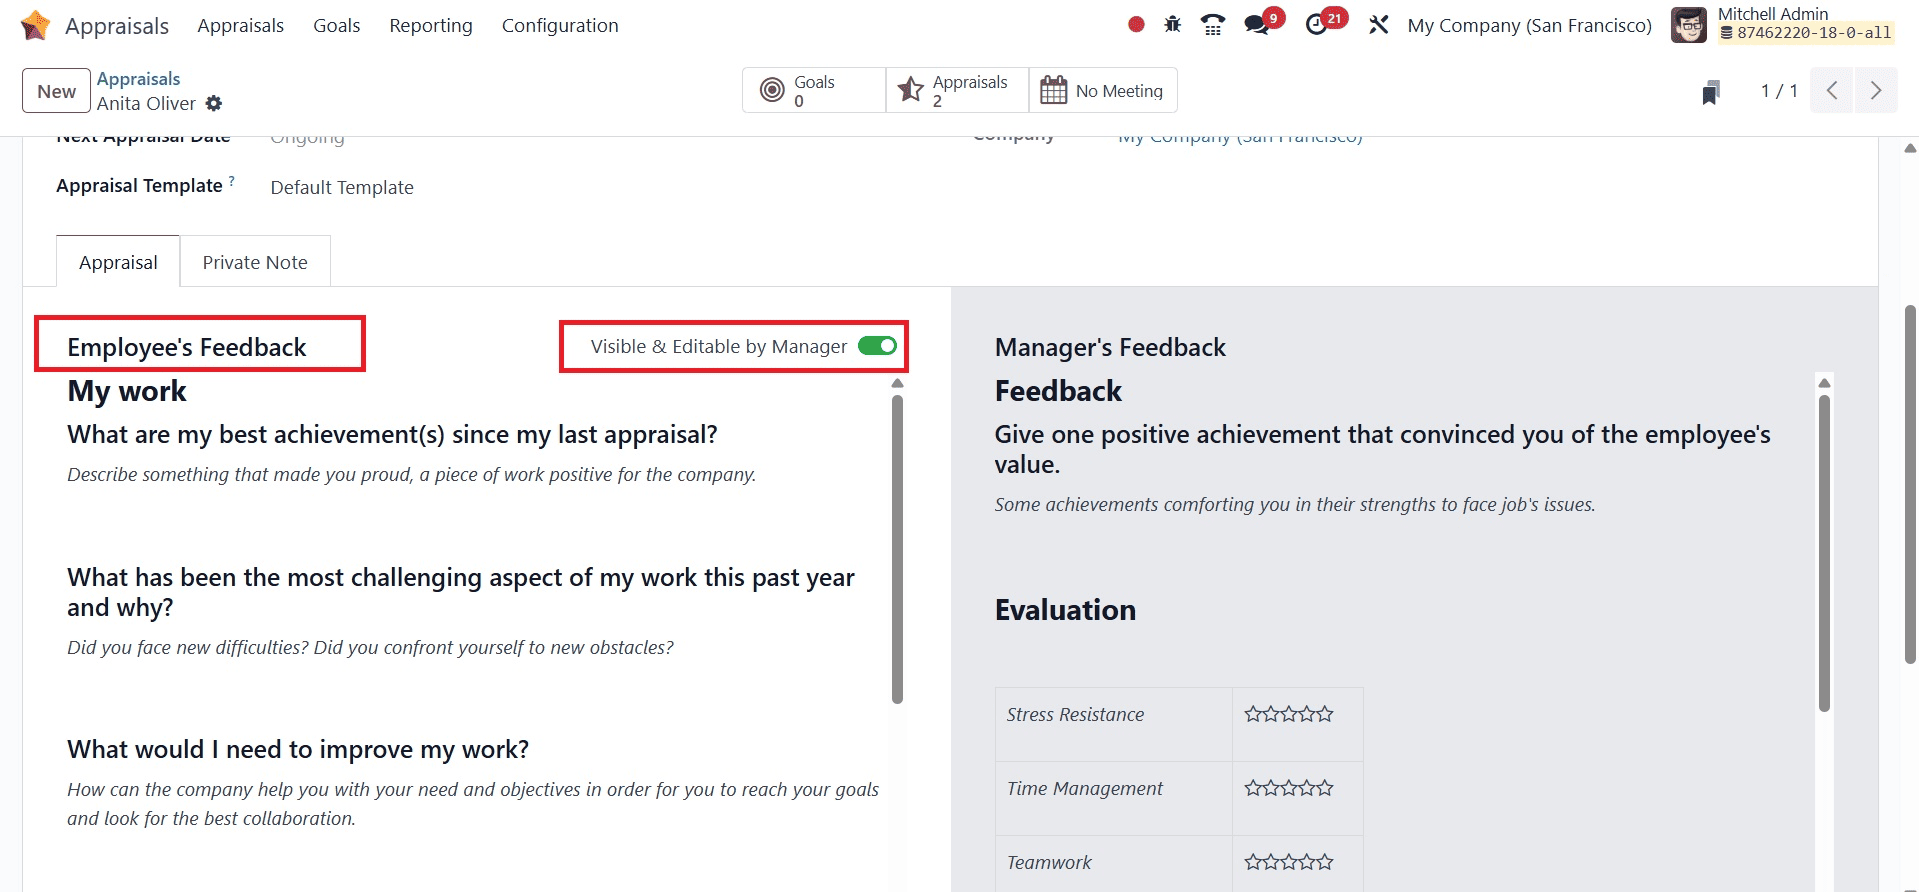
Employee Feedback: To access the appraisal form, click on the appraisal. Answers should be entered in the Appraisal tab's Employee's Feedback box. Click the Not Visible to Manager toggle (which is the default setting once an assessment is confirmed) when finished. The toggle becomes Visible to Manager when it is clicked.
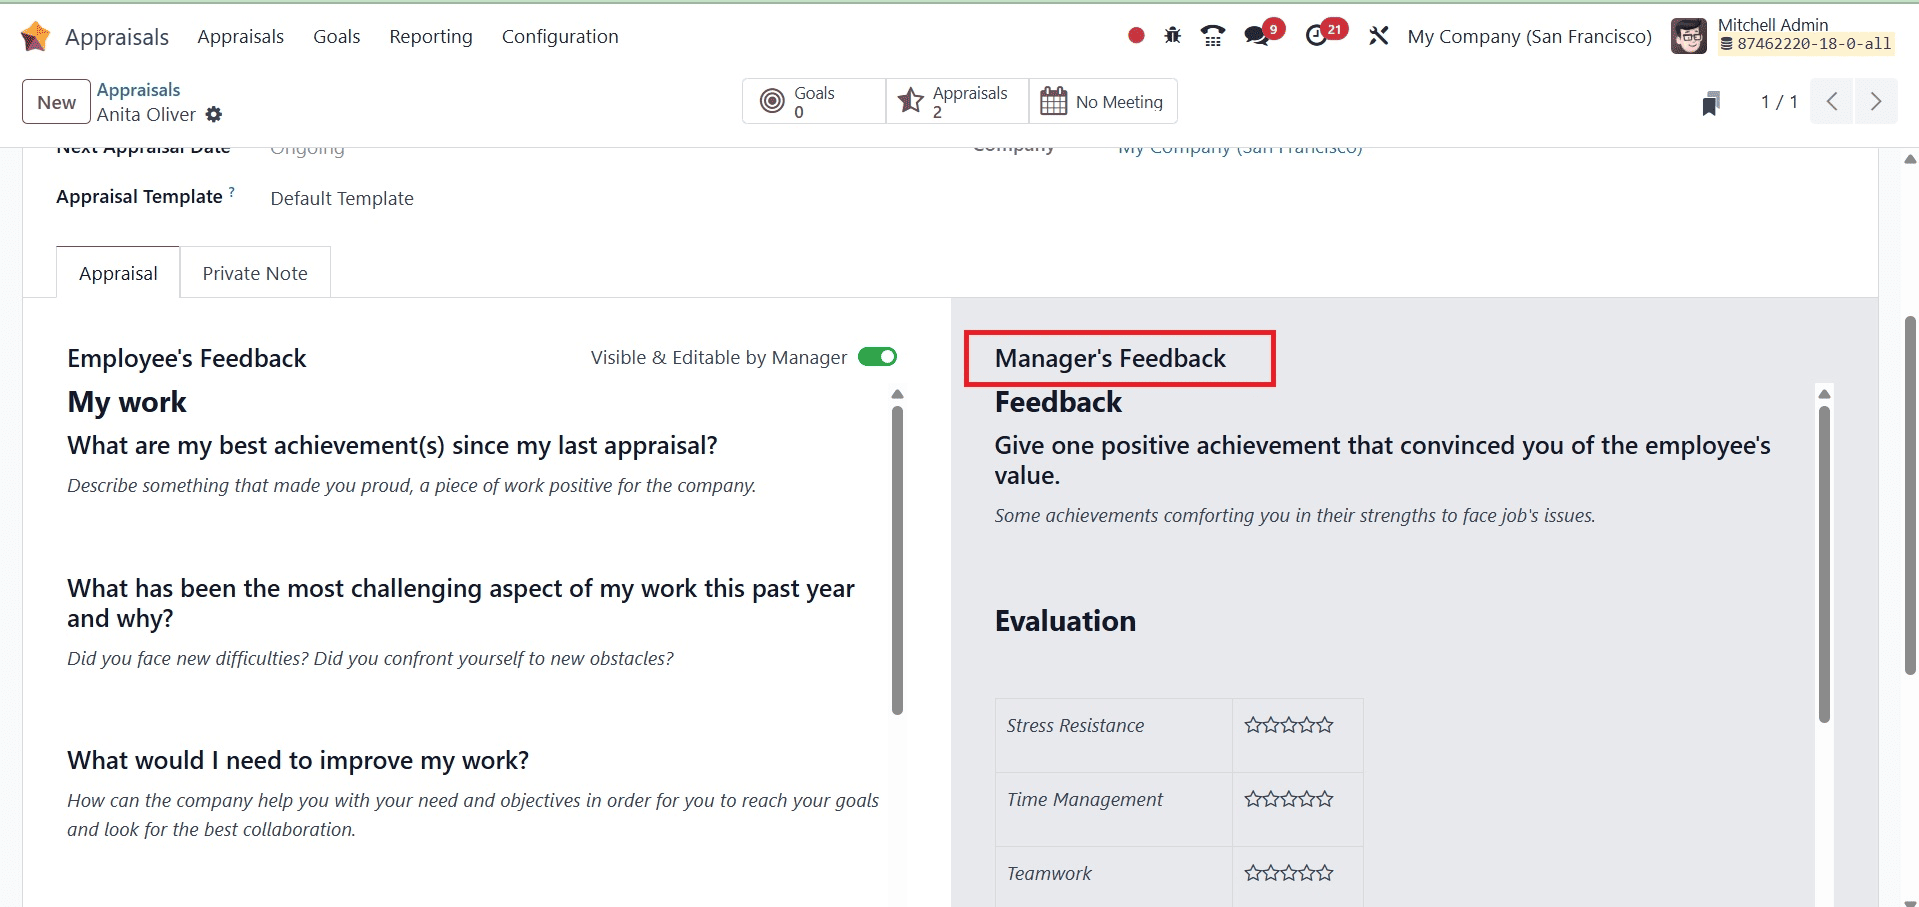
Manager's Feedback: It's time for the manager to complete the Manager's Feedback area under the Appraisal tab after the employee has finished the Employee's Feedback portion.
The management follows the same procedure as the employee when entering their answers in the fields.
Click the Not Visible to Employee toggle (which is the default setting once an evaluation is confirmed) after finishing the feedback section. The toggle becomes Visible to the Employee when it is clicked
The next tab is Private Note tab is where managers can enter remarks that are only viewable to other managers. This can be completed either prior to or following the employee meeting to go over the appraisal.
This tab is not accessible to the employee undergoing evaluation, nor does it show up on their appraisal.
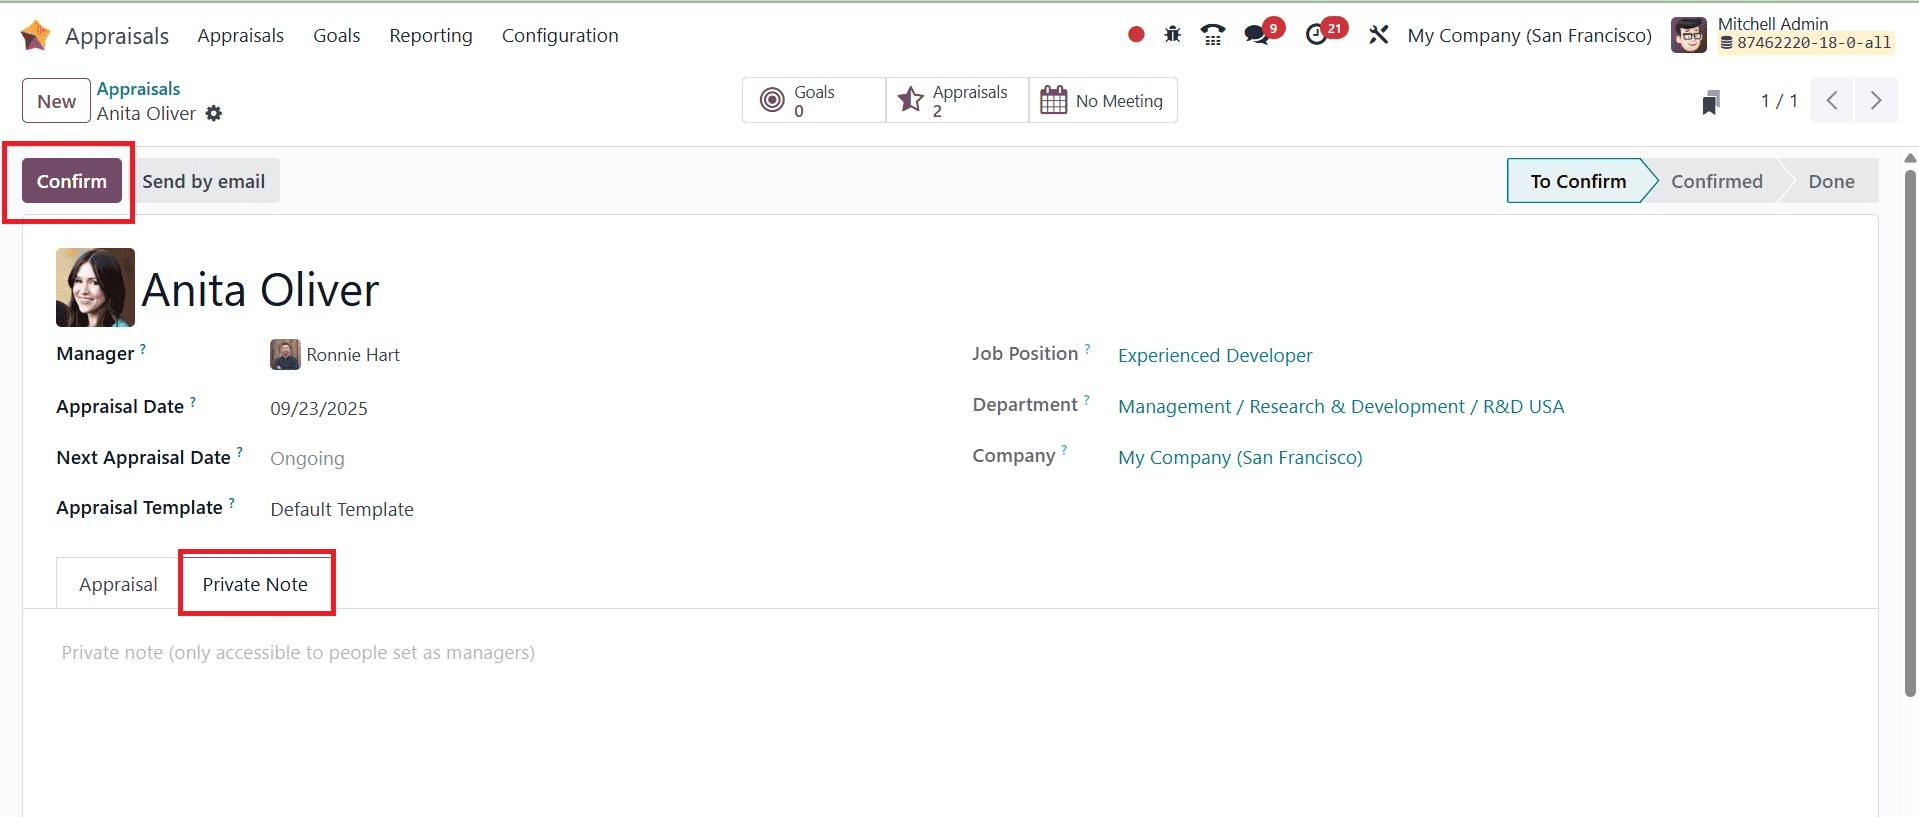
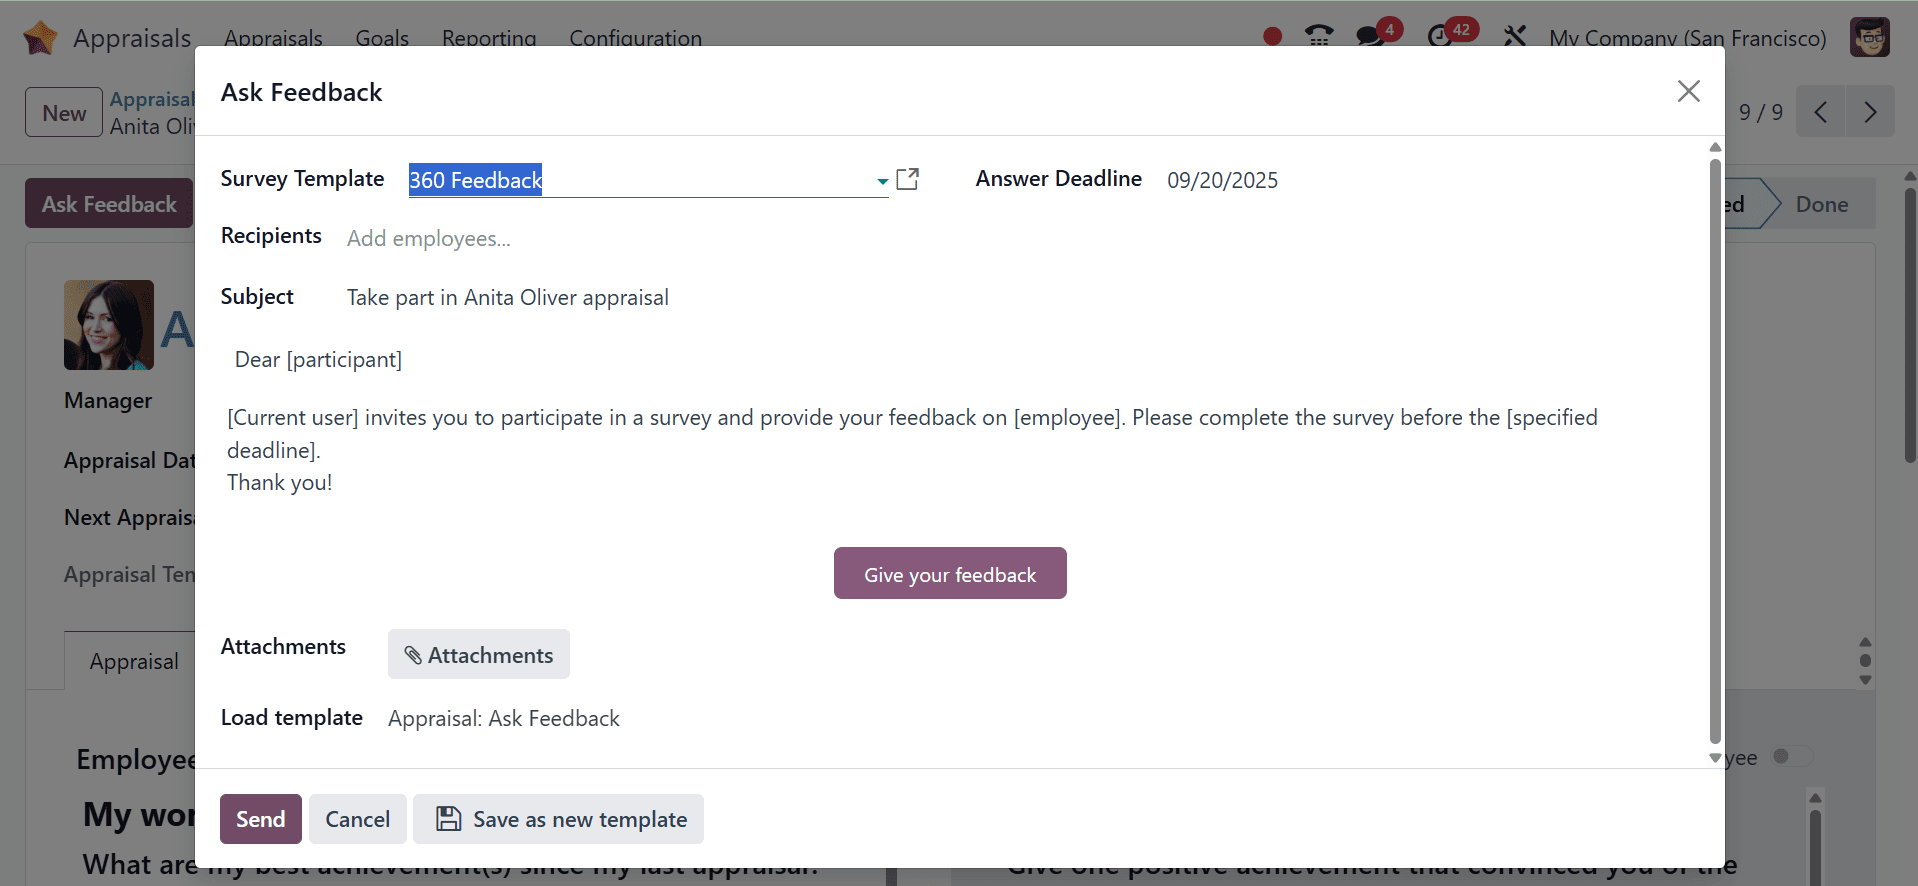
By using the Confirm icon, it is easy to verify the employee evaluation. Once the appraisal has been confirmed, click the "Ask Feedback" button to get input from the company's employees.

The popup window with the email template will then open. which shows the survey template, the message, and the deadline for the subject response. Click the Send button after adding the personnel to the Recipient section to gather their input.
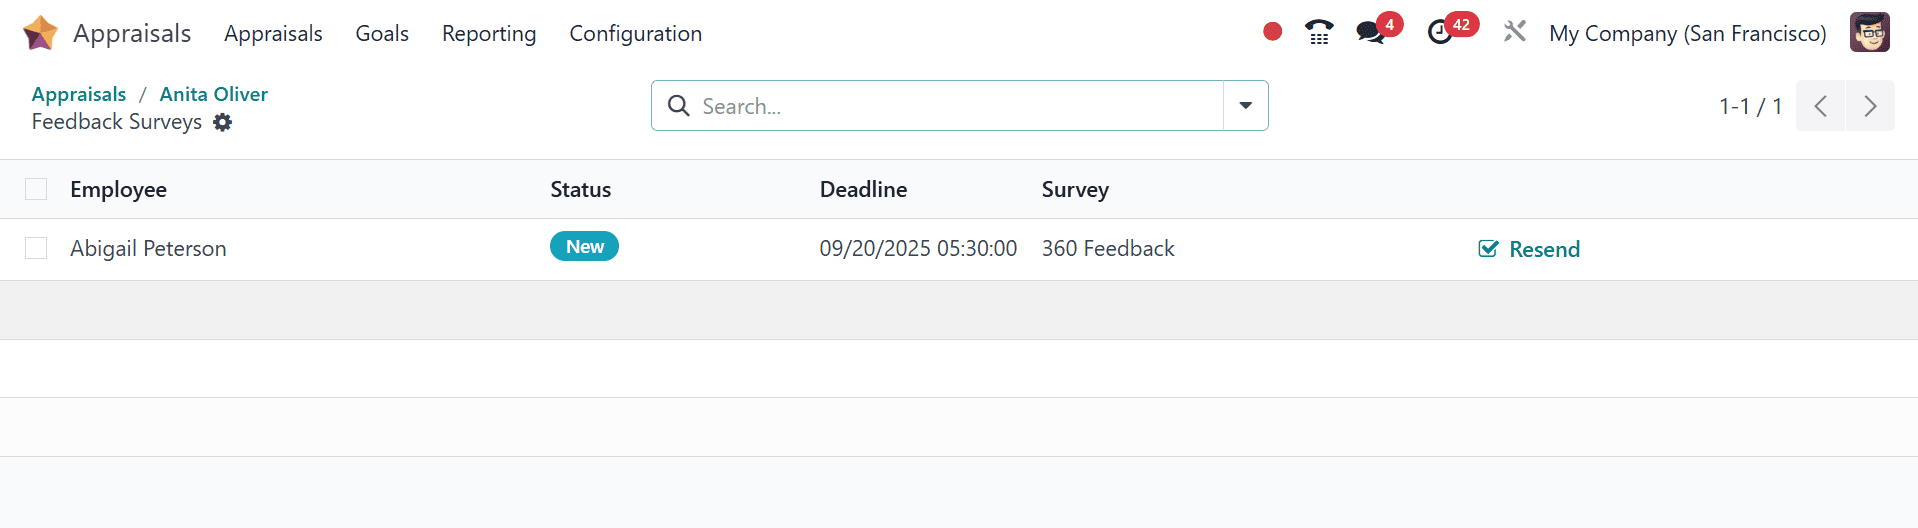
After that, a new smart tab named Feedback will appear on the appraisal form. From that smart tab, you will be able to access all of the feedback's information.
Details like the employee, status, deadline, and survey are shown. Based on the status, the user can instantly understand the feedback stage. By selecting the Resend option, you may then decide to send the employee's feedback email once more.
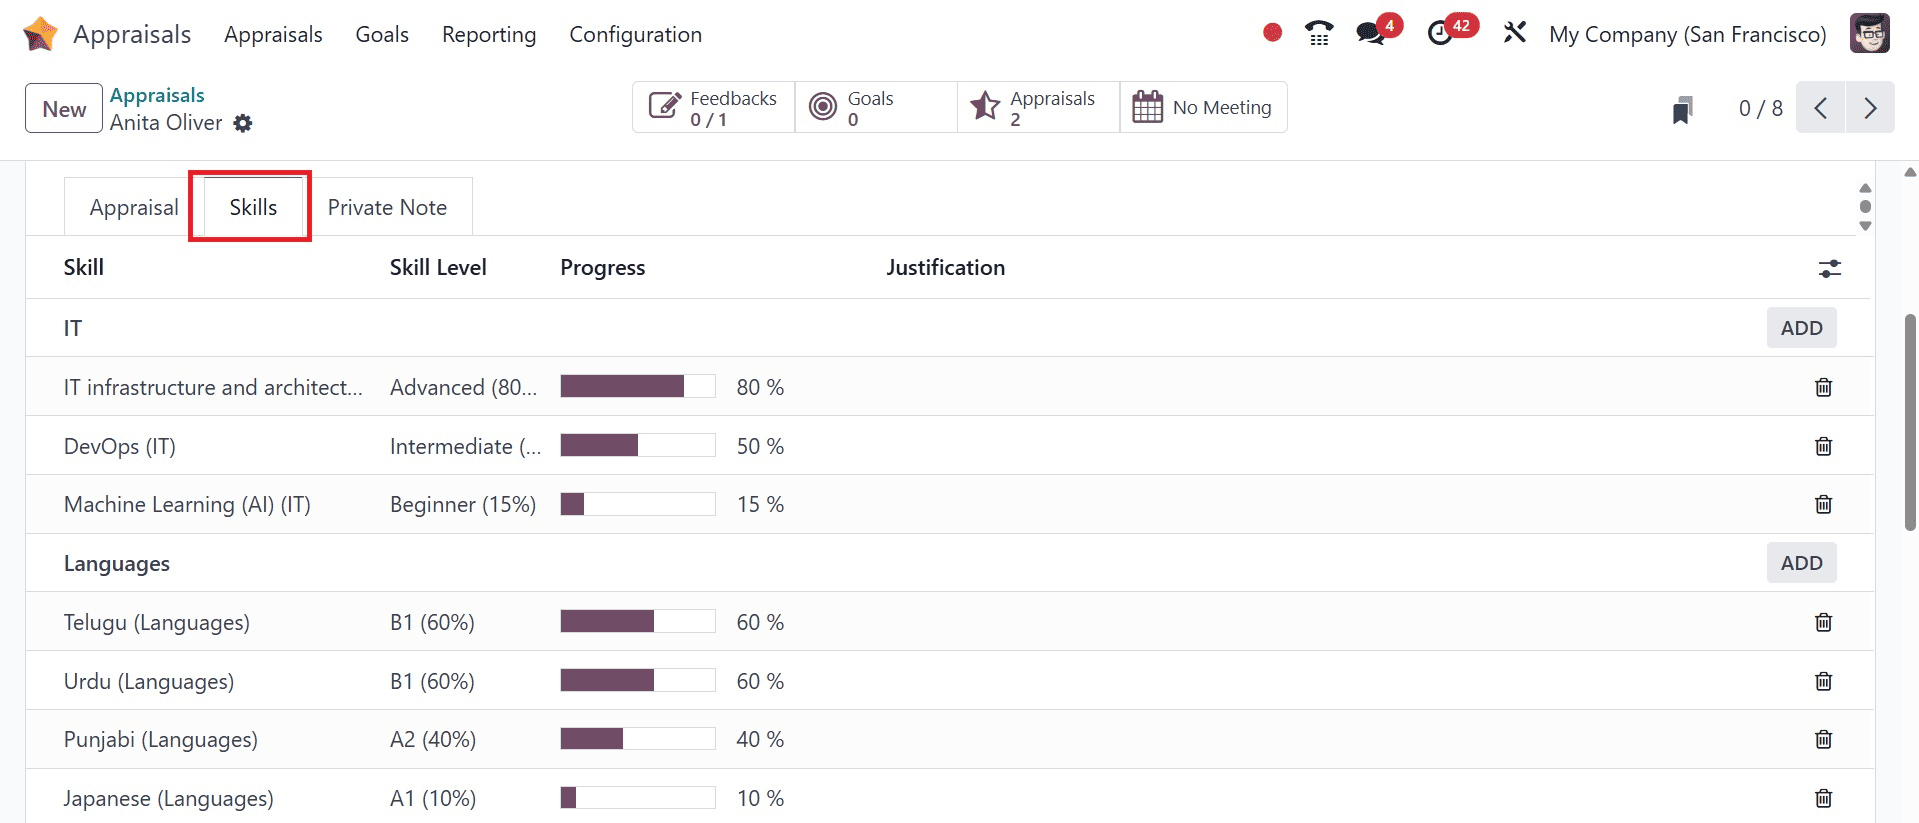
After choosing the CONFIRM icon, the employee's skill under the Skills tab becomes active. Users can check each skill level an employee has and create a new one by clicking the create icon.
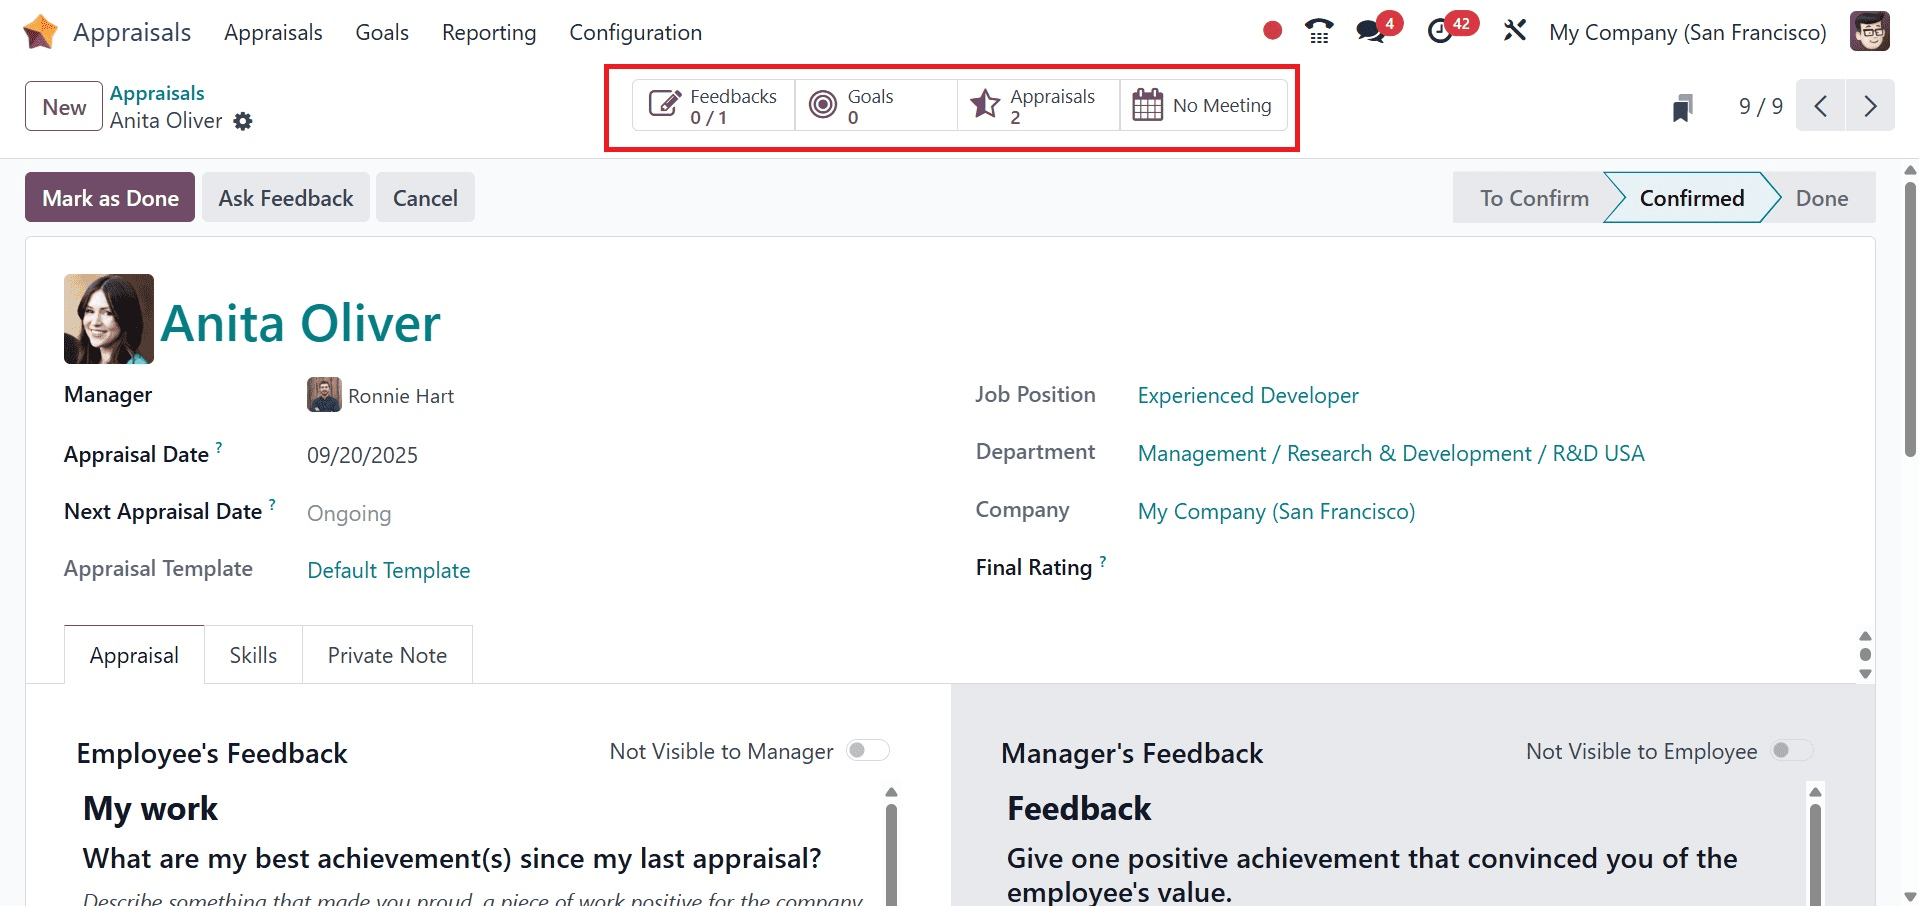
Underneath the appraisal area, management and employee feedback can be managed. The total number of appraisals is also accessible through the Appraisals smart button. We may view the goals for employees by clicking on the Employees Goals smart button.
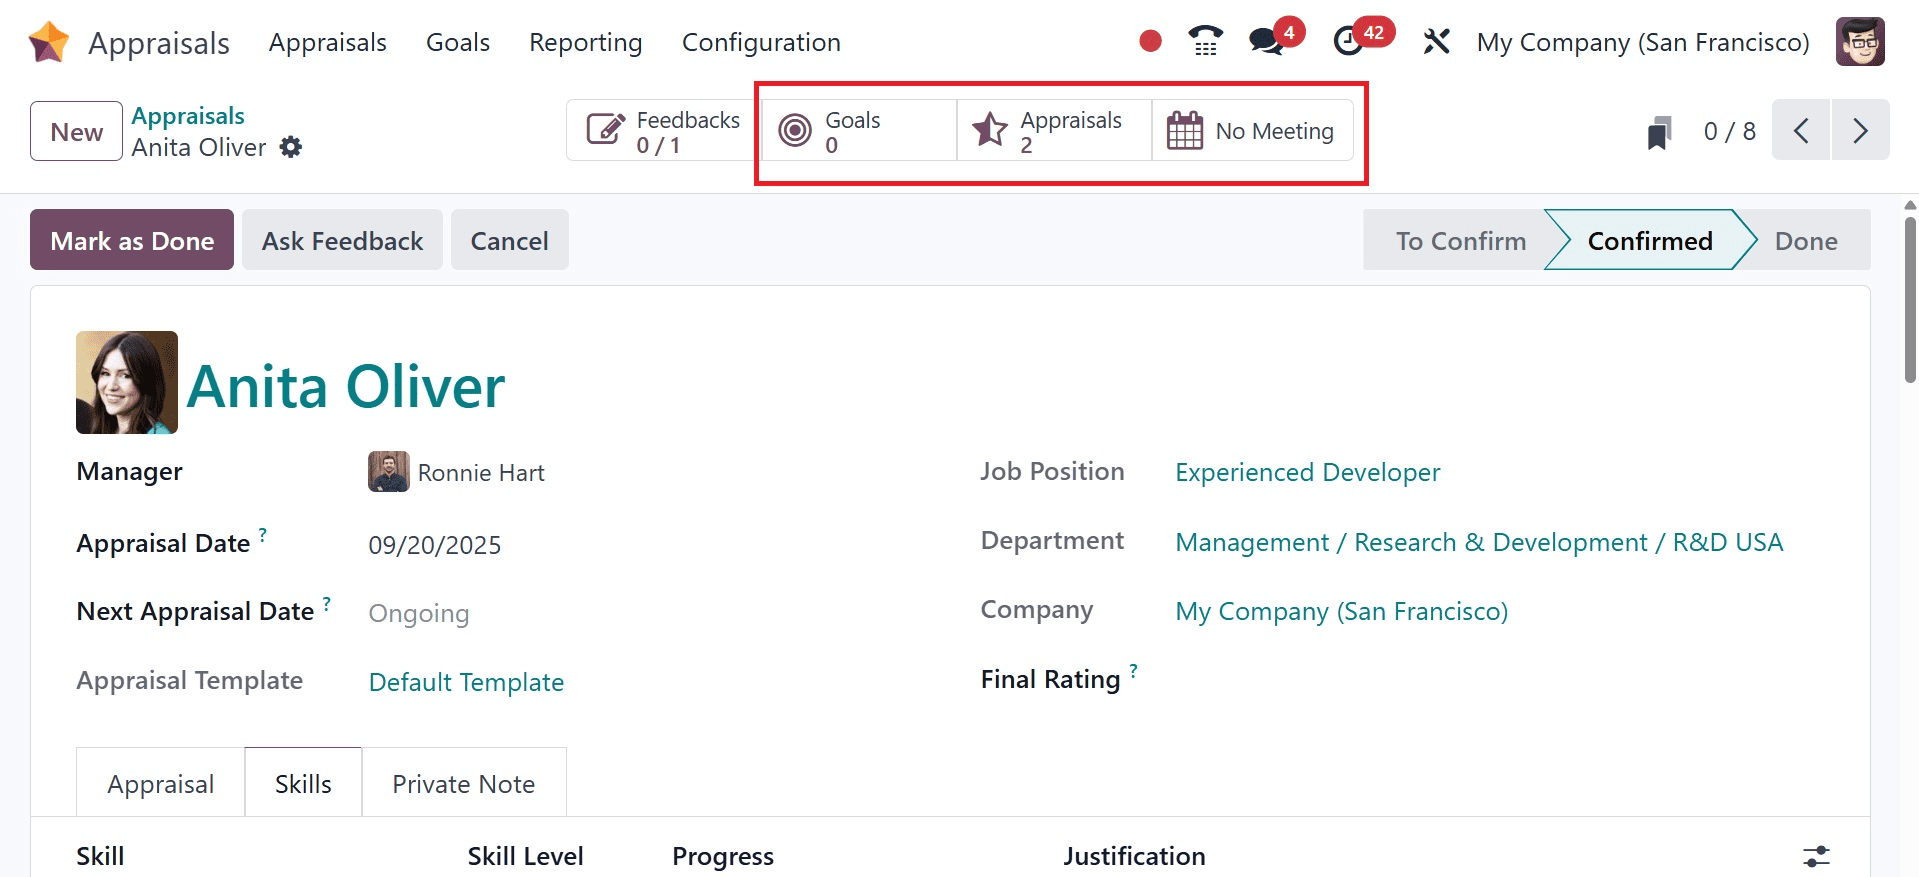
Additional information regarding the appraisal can be added in the Private Note section. To schedule a meeting, click the Appraisals box's No Meeting smart button. Once you have control over every aspect of your appraisal, you can use the Mark as Done symbol to indicate that it is finished.
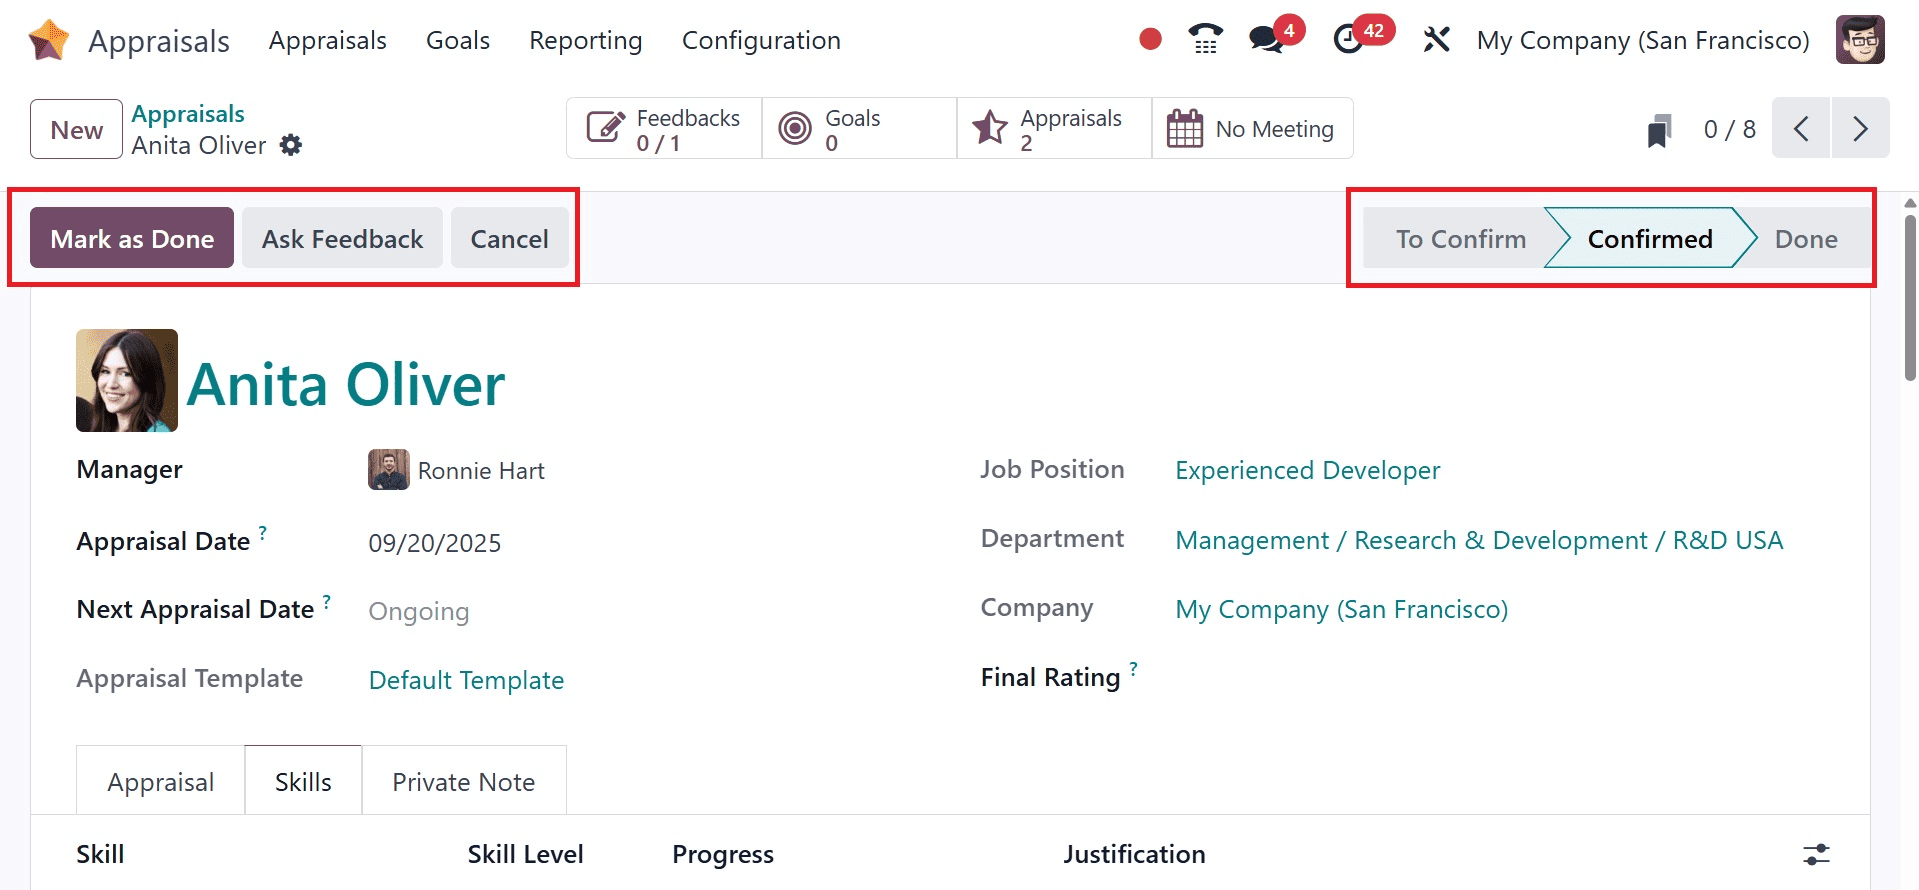
This will mark the appraisal stage as completed. To get any feedback, click the Ask Feedback option in the Appraisals window. As such, defining employee assessment in Odoo 18 is straightforward.
Goals
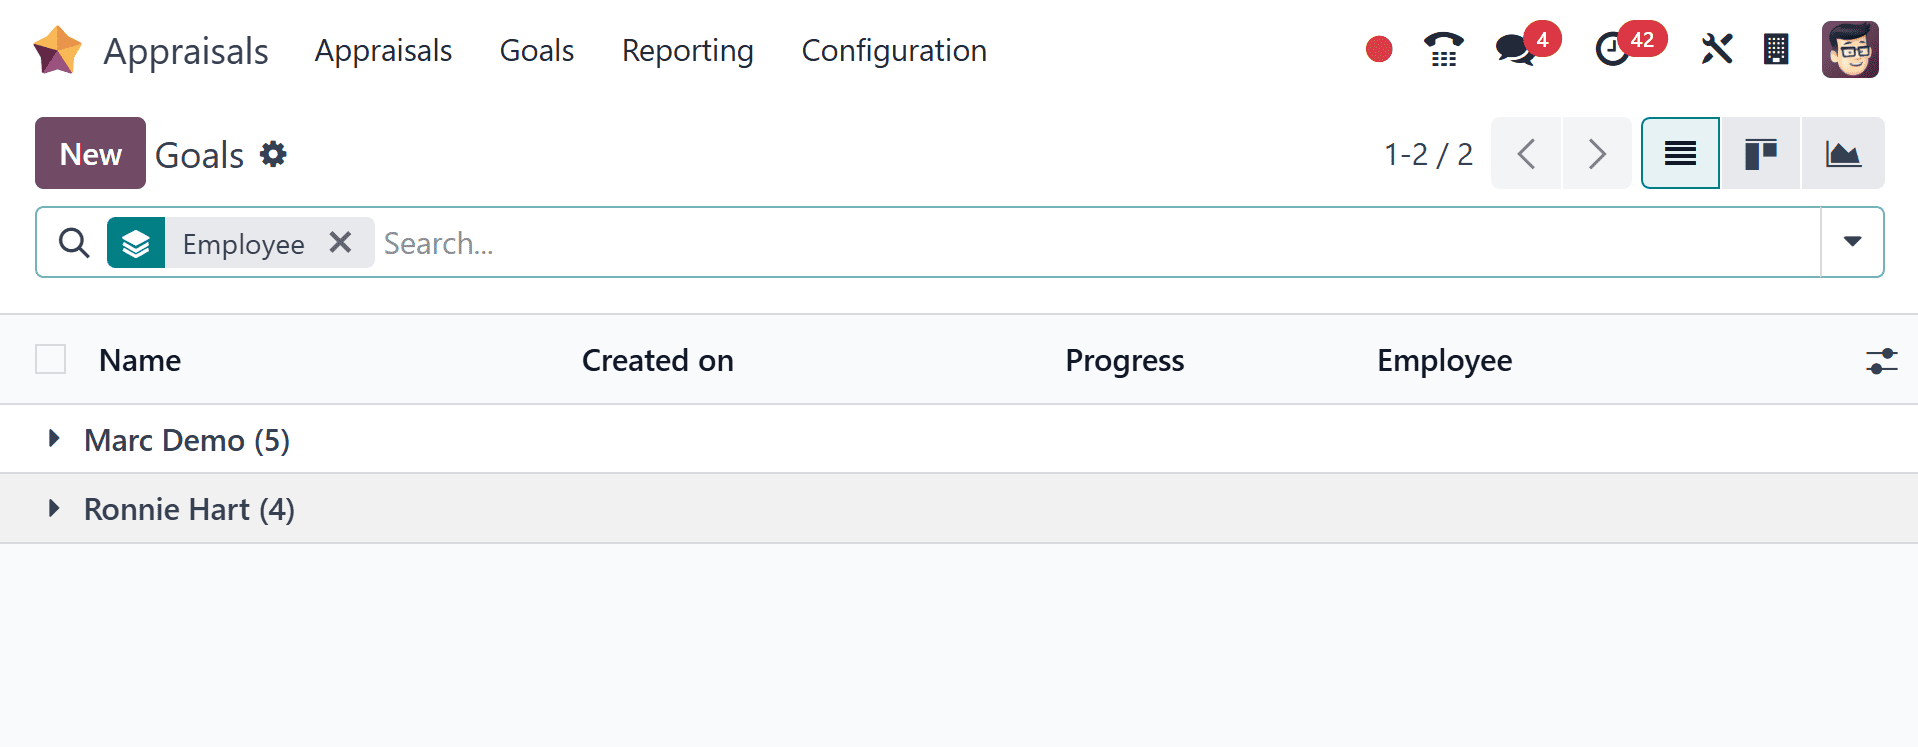
Employee involvement depends on the attainment of corporate goals, which differ from business to business. With Odoo 18, employees can be assigned a range of objectives. Therefore, evaluating how individuals are contributing to corporate goals is advantageous for organizations. Select the Goals tab in Odoo 18's Appraisal module.
The Name, Date, Employee name, Progress, and other details are displayed in the Kanban view of the Goals window. The New button allows users to set a new objective.
On the new screen, you can choose the assigned employee and apply the main objective.

Employee progress might be shown as 0%, 50%, 25%, 100%, or 75% of the total amount needed to reach the target. Manager and Deadline can then be added in the Goals window.
Inside the Description tab, you may enter further goal-related details. After entering each piece of information, you can click the Mark as Done icon. Odoo 18 quickly and automatically stores all of the data.
The Oodo 18 Appraisal module makes it easy to do the employee appraisal, which is hence essential.
To read more about How Employee Appraisals Can Be Done With Odoo 18, refer to our blog How Employee Appraisals Can Be Done With Odoo 18