Google Chrome extensions, which add modest, targeted functionality straight to the browser, are an excellent way to increase productivity. A Chrome plugin can give Odoo users and consultants rapid access to an Odoo instance without the need to navigate bookmarks or constantly type URLs.
This blog will teach us how to build a basic Chrome extension from scratch that lets users launch an Odoo instance with only one click. This example is beginner-friendly and requires only basic knowledge of HTML, JavaScript, and JSON.
Folder Structure
We must correctly arrange our Chrome extension files before writing any code. Each file in a Chrome extension has a distinct function and adheres to a particular structure. Maintaining the extension's simplicity, readability, and ease of maintenance can be achieved by starting with the proper folder structure.
For the Chrome addon, make a folder like this:
odoo_chrome_extension/
+-- manifest.json
+-- popup.html
+-- popup.js
+-- icon.png   (optional)
Each file has a specific role:
- manifest.json - configuration file for the add-on for Chrome.
- popup.html - The user interface is displayed when you click the extension icon.
- popup.js - Button operations using JavaScript logic.
- icon.png - Optional icon for an extension.
Step 1: Create the Manifest File
Basic details regarding the extension are defined in the manifest.json file.
manifest.json
{
  "manifest_version": 3,
  "name": "Odoo Quick Access",
  "description": "Quickly open Odoo from Chrome",
  "version": "1.0",
  "action": {
    "default_popup": "popup.html"
  }
}
The Chrome extension's basic setup is specified in the manifest.json file. The extension employs version 3, which is the most recent standard that Chrome supports, according to the manifest_version. While the description field gives a brief synopsis of the extension's function, the name field controls how the extension displays in the Chrome Extensions list. The HTML file that appears when the user clicks on the extension icon is specified by the default_popup attribute.
Step 2: Create the Popup HTML
The popup user interface is created using simple HTML and CSS.
popup.html
<!DOCTYPE html>
<html>
<head>
    <meta charset="UTF-8">
    <title>Odoo Quick Access</title>
    <style>
        body {
            font-family: Arial, sans-serif;
            width: 200px;
            padding: 10px;
        }
        button {
            width: 100%;
            padding: 8px;
            background-color: #875A7B;
            color: #ffffff;
            border: none;
            cursor: pointer;
        }
        button:hover {
            background-color: #6f4b65;
        }
    </style>
</head>
<body>
    <h3>Odoo</h3>
    <button id="openOdoo">Open Odoo</button>
    <script src="popup.js"></script>
</body>
</html>
The popup.html file opens a simple pop-up window when the Chrome extension icon is clicked. It uses Odoo-inspired color styling to provide a recognized look and feel for Odoo customers. The pop-up's single button allows users to quickly start their Odoo instance with only one click.
Step 3: Add JavaScript Logic
Now use popup.js to add functionality.
popup.js
document.getElementById("openOdoo").addEventListener("click", function () {
    chrome.tabs.create({
        url: "https://your-odoo-url.com"
    });
});
Use your real Odoo URL, such as an Odoo.sh instance, a production server, or a local development environment, in place of https://your-odoo-url.com. The script starts a new browser tab, waits for the click event, and takes the user straight to the Odoo web interface when the user presses the button.
How to Load the Extension in Chrome
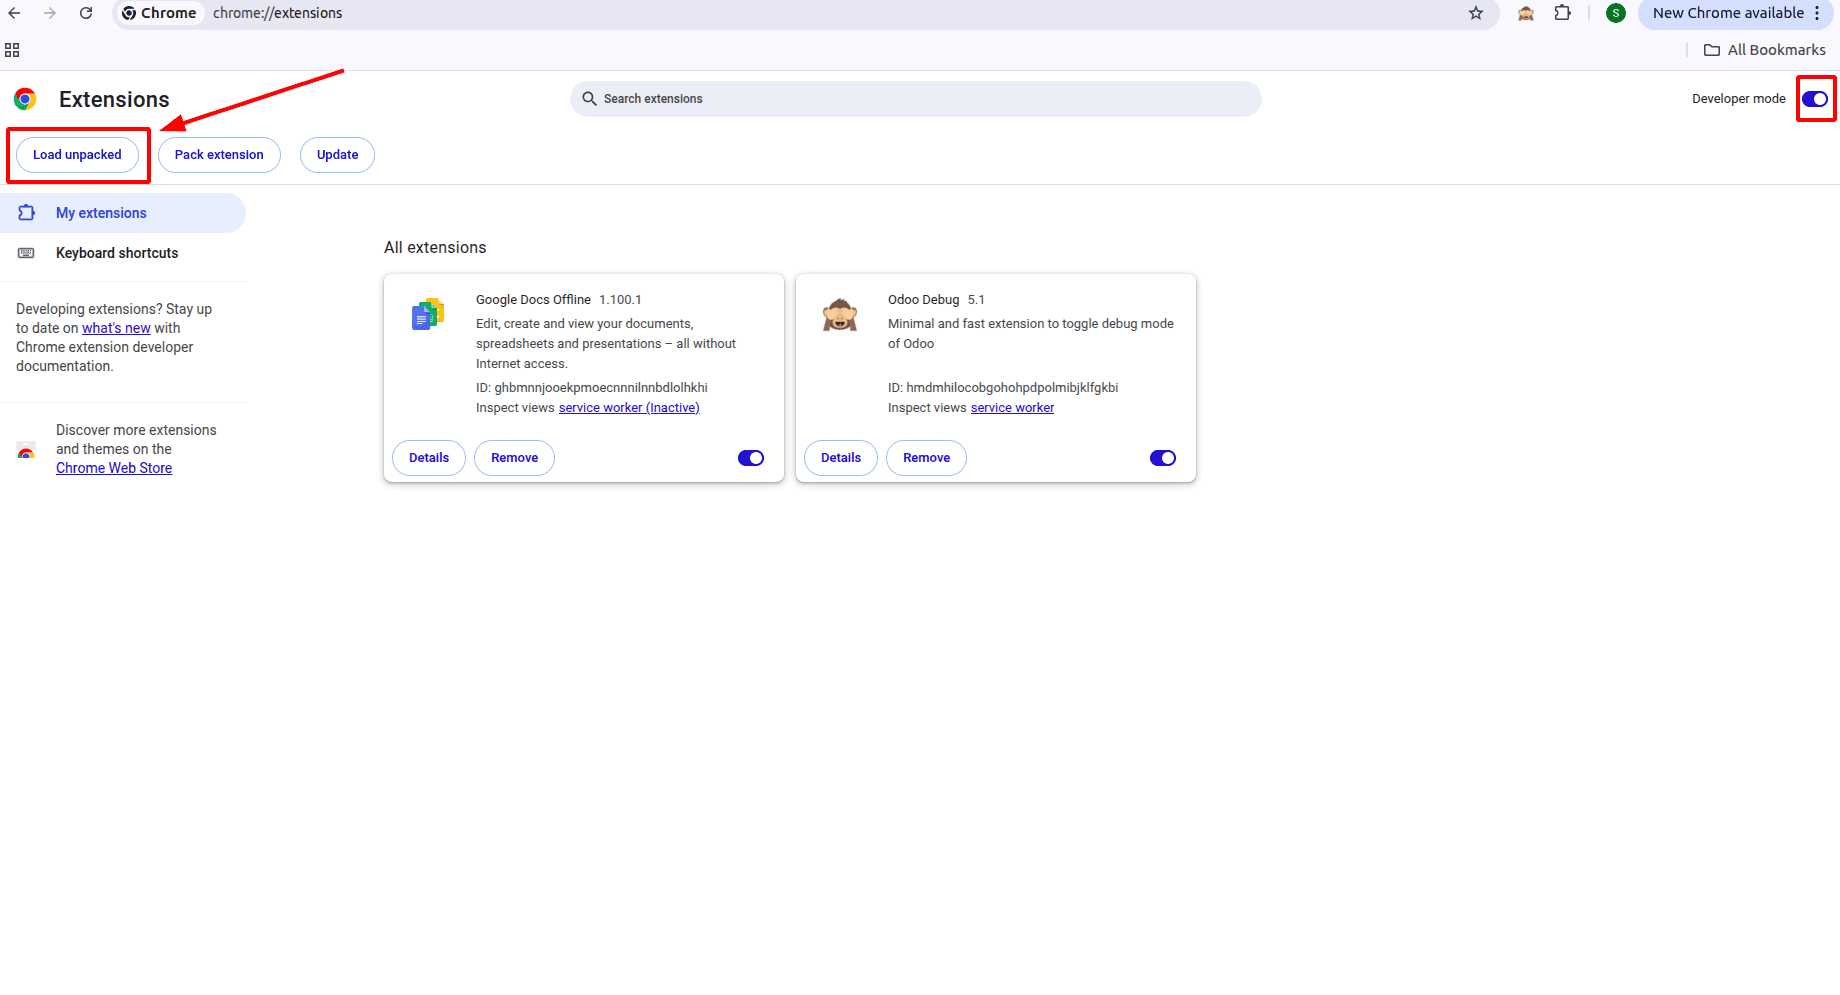
Open Google Chrome and navigate to chrome://extensions. Enable Developer mode from the top-right corner, then click Load unpacked and select the odoo_chrome_extension folder.
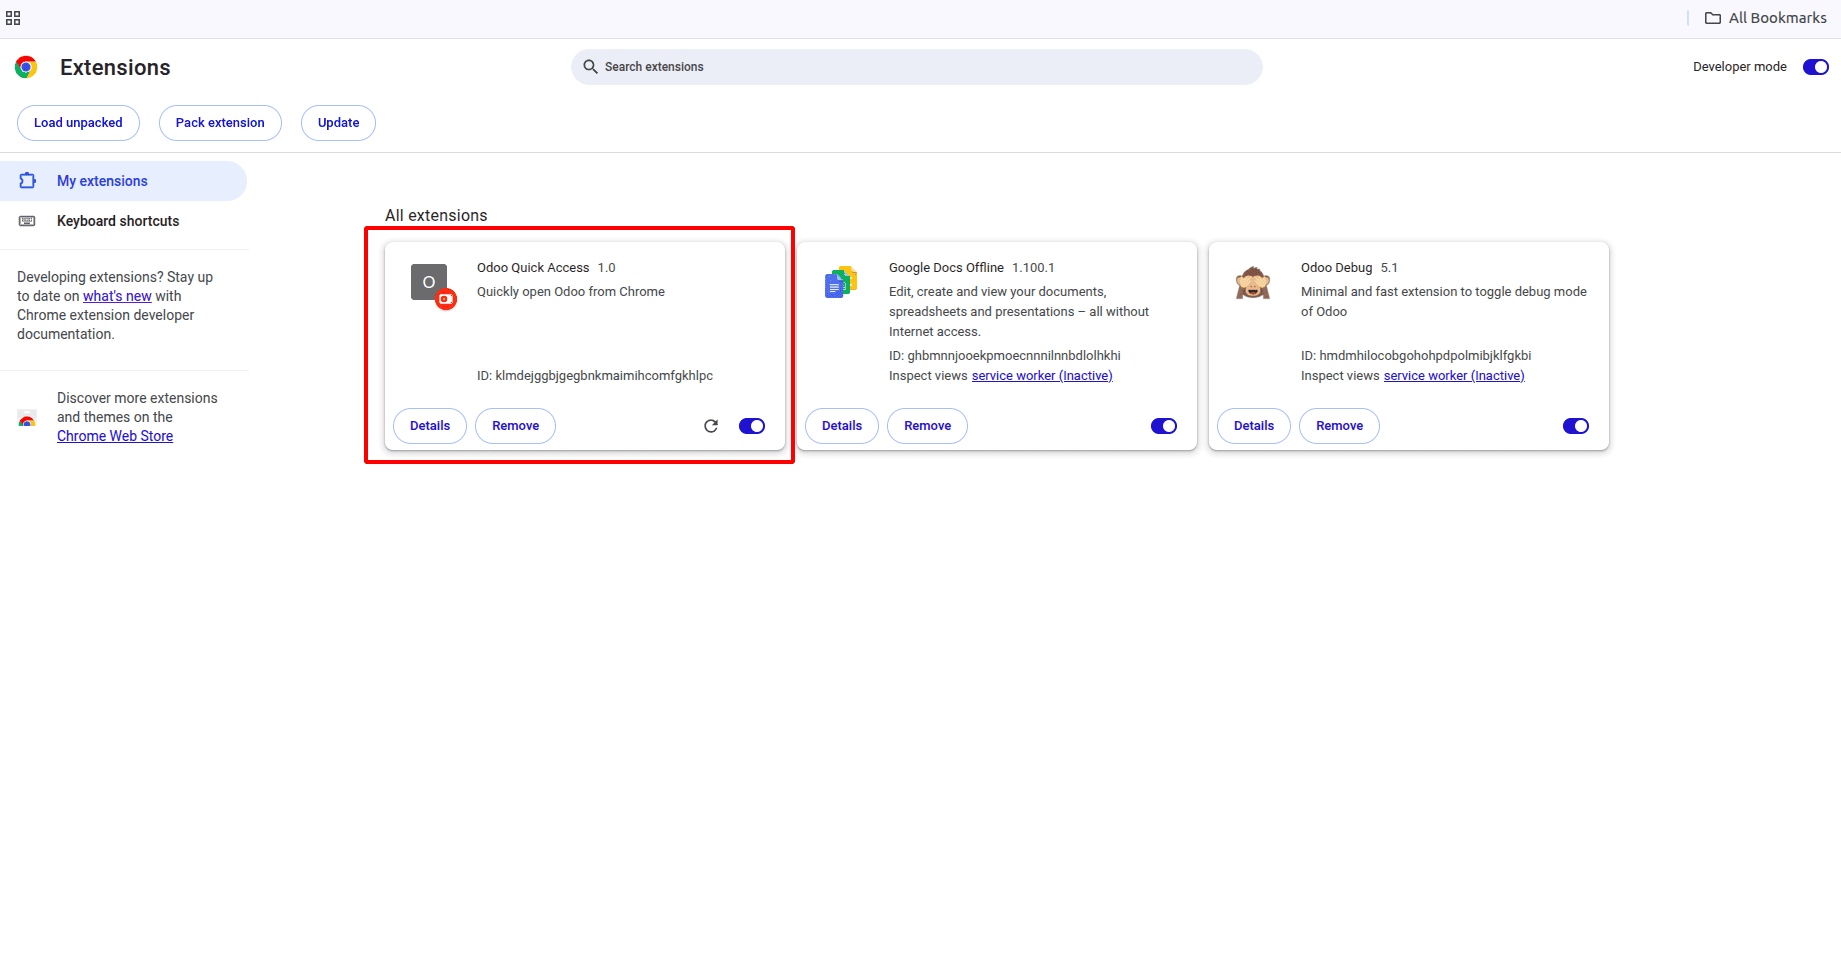
Once loaded, the extension appears in the Chrome extensions page as shown below.
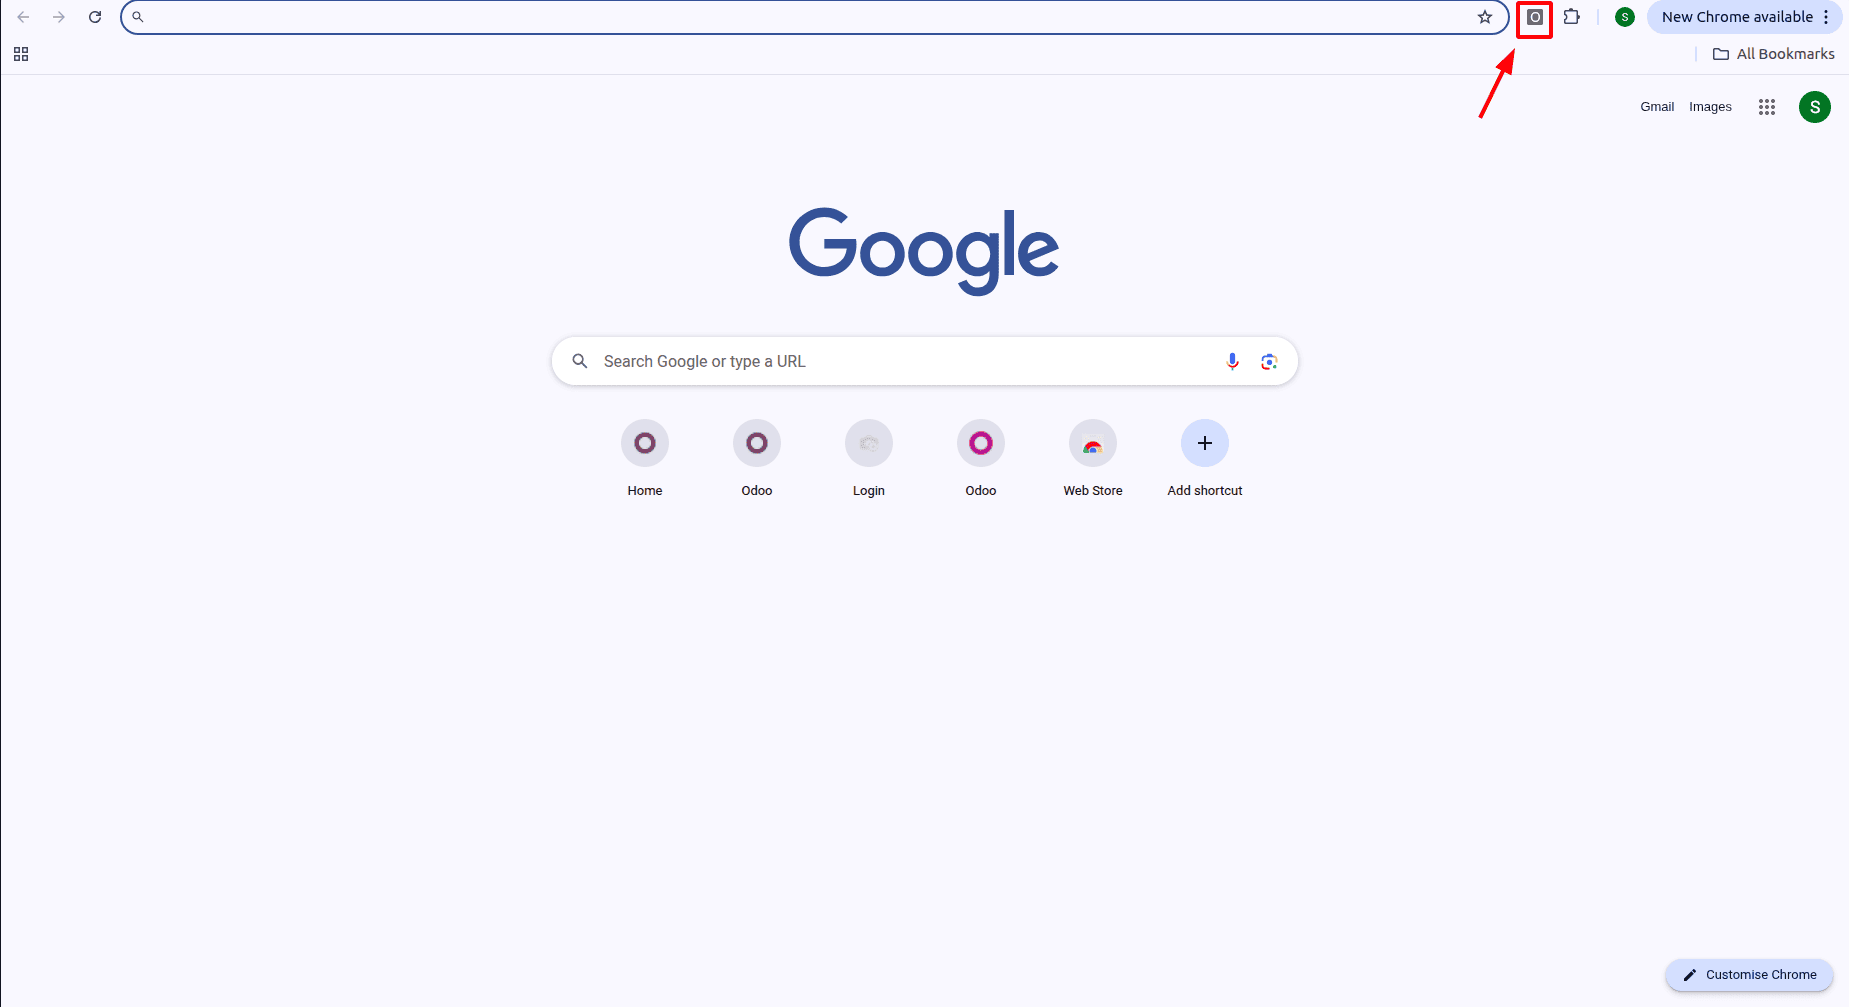
The extension will be available in the Chrome toolbar at the top of the browser, as shown below.
When clicked, the extension opens a pop-up allowing you to select Odoo, as shown below.
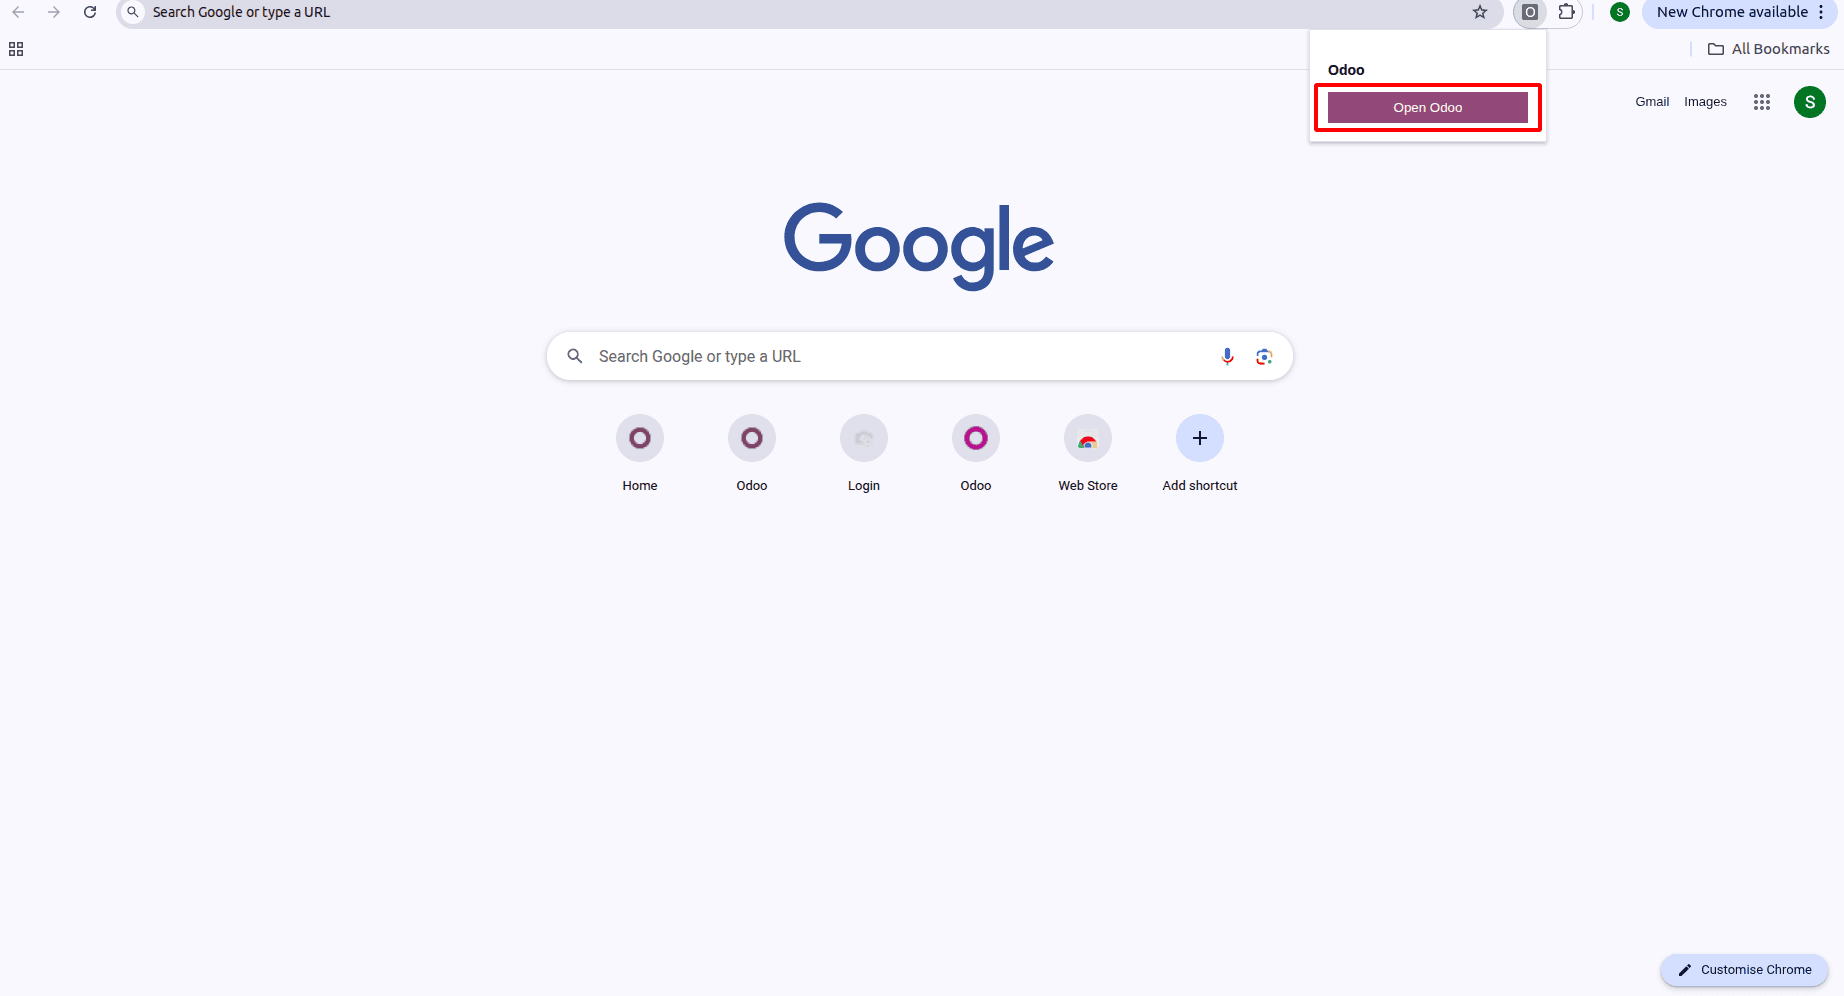
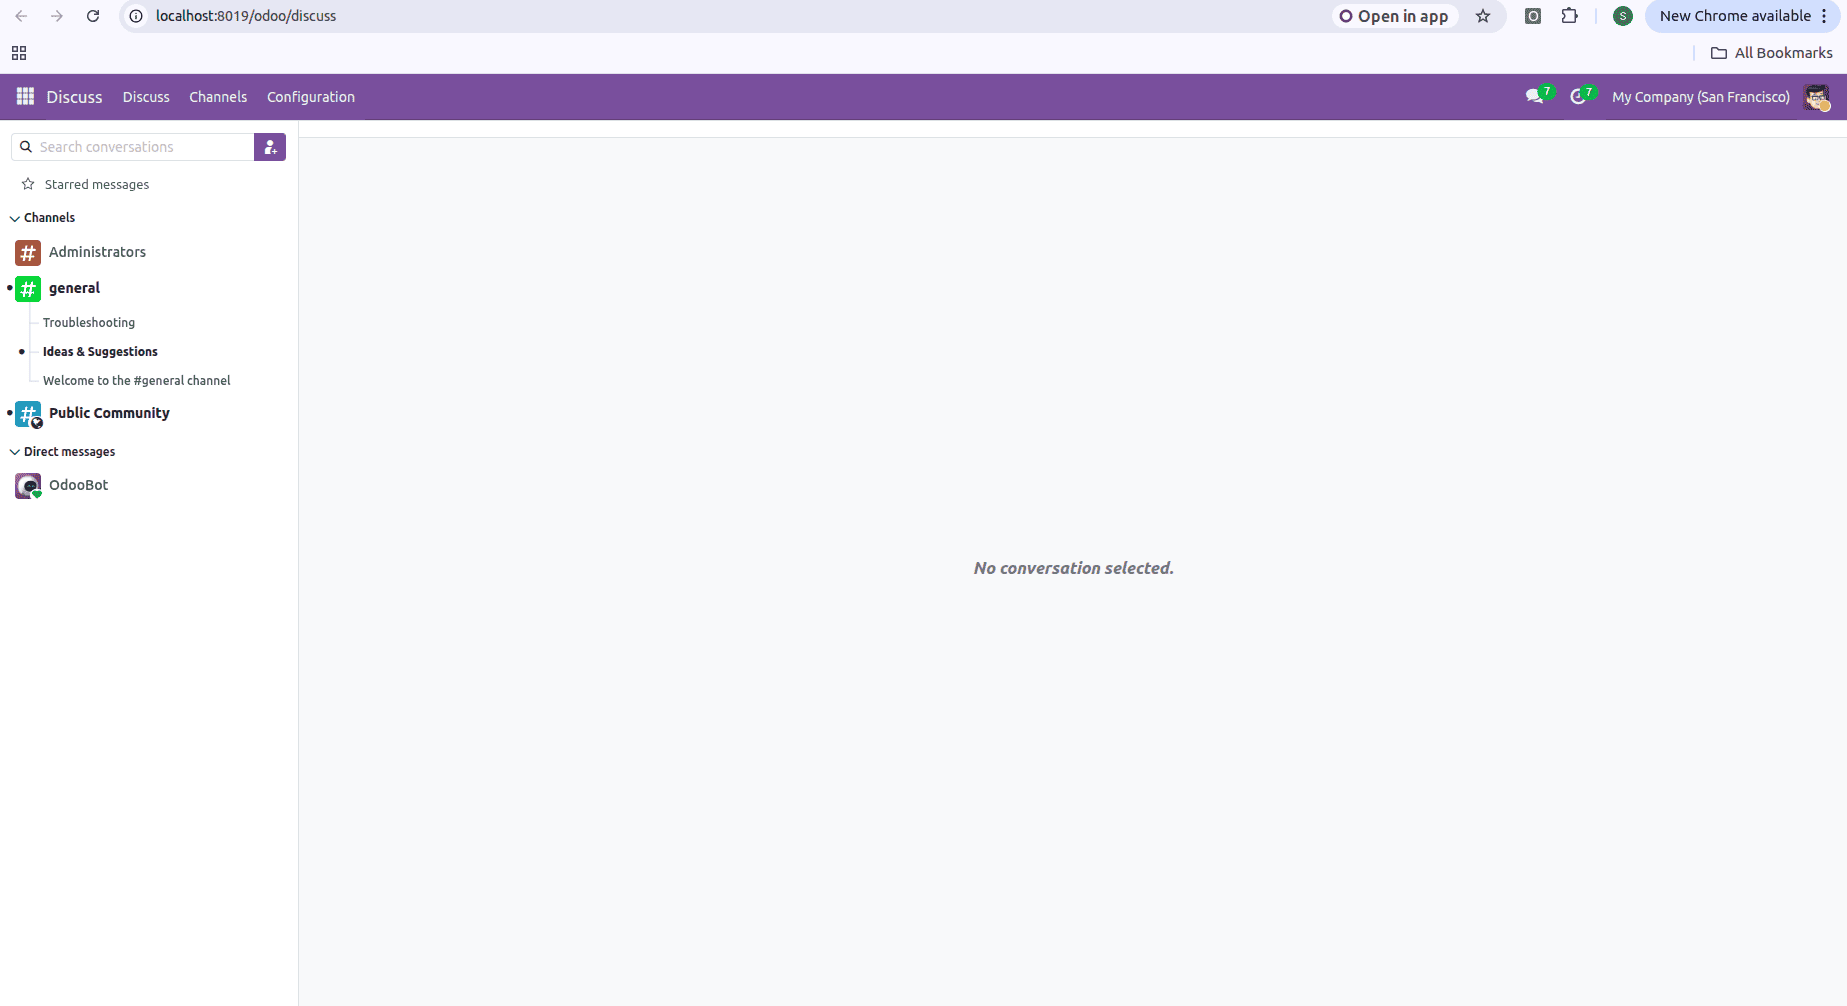
Upon clicking the Odoo button in the pop-up, the user is redirected to the corresponding Odoo URL, as shown below.
Once loaded, the extension is ready to use. To open your Odoo instance in a new tab, click the extension icon in the Chrome toolbar and choose Open Odoo.
This straightforward Chrome extension shows how a practical productivity tool may be created for Odoo users without adding needless complexity. The extension is a great place to start for anyone wishing to use browser extensions to improve their Odoo workflow because it stays lightweight, beginner-friendly, and simple to maintain by avoiding icons and complicated permissions.
To read more about Everything You Need to Know About Chrome Extension Development, refer to our blog Everything You Need to Know About Chrome Extension Development.