QWeb templates are used in Odoo 19 to generate sales orders and invoice reports. By default, product characteristics like price, quantity, and description are shown in these reports; however, product images are not included. Product graphics inside report lines assist clients in visually identifying items, increase branding, and improve document clarity.
The blog will provide use-case examples, code examples with concise explanations, pictures of the invoice and sale order reports, before-and-after comparisons, and a concluding part.
Step 1: Add Product Image in Sale Order Report
The QWeb template sale.report_saleorder_document is used to create the sale order PDF report. We take this template and add a new column next to the Description column to add product images. The Product Template model is used to dynamically retrieve the image.
Xml code:
<?xml version="1.0" encoding="UTF-8"?>
<odoo>
    <template id="sale_report_add_image_column_after_desc"
              inherit_id="sale.report_saleorder_document"
              priority="30">
        <!-- Add Image column header AFTER Description -->
        <xpath expr="//th[@name='th_description']"
               position="after">
            <th style="width:70px; text-align:center;">Image</th>
        </xpath>
        <xpath expr="//tr[@name='tr_product']/td[@name='td_product_name']"
               position="after">
            <td style="text-align:center; vertical-align:middle;">
                <t t-if="line.product_id and line.product_id.product_tmpl_id.image_128">
                    <img t-att-src="'/web/image/product.template/%s/image_128' % line.product_id.product_tmpl_id.id"
                         style="height:45px; width:45px; object-fit:contain;"
                         alt="Product Image"/>
                </t>
            </td>
        </xpath>
    </template>
</odoo>
By utilizing inherit_id to inherit the original Sale Order report in this template, we may expand the current report without changing the core files. If more than one module makes changes to the same report, the priority="30" guarantees that this customization loads correctly.
A new table header named Image is inserted right after the Description column by the first xpath expression. To avoid table misalignment in the PDF, provide a fixed width.
For every order line, the second XPath adds a new column. A condition in that column verifies that the product is real and has an image (image_128). If this is the case, Odoo's /web/image controller is used to render the image. The product's image is dynamically loaded by the format.utilizing the product template ID to create the template model. The image is presented as a tiny, well-aligned thumbnail thanks to the styling. Using image_128 guarantees quicker PDF creation and keeps the report lightweight.
Step 2: Add Product Image in Invoice Report
The template account is used to generate the invoice PDF report.report_invoice_document. The XPath targets need to be modified because the structure is a little different from the Sale Order report. However, the reasoning behind visual presentation remains the same.
Xml code:
<?xml version="1.0" encoding="UTF-8"?>
<odoo>

    <template id="invoice_report_add_image_column_after_desc"
              inherit_id="account.report_invoice_document"
              priority="30">
        <!-- Add Image column header AFTER Description -->
        <xpath expr="//th[@name='th_description']"
               position="after">
            <th style="width:70px; text-align:center;">Image</th>
        </xpath>
        <xpath expr="//t[@name='account_invoice_line_accountable']/td[@name='account_invoice_line_name']"
               position="after">
            <td style="text-align:center; vertical-align:middle;">
                <t t-if="line.product_id and line.product_id.product_tmpl_id.image_128">
                    <img t-att-src="'/web/image/product.template/%s/image_128' % line.product_id.product_tmpl_id.id"
                         style="height:45px; width:45px; object-fit:contain;"
                         alt="Product Image"/>
                </t>
            </td>
        </xpath>
    </template>

</odoo>
In the Invoice example, inherit_id="account.report_invoice_document" is used once more to inherit the base report template. By doing this, we can expand the typical invoice report without changing the core files.
Similar to the Sale Order report, the first XPath inserts a "Image" column header below the Description column. It's crucial to keep column widths constant in order to avoid misalignment while producing PDFs.
Because invoice lines are organized differently in the QWeb template, the second XPath is slightly different. Here, we enter our new column after the invoice line description cell, targeting account_invoice_line_accountable, which stands for the invoice line loop.
The logic for rendering images stays the same. We verify that there is a product in the line and that there is an image in the product template. If this is the case, we use the /web/image controller to render the picture. The thumbnail remains small and well placed within the table. The XPath phrases, not the image-fetching logic, are the primary distinction between the Sale Order and Invoice implementations.
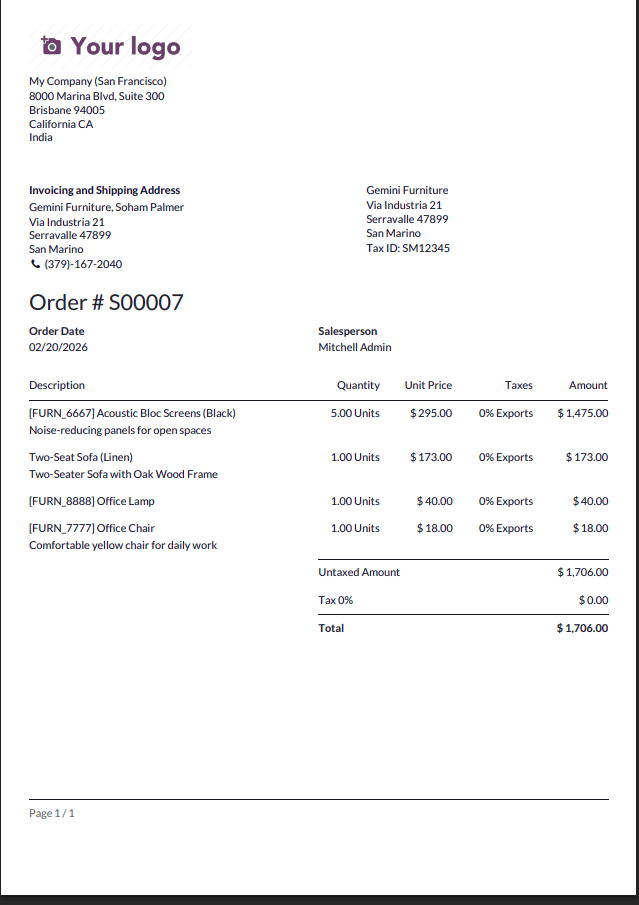
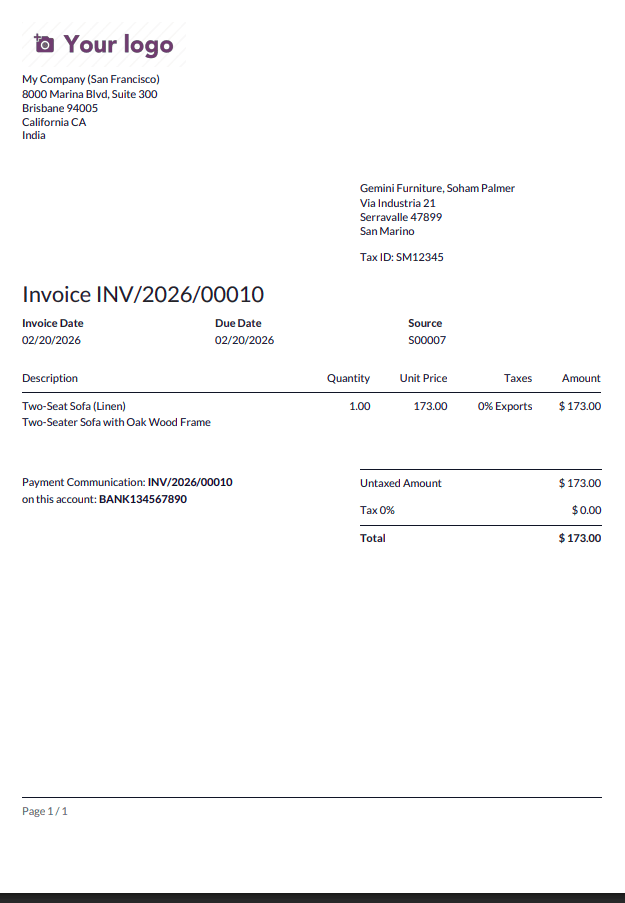
The reports simply display product descriptions in the default layout; there is no image reference. Reports on sales orders and invoices are displayed below without any customization.
Sale Order Report View:
Invoice Report View:
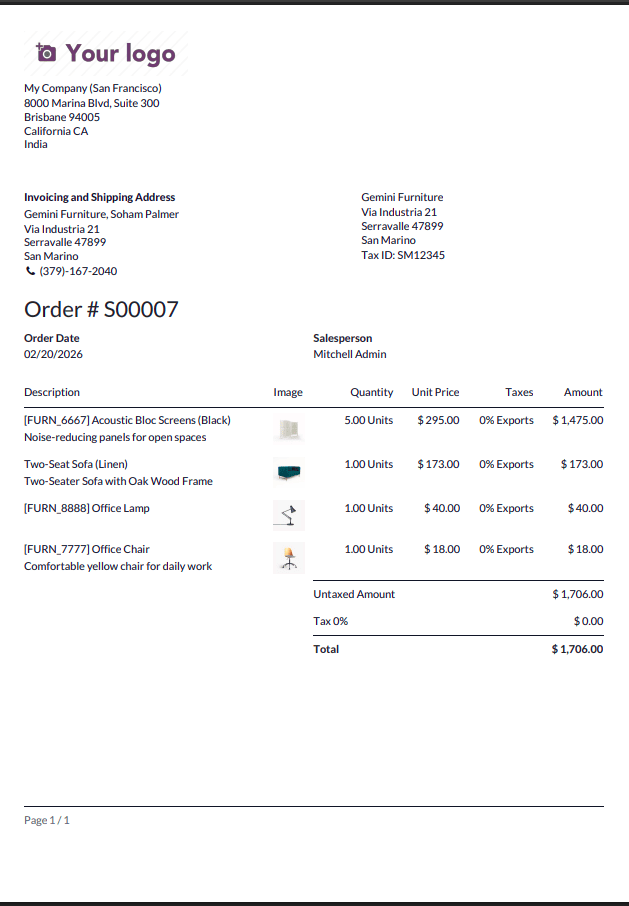
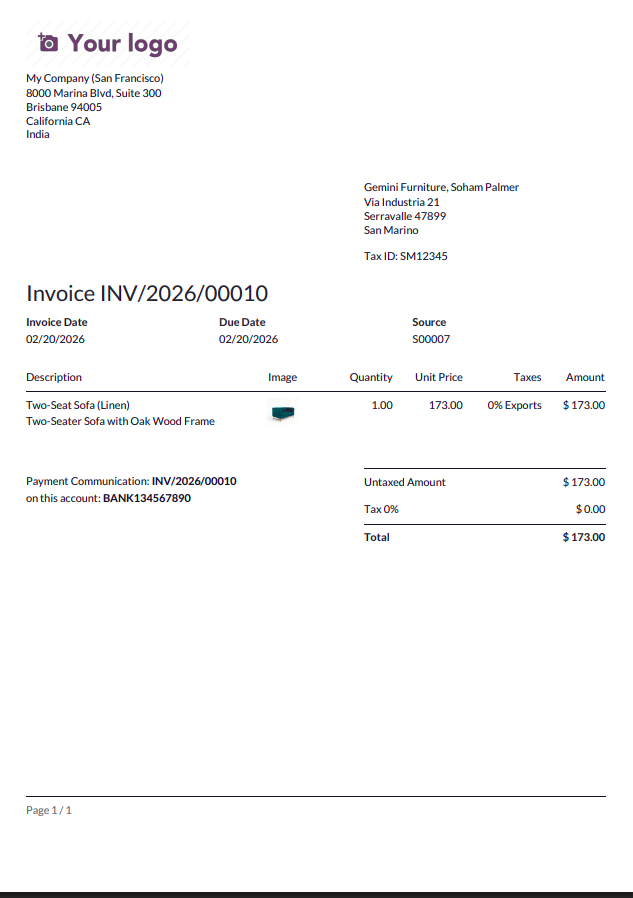
The updated customizations are included in the Sale Order and Invoice report view with images below.
Sale Order Report View with Image customization:
Invoice Report View with Image customization:
The presentation and usability of sales order and invoice reports in Odoo 19 are greatly improved by the addition of product photos. To dynamically show product thumbnails without changing core files, inherit the relevant QWeb templates and use XPath to insert a new column. Stable speed and neat PDF formatting are ensured by using image_128 and appropriately targeting XPath expressions when creating fixed column widths. For Odoo 19 environments, this customization is easy, effective, and production-ready.
To read more about What is Qweb Templates & Key Features of Qweb in Odoo 18, refer to our blog What is Qweb Templates & Key Features of Qweb in Odoo 18.