In Odoo, buttons inside forms are easy to add through XML form views. However, adding a new button in the form controller area where the Create, Edit, and Import buttons appear requires extending the Odoo web client.
In Odoo, this is achieved by extending the FormController using JavaScript and QWeb. Now, let us see how to extend the FormController in Odoo 19.
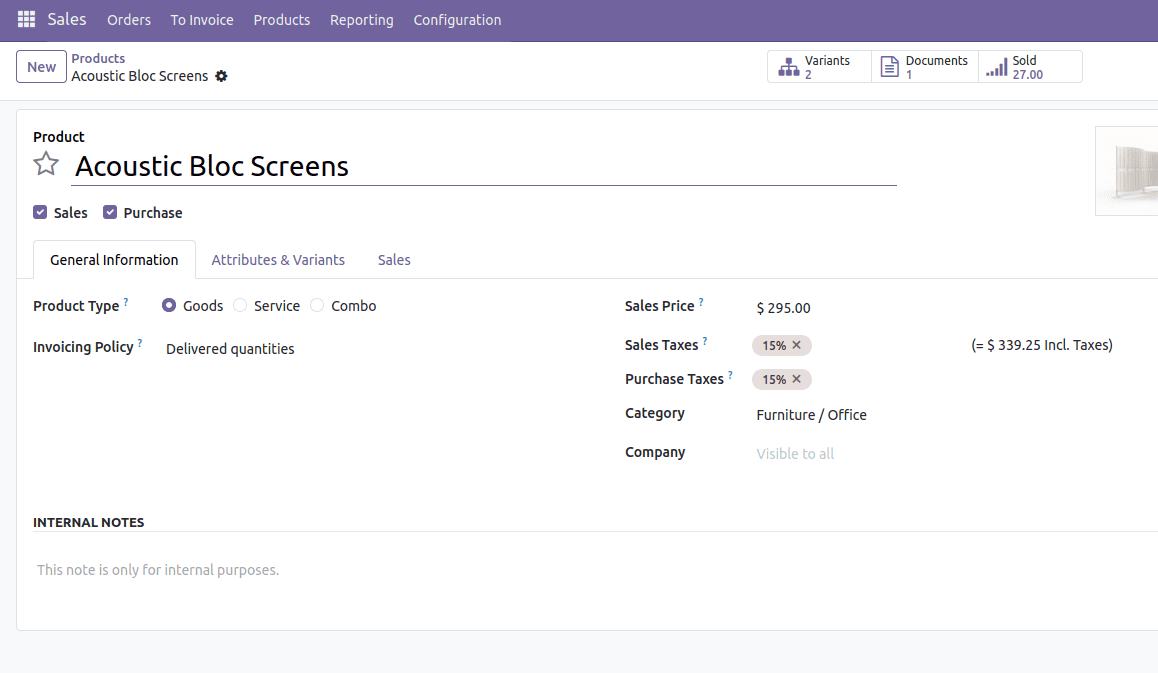
Here, I am going to add a button next to the Create button in the Product form view.
This is the default form view of the Product page.
Create the templates file inside the static/src/xml directory
The first step is to inherit web.FormView.Buttons, where the form view buttons are defined. Here, we create a button named Create Order and add an on-click handler for it.
<?xml version="1.0" encoding="UTF-8"?>
<templates xml:space="preserve">
   <t t-name="button_on_form_view.FormView.Buttons" t-inherit="web.FormView">
       <xpath expr="//t[@t-set-slot='layout-buttons']" position="inside">
           <button type="button" class="btn btn-primary"
              t-on-click="OnFormClickOrder">
              <span>Create Order</span>
          </button>
       </xpath>
   </t>
</templates>
After creating this, the next step is to create a JavaScript file.
Create a JS file inside the static/src/js directory
/** @odoo-module */
import { FormController } from "@web/views/form/form_controller";
import { useService } from "@web/core/utils/hooks";
import { registry } from '@web/core/registry';
import { formView } from '@web/views/form/form_view';
export class ProductFormController extends FormController {
  setup() {
      super.setup();
      this.actionService = useService("action");
  }
  OnFormClickOrder() {
      this.actionService.doAction({
         type: 'ir.actions.act_window',
         res_model: 'sale.order',
         name:'Sale Order',
         view_mode: 'form',
         view_type: 'form',
         views: [[false, 'form']],
         target: 'new',
         res_id: false,
     });
  }
}
ProductFormController.template = "button_on_form_view.FormView.Buttons";
export const CustomProductFormController = {
   ...formView,
   Controller: ProductFormController,
};
registry.category("views").add("button_in_form", CustomProductFormController);
Here, ProductFormController extends Odoo’s default FormController.In setup(), it loads the action service, which lets you open forms and wizards. The method OnFormClickOrder() is called when your custom button is clicked. It opens a new Sale Order form in a pop-up window.
The line ProductFormController.template = "button_on_form_view.FormView.Buttons";
links your JS controller to your QWeb template containing the new button.
Finally, the controller is registered as a new form view called "button_in_form" so you can use it in XML.
Create the view file inside the view directory.
<?xml version="1.0" encoding="utf-8"?>
<odoo>
    <data>
<record id="product_template_only_form_view" model="ir.ui.view">
   <field name="name">product.template.view.form.inherit.button.on.tree.view</field>
   <field name="model">product.template</field>
   <field name="inherit_id" ref="product.product_template_only_form_view"/>
   <field name="arch" type="xml">
       <xpath expr="//form" position="attributes">
           <attribute name="js_class">button_in_form</attribute>
       </xpath>
   </field>
</record>
    </data>
</odoo>
This XML inherits the Product form view and adds your custom JavaScript controller to it.
It does this by inserting:
<attribute name="js_class">button_in_form</attribute>
Here is the Product form view after adding the new button.
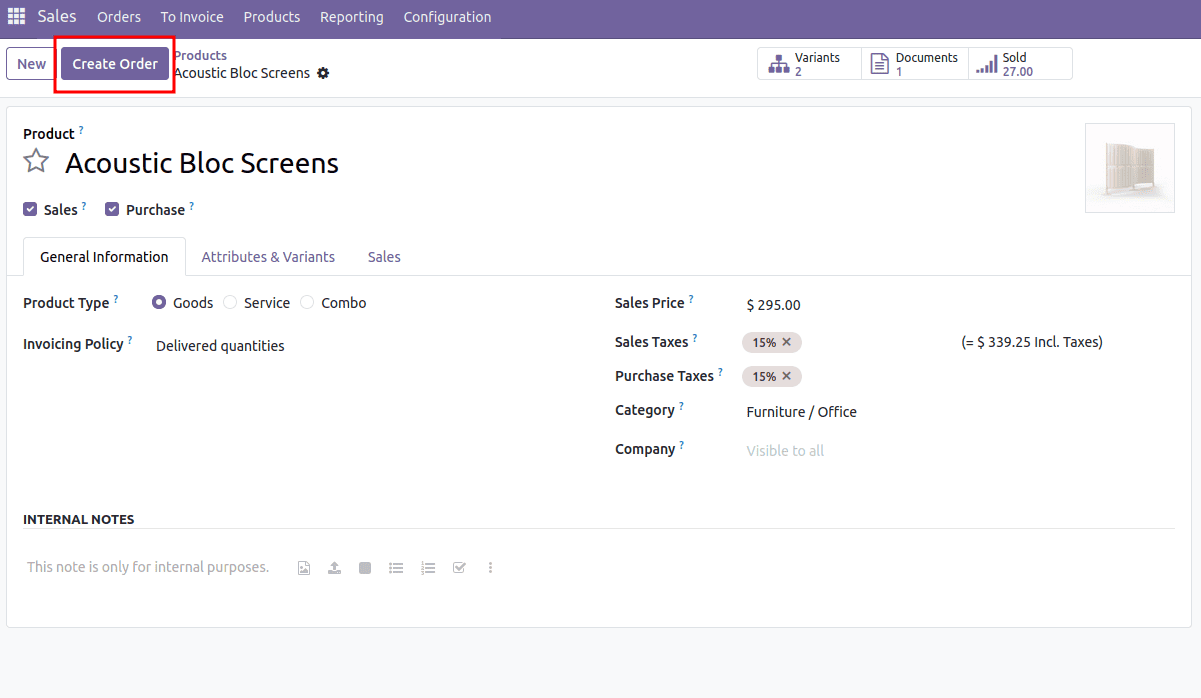
In this way, we can extend the form controller in Odoo and add custom buttons according to our functional needs. By creating a custom JavaScript controller, linking it with a QWeb template, and attaching it to the desired form view through XML.
To read more about How to Add a Create Button Near Tree & Kanban View in Odoo 18, refer to our blog How to Add a Create Button Near Tree & Kanban View in Odoo 18.