Odoo 19 heavily relies on OWL components for frontend development. When building custom UI interactions, a common requirement is to open a dialog and allow the user to select a record using a Many2one field, just like in standard Odoo forms.
In this blog, we’ll walk through how to add a Many2one field inside a custom dialog using Many2XAutocomplete in Odoo 19.
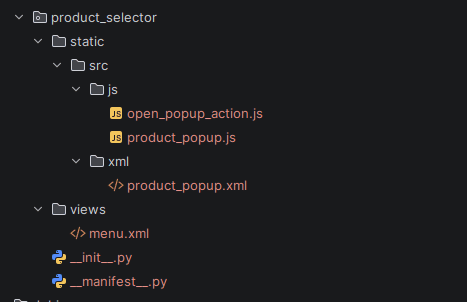
Module Structure
Step 1: Create a Custom Action to Open the Dialog
We start by defining a custom action that opens the dialog using Odoo’s dialog service.
Open_popup_action.js
/** @odoo-module **/
import { Component, xml } from "@odoo/owl";
import { registry } from "@web/core/registry";
import { useService } from "@web/core/utils/hooks";
import { ProductPopup } from "./product_popup";
export class OpenProductPopupAction extends Component {
 static template = xml``;
 setup() {
   const dialog = useService("dialog");
   dialog.add(ProductPopup);
 }
}
registry
 .category("actions")
 .add("product_selector.open", OpenProductPopupAction);
Explanation
- useService("dialog") gives access to Odoo’s dialog manager
- dialog.add(ProductPopup) opens our custom dialog
- The action is registered under the key product_selector.open, which can be called from XML or server actions
Step 2: Create the Popup Component
Now let’s build the dialog component that contains the Many2one field.
product_popup.js
/** @odoo-module **/
import { Component, useState } from "@odoo/owl";
import { Dialog } from "@web/core/dialog/dialog";
import { Many2XAutocomplete } from "@web/views/fields/relational_utils";
export class ProductPopup extends Component {
 static template = "product_selector.ProductPopup";
 static components = { Dialog, Many2XAutocomplete };
 setup() {
   this.state = useState({
     value: "",
     selection: []
   });
 }
 getDomain() {
   return [["active", "=", true]];
 }
 onUpdate(selection) {
   this.state.selection = selection;
   this.state.value = selection[0]?.display_name || "";
 }
 confirm() {
   const product = this.state.selection[0];
   if (product) {
     console.log("Selected product ID:", product.id);
   }
   this.props.close();
 }
}
Explanation
- Many2XAutocomplete is the OWL replacement for Many2one widgets
- value holds the displayed name
- selection holds the actual selected record(s)
- isToMany = false ensures Many2one behavior
- onUpdate is triggered whenever the selection changes
Step 3: Define the Dialog Template
Now we define the XML template for the dialog UI.
Product_popup.xml
<t t-name="product_selector.ProductPopup">
   <Dialog title="'Select Product'">
       <div class="p-3">
           <label class="form-label fw-bold mb-2">
               Product
           </label>
           <Many2XAutocomplete resModel="'product.product'"
                               value="state.value"
                               update.bind="onUpdate"
                               getDomain.bind="getDomain"
                               isToMany="false" activeActions="{}" />
       </div>
       <t t-set-slot="footer">
           <button class="btn btn-primary"
                   t-on-click="confirm">
               Confirm
           </button>
           <button class="btn btn-secondary"
                   t-on-click="props.close">
               Cancel
           </button>
       </t>
   </Dialog>
</t>
Menu.xml
<?xml version="1.0" encoding="UTF-8"?>
<odoo>
   <record id="action_product_popup" model="ir.actions.client">
       <field name="name">Product Selector</field>
       <field name="tag">product_selector.open</field>
   </record>
   <menuitem id="menu_product_selector_root"
             name="Product Selector"
             sequence="10"/>
   <menuitem id="menu_product_selector"
             name="Open Popup"
             parent="menu_product_selector_root"
             action="action_product_popup"/>
</odoo>
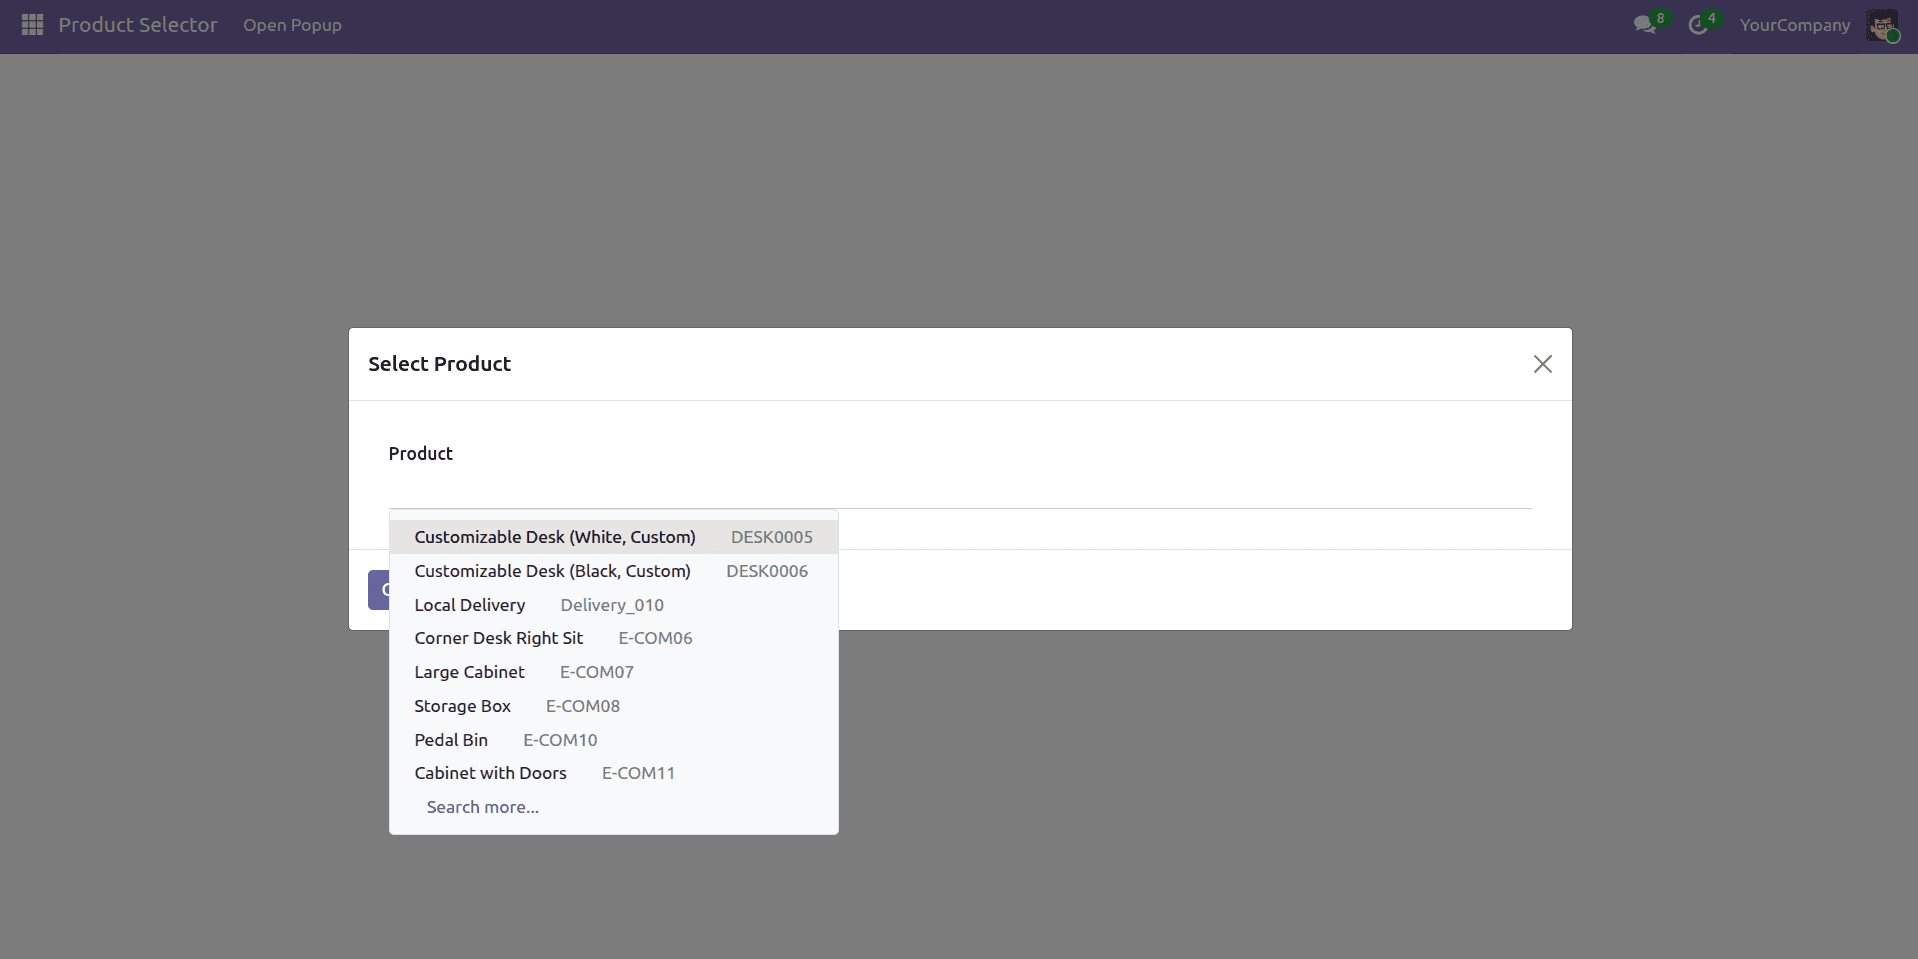
Step 4:Testing
- Install or upgrade your_module in Odoo 18.
- Navigate to the menu item (e.g., “Product Selector”).
- The popup should display with a searchable Many2one field for selecting products.
Adding a Many2one selection field to a custom popup dialog in Odoo 19 using OWL is a powerful way to build intuitive and user-friendly interfaces. The Many2XAutocomplete widget delivers a native, form-like record selection experience, while Odoo 19’s modern OWL architecture and frontend services enable clean, reactive, and maintainable UI components. This tutorial presents a complete implementation, covering a reactive OWL dialog component, a structured XML template, a client action to open the popup, and the necessary module setup for seamless integration.
To read more about How to add a Many2many Selection Field in a Custom Dialog Popup in Odoo19 Using OWL, refer to our blog How to add a Many2many Selection Field in a Custom Dialog Popup in Odoo19 Using OWL.