The restaurant mode in Odoo 18 Point of Sale offers a strong method for managing floor plans and table layouts, guaranteeing efficient service and improved organization. Restaurant management can see how seats are arranged, monitor table availability, and handle several orders at the same time by creating an accurate floor plan. Cafes, fine dining places, and restaurants that need to rotate tables quickly and manage staff operations may find this function extremely helpful. Odoo’s floor and table map management facilitates workflow optimization. It improves the entire dining experience with drag-and-drop customization, real-time table status updates, and order transfer capabilities between tables.
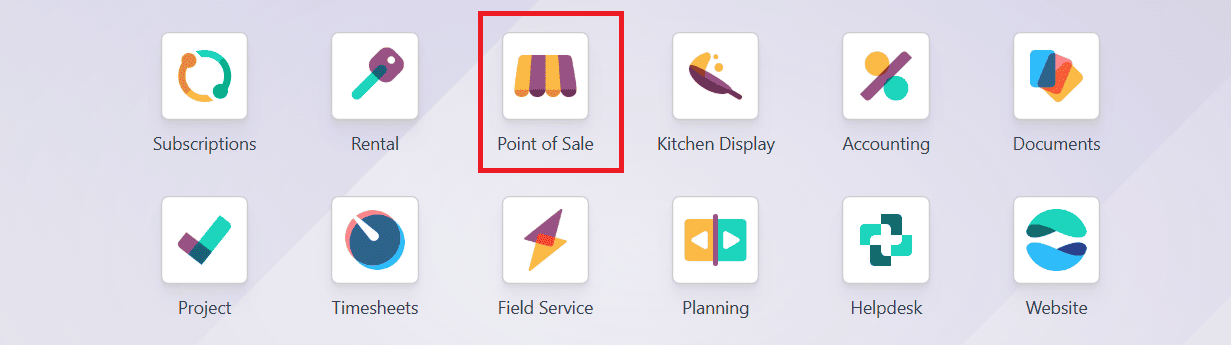
From the Odoo 18 dashboard, select the Point of Sale module as shown below:
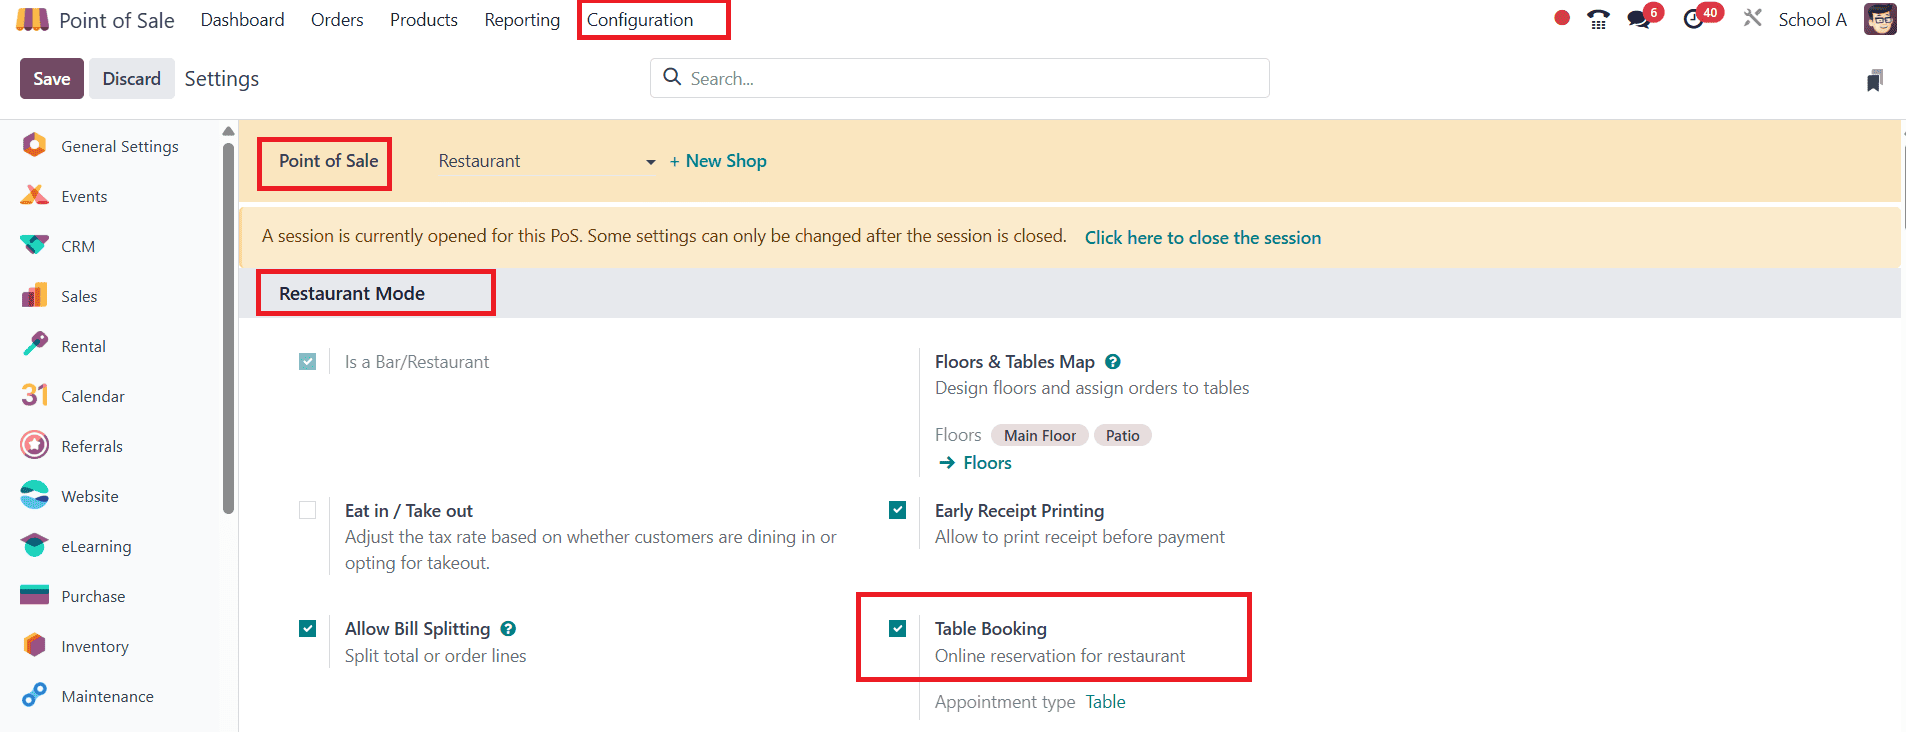
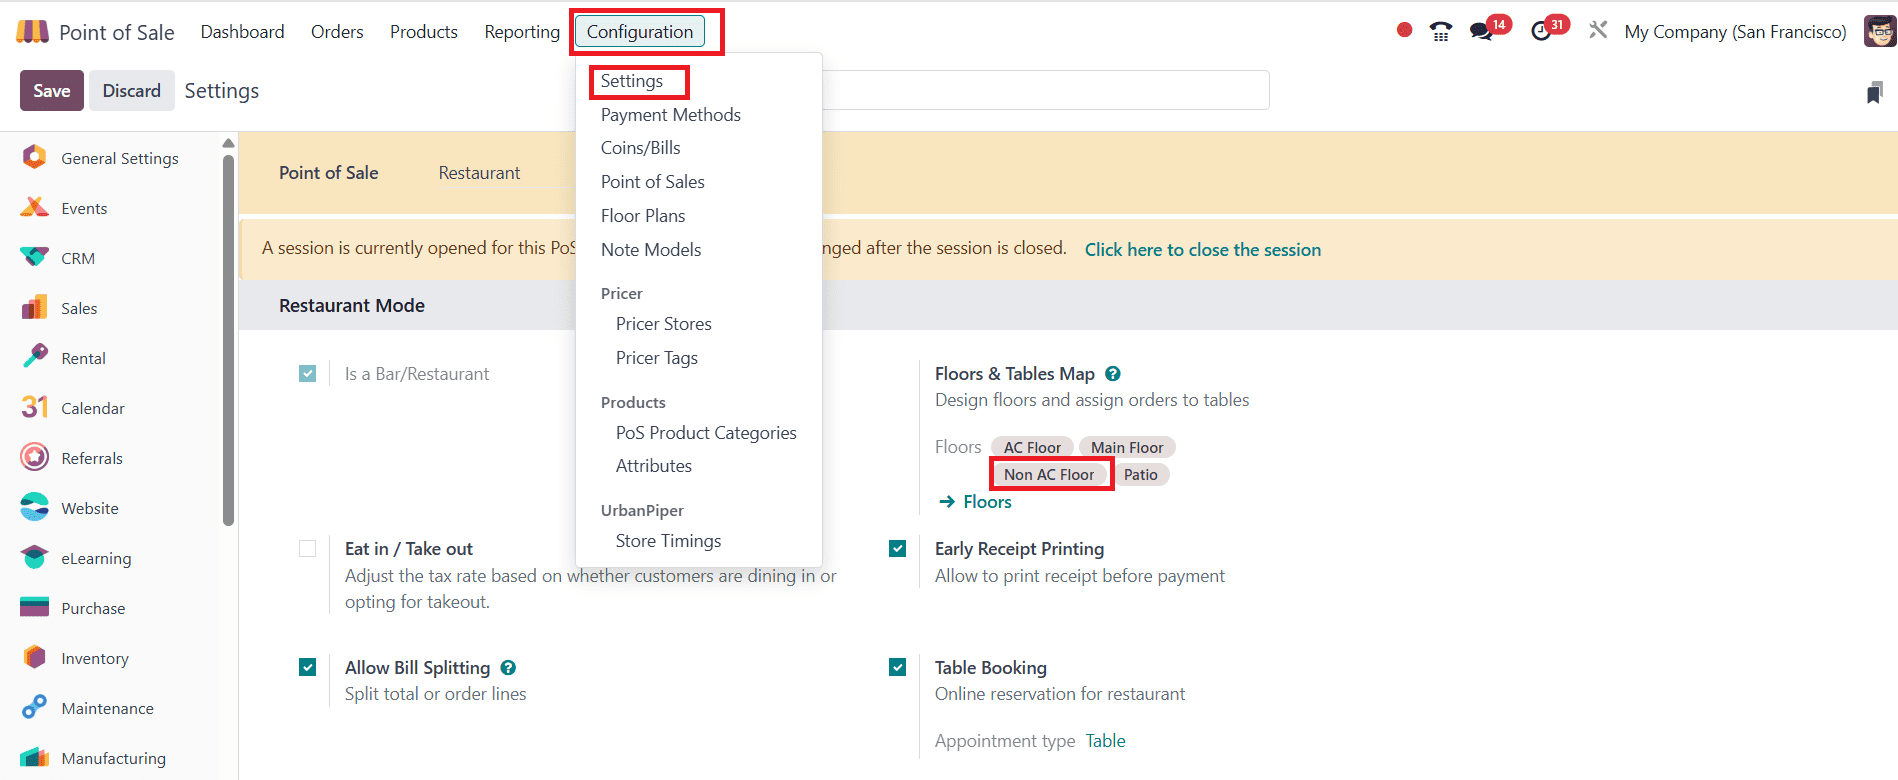
Then, navigate to the Configuration > Settings. Select Restaurant as Point of Sale. Under the Restaurant Mode, enable Table Booking as shown below:
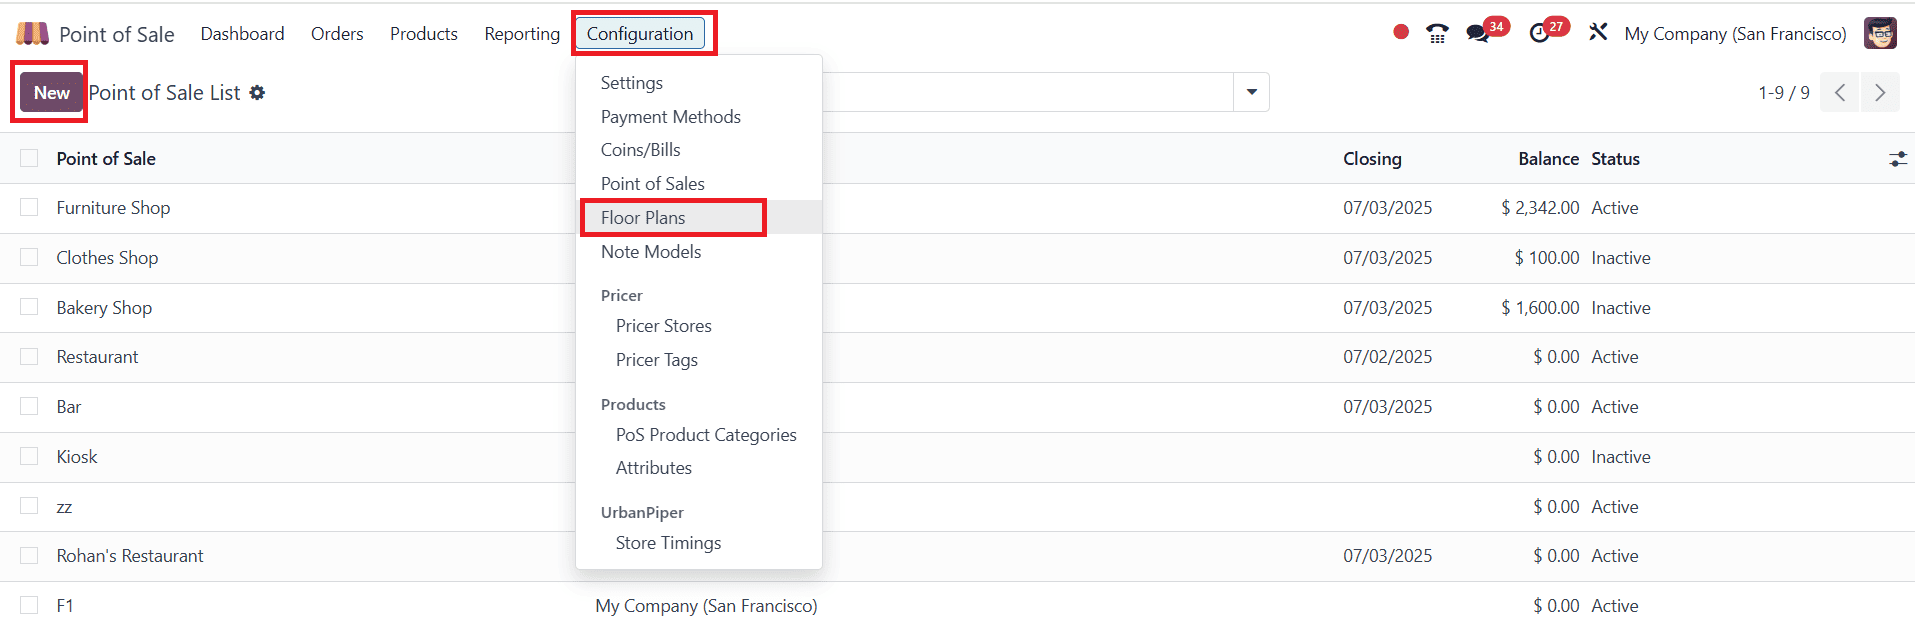
To create a new floor plan, go to the Configuration > Floor Plans and click on the New button as shown below:
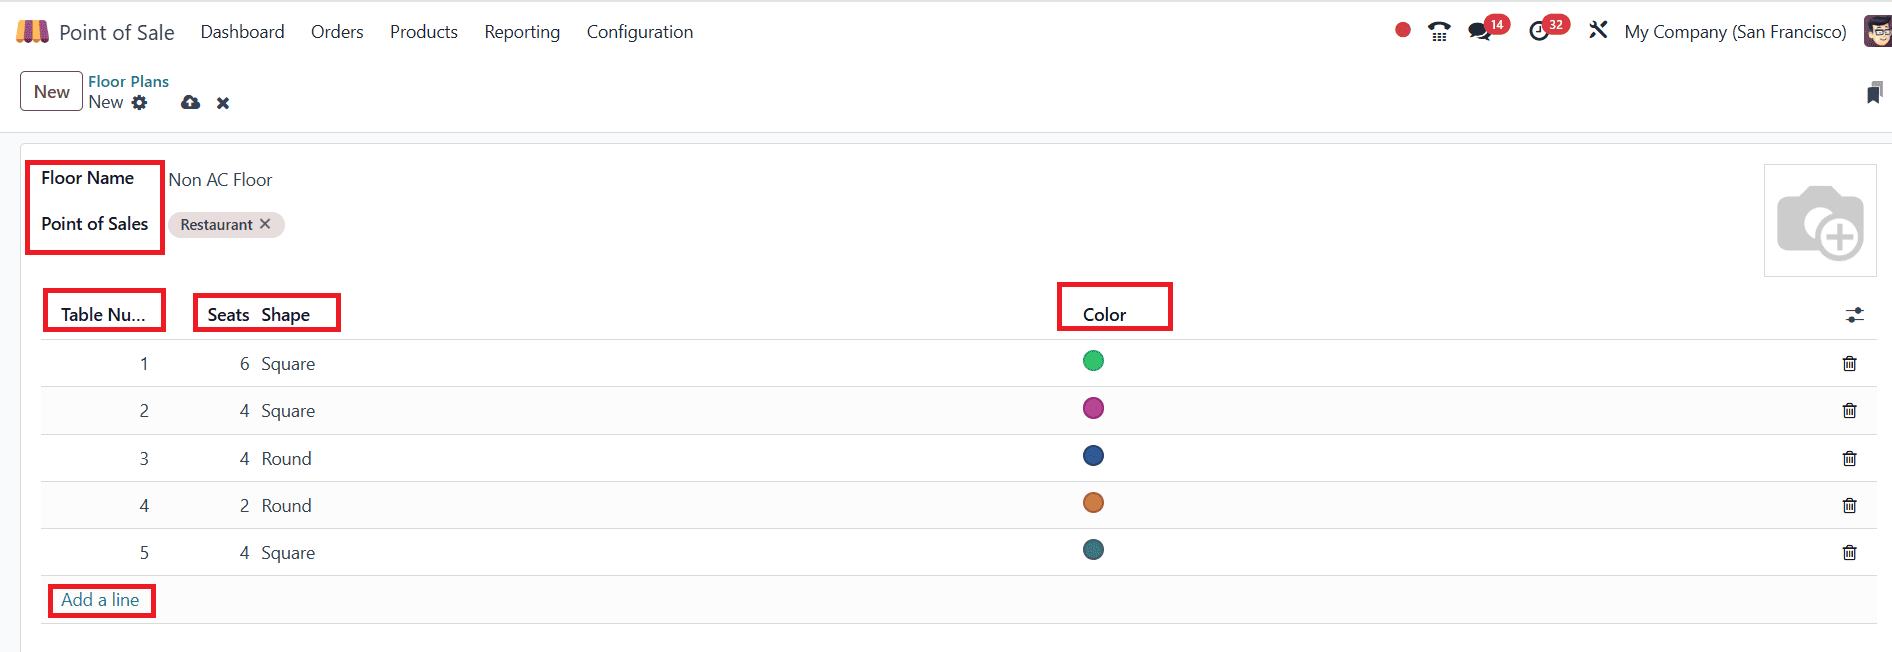
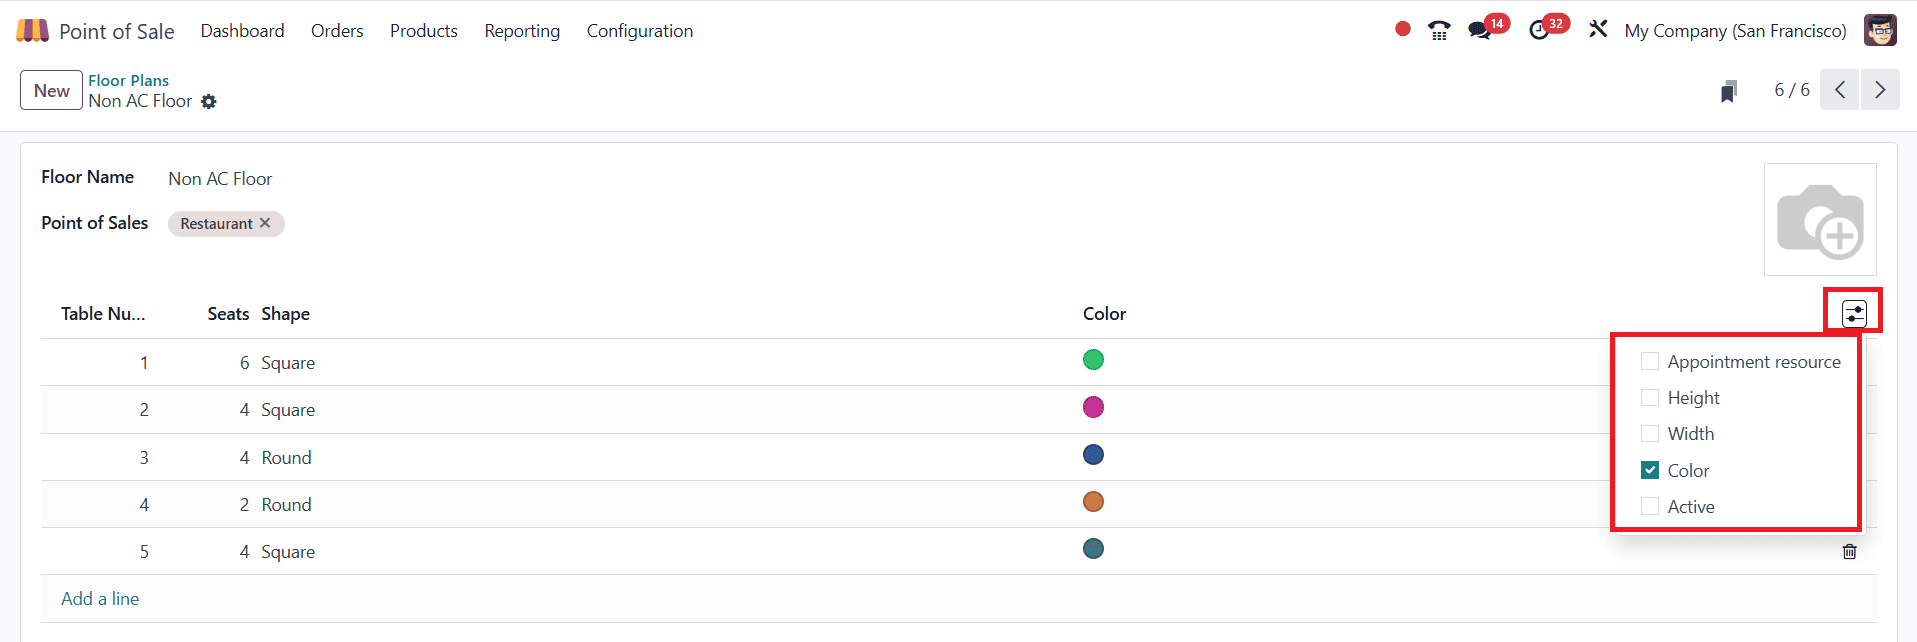
Here, add the name for the newly created floor under the Floor Name option. Under the Point of Sale option, select the related POS. Then, click on the Add a line to create a new table. For each new table, add a number under the Table Number. Select the number of seats for each table and set the shape of the table as either Square or Round. In the Color section, you can also choose colors for each table.
When you click on the Adjust Settings option, you can add additional settings such as Appointment, Height, Width, and Active, as shown below. Then save it.
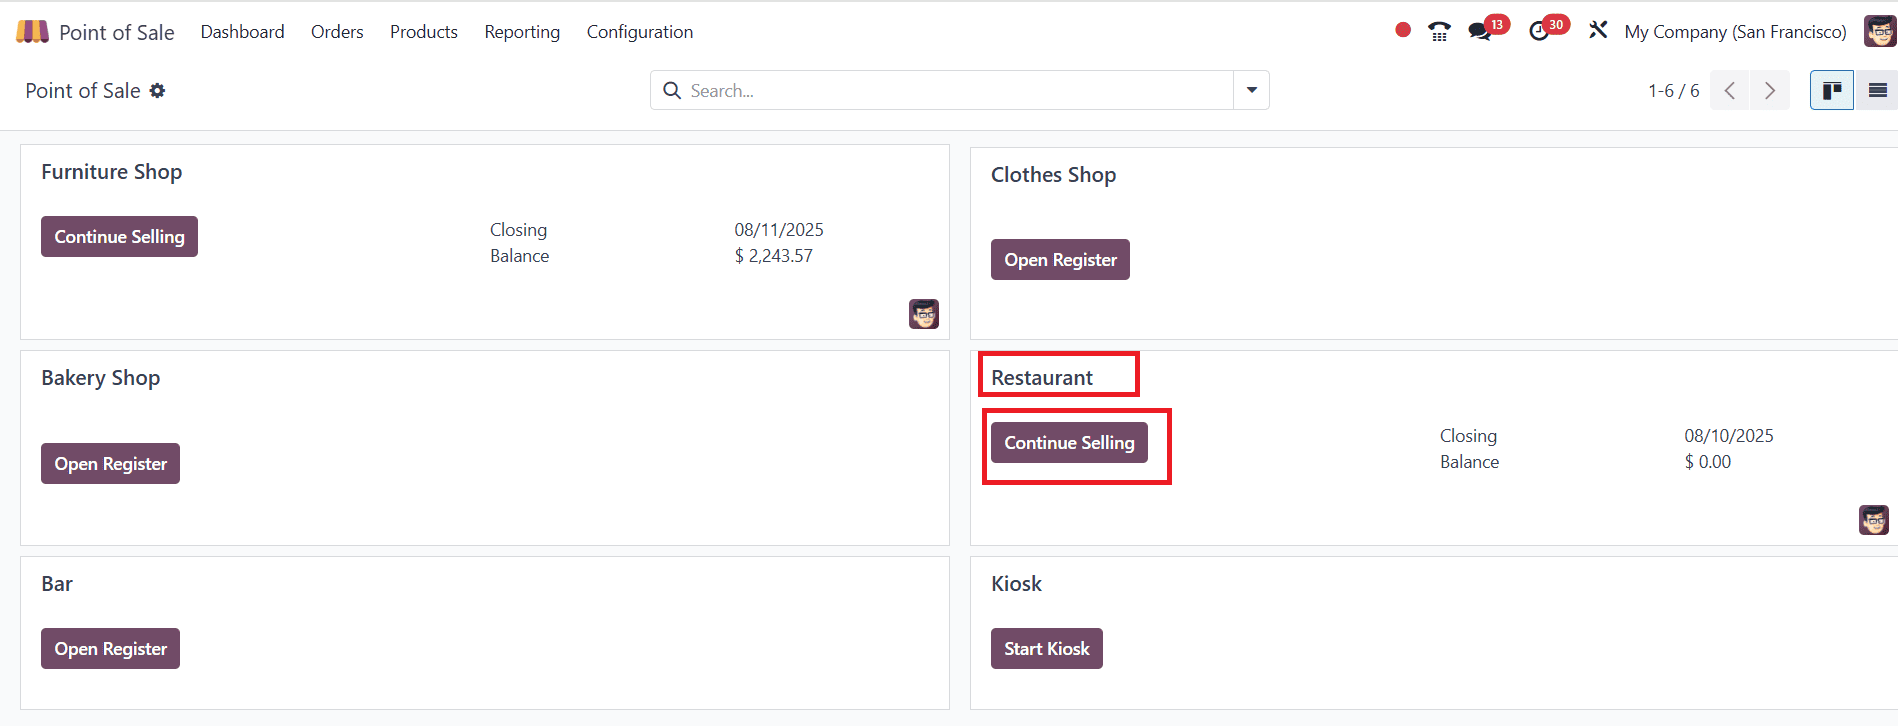
Then go back to the POS dashboard, and select the Restaurant as shown below:
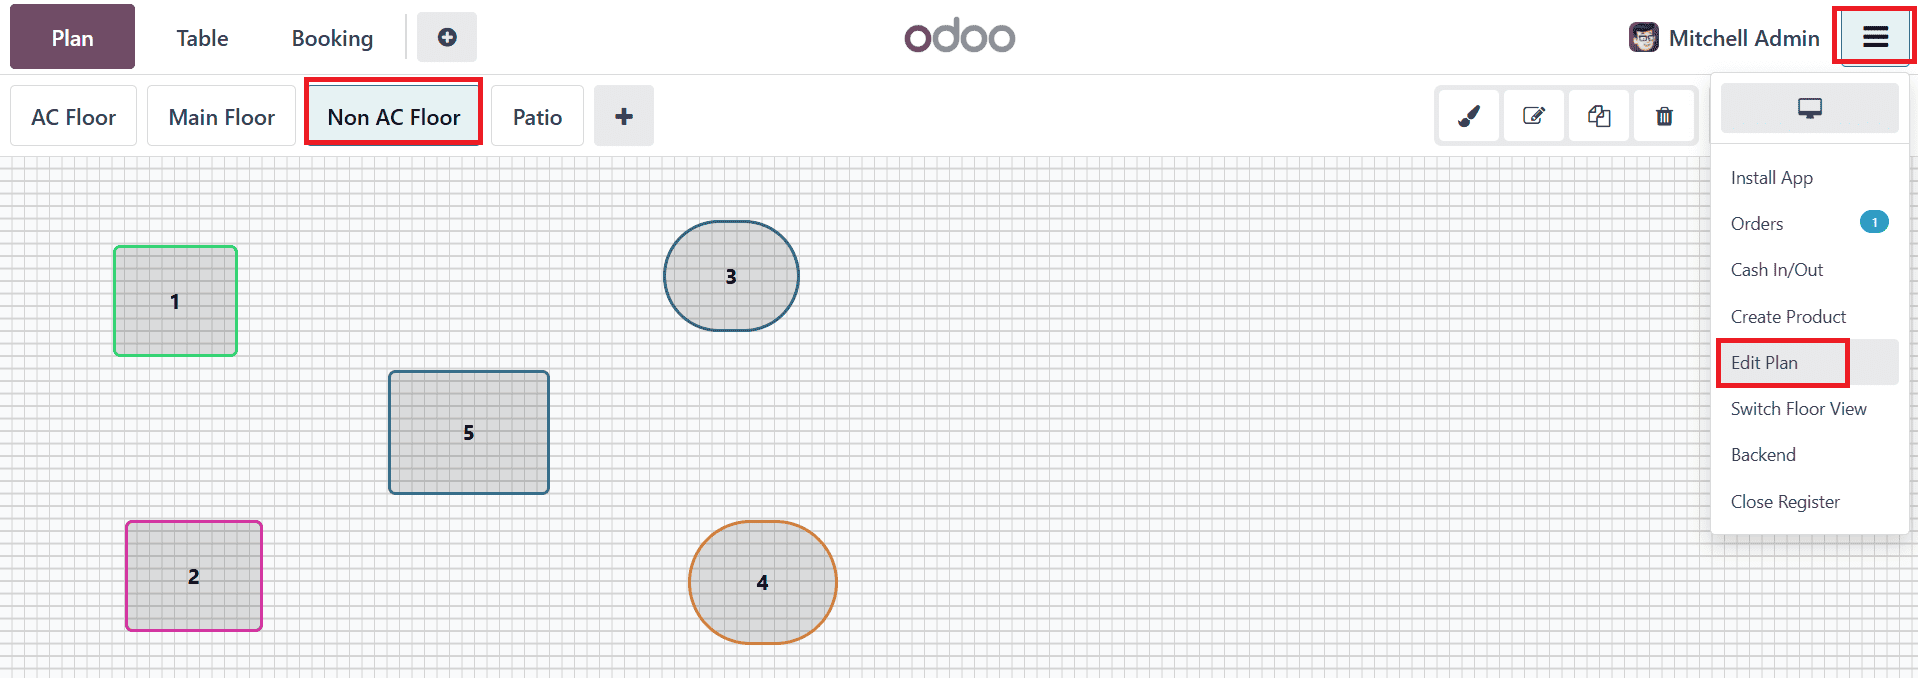
In the Floor Plan View, you can see the floor plans such as AC Floor, Main Floor, Non AC Floor, and Patio. Click on the newly created Non AC Floor plan. Here, you can see the newly created tables with their selected number and shape. You can also adjust the positions of the tables directly. To edit the floor plan, click on the Hamburger menu in the upper right corner and choose Edit Plan as shown below:
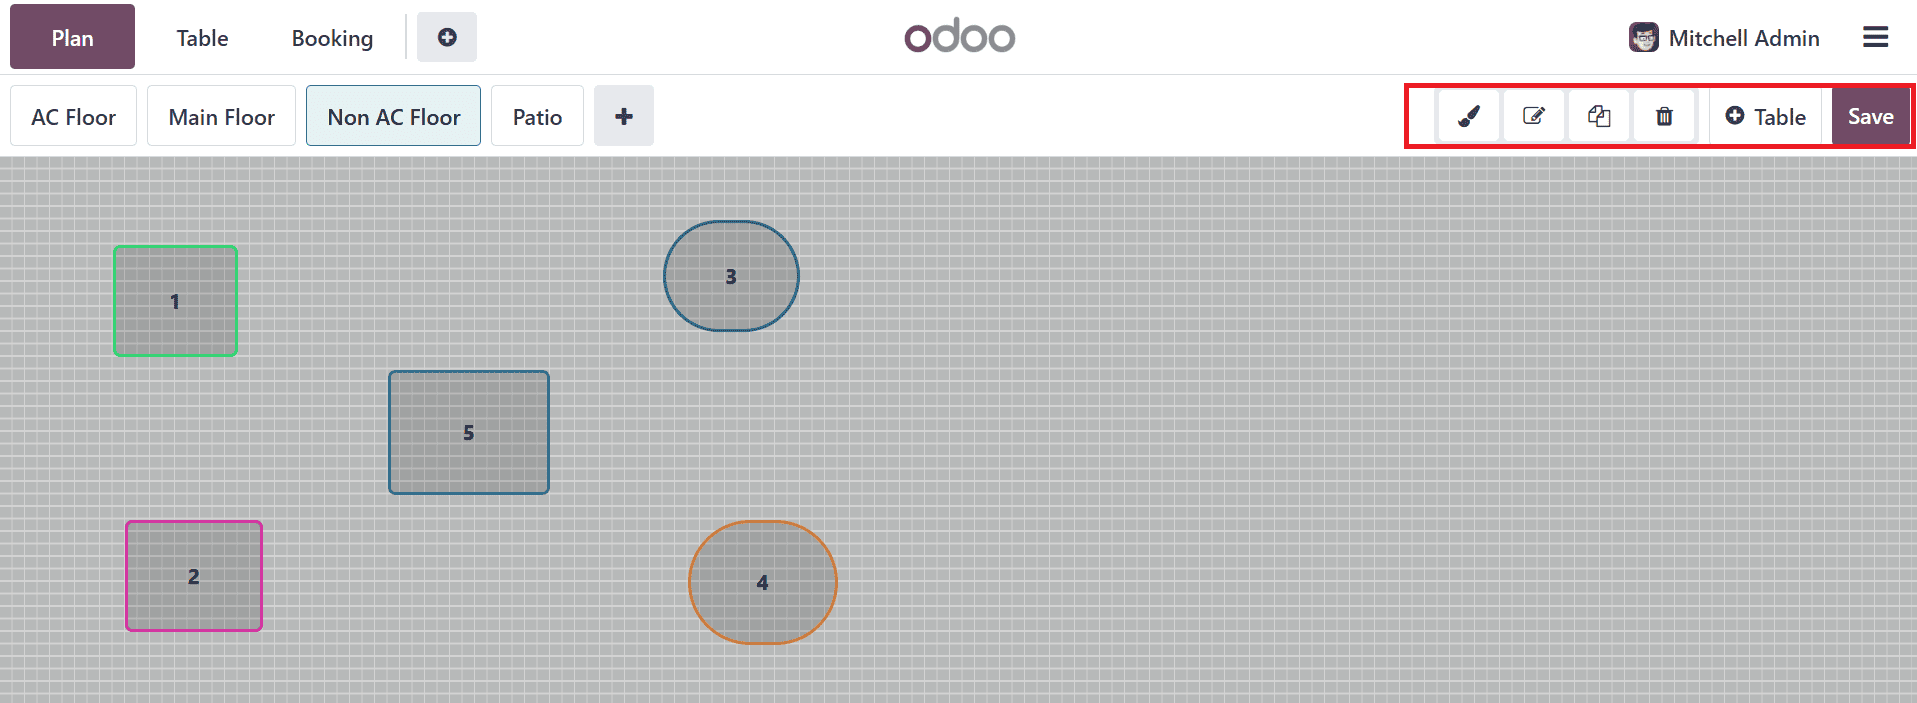
Here, you can change the background color by clicking the paintbrush icon. By clicking the + icon, you can add new floor plans and tables. You can also change the number of the table by clicking the rename icon. If needed, you can also duplicate or remove the table. When you click on a particular table, you can also change the number of seats and the color and shape of that table.
Then go back to the Configuration > Settings. Under the Floors & Tables Map, you can see the newly created floor plan.
Conclusion:
Restaurants may increase customer satisfaction, reduce service delays, and run more efficiently with the help of POS’s efficient floor and table map management. Staff can manage ongoing orders, find available tables more quickly, and service guests more swiftly when there is a clear and precise seating arrangement. Due to its flexibility, the system can be easily changed to take into account seasonal seating patterns or changes in restaurant layout. Restaurants can improve communication between the kitchen and front-of-house staff, reduce errors, and increase income potential. Ultimately, providing a smooth, orderly eating experience requires the use of Odoo 18’s restaurant floor and table management feature.
To read more about Online Table Reservation With Odoo 18 Point of Sale , refer to our blog Online Table Reservation With Odoo 18 Point of Sale.