In Odoo, views play an important role in how data is displayed to users. They decide whether information appears as a list, form, kanban, calendar, or chart. Among these, Map View is a special and powerful view available in Odoo Enterprise, designed to display records based on geographical locations.
Map views are especially helpful when working with location-based data such as customers, vendors, delivery points, events, or service locations. Instead of reading addresses line by line, users can see everything visually on a map, which makes analysis faster and more intuitive.
In this blog, we will explore how to create Map views in Odoo 19, step by step, using simple language and practical examples.
A Map View allows you to display records on a geographic map using address or coordinate information. Odoo uses map services internally to plot records based on partner addresses or latitude and longitude fields.
If your model has:
- A relation with res.partner, or
- Address fields like city, country, latitude, and longitude
Then it can be easily shown in a Map view.
Map views bring several advantages:
- Easy visualization of location-based records
- Better decision-making through geographic insights
- Interactive navigation and routing
- Clean and user-friendly interface
They are widely used in industries like logistics, sales, field service, and event management.
Enabling Map View in Odoo 19
To display a Map view, two things are required:
- Add map to the window action
- Define the Map View using XML
Let’s go through these steps one by one.
Step 1: Add Map View to the Window Action
First, you need to tell Odoo that your model supports the Map View. This is done by adding map to the view_mode field of the window action.
Example Window Action
<record id="action_sale_consignment_order" model="ir.actions.act_window">
   <field name="name">Sale Consignments</field>
   <field name="res_model">sale.consignment.order</field>
   <field name="view_mode">list,form,map</field>
</record>
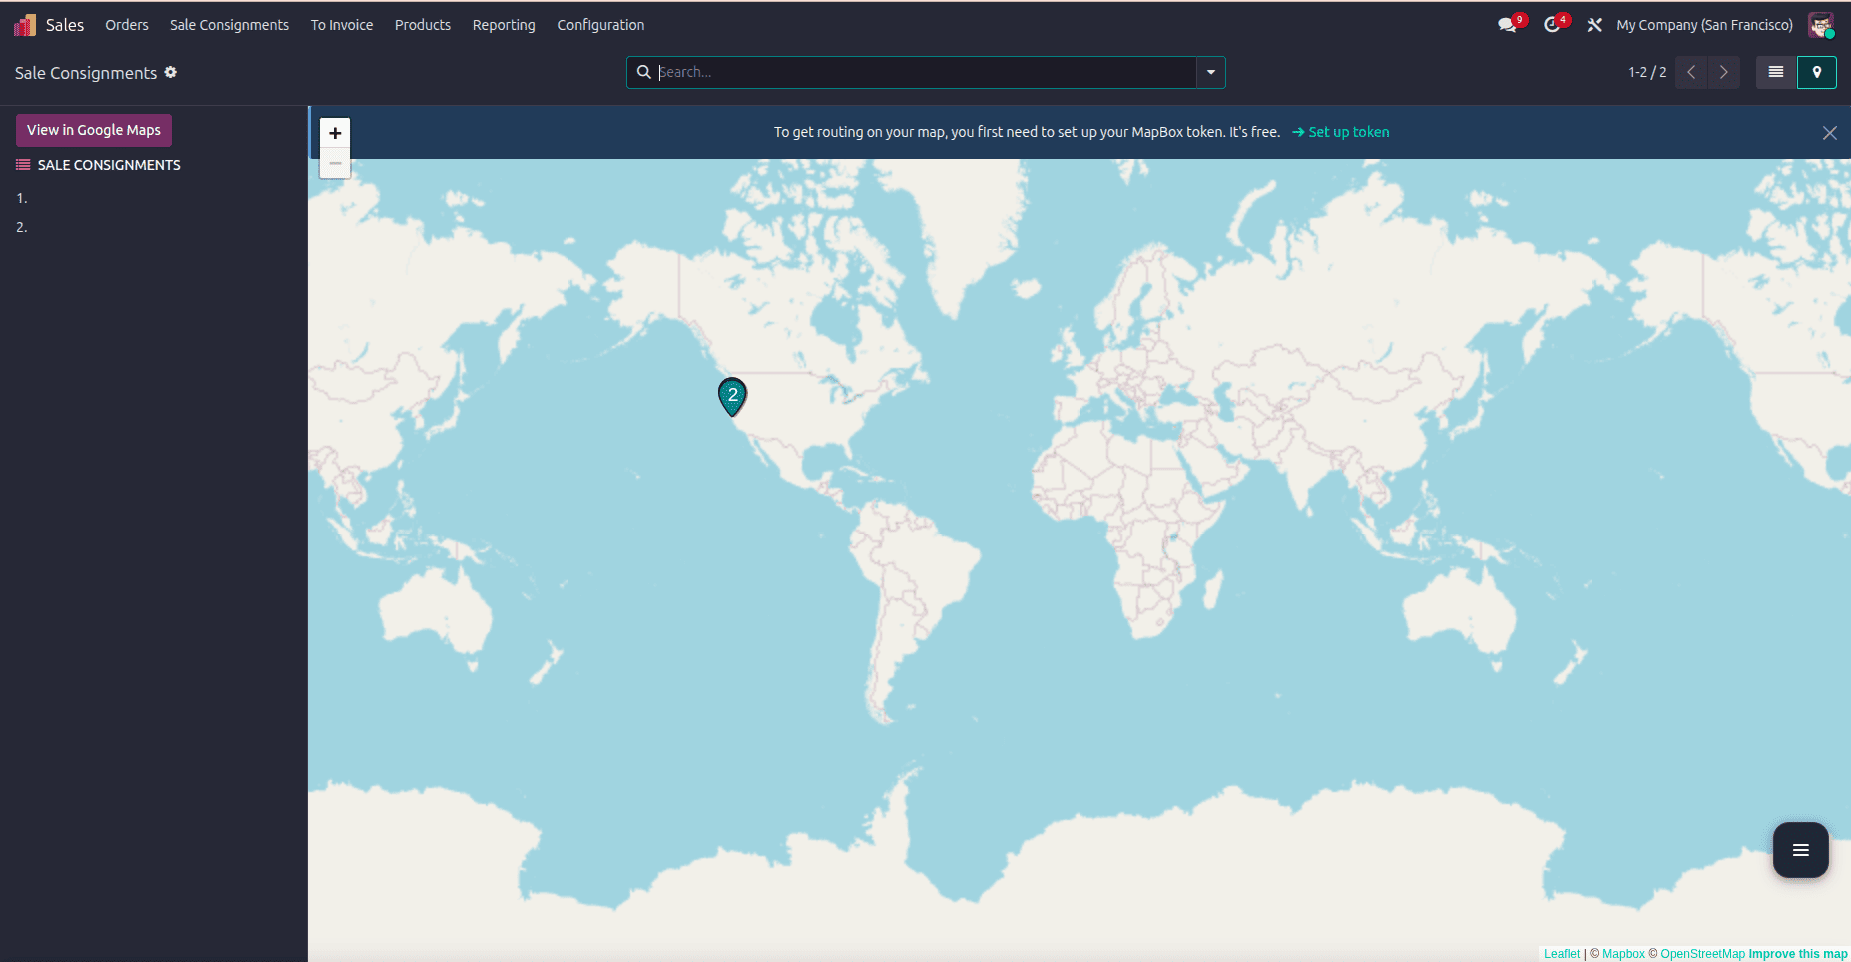
Here, map is added along with tree and form. This makes the Map View available in the user interface.
Step 2: Define the Map View
Next, we define how the map should look and what data it should display.
Example Map View Definition
<record id="view_sale_consignment_order_map" model="ir.ui.view">
   <field name="name">sale.consignment.order.map</field>
   <field name="model">sale.consignment.order</field>
   <field name="arch" type="xml">
       <map res_partner="partner_id"
                routing="true"
                hide_name="true">
       <field name="name" string="Customer"/>
       </map>
   </field>
</record>
Understanding the <map> Tag
The <map> tag is the core of the Map View. It controls how records are displayed on the map.
Let’s understand the most commonly used properties.
Important Properties of Map View in Odoo 19
res_partner
This field refers to a Many2one relation with res.partner. Odoo uses the partner’s address details to place markers on the map.
Example:
res_partner="partner_id"
routing
When set to true, Odoo shows the route between locations.
routing="true"
This is useful for delivery routes, service visits, or travel planning.
default_order
Defines how records are sorted in the map panel.
default_order="name asc"
hide_name
Hides the record name on the map marker.
hide_name="true"
hide_title
Removes the map title from the view.
hide_title="true"
hide_address
Hides address details from the map popup.
hide_address="true"
panel_title
Allows you to set a custom title for the left panel.
panel_title="Resistance Locations"
Example Use Case
Assume you have a model called Resistance that is linked to customers. Each record represents a location where resistance checks are performed. With a Map View:
- Users can see all resistance points on a map
- Click markers to view details
- Use routing to plan visits efficiently
This improves both usability and productivity.
Map Views in Odoo 19 offer a beautiful and practical way to visualize geographic data. With just a few lines of XML, you can transform plain records into an interactive map experience.
If your application involves locations, routes, or addresses, Map Views are definitely worth using. They not only enhance the user experience but also make data easier to understand at a glance.
Now that you know how to create Map Views in Odoo 19, you can confidently add them to your custom modules and bring your data to life on the map.
To read more about How to Create Map Views in Odoo 18, refer to our blog How to Create Map Views in Odoo 18.