The Odoo Website Builder has long supported the ability to create Inner Content Snippets, which is a powerful feature for developers that allows specialized building blocks to be nested inside parent containers such as Intro sections, Accordions, Tabs, or custom containers. This modular approach to page design lets you compose rich layouts by combining reusable inner blocks within a single parent structure, giving developers fine-grained control over how content is organized and displayed on the page. You can make flexible designs by assembling various elements inside the parent element to form one page.
What is an Inner Content Snippet?
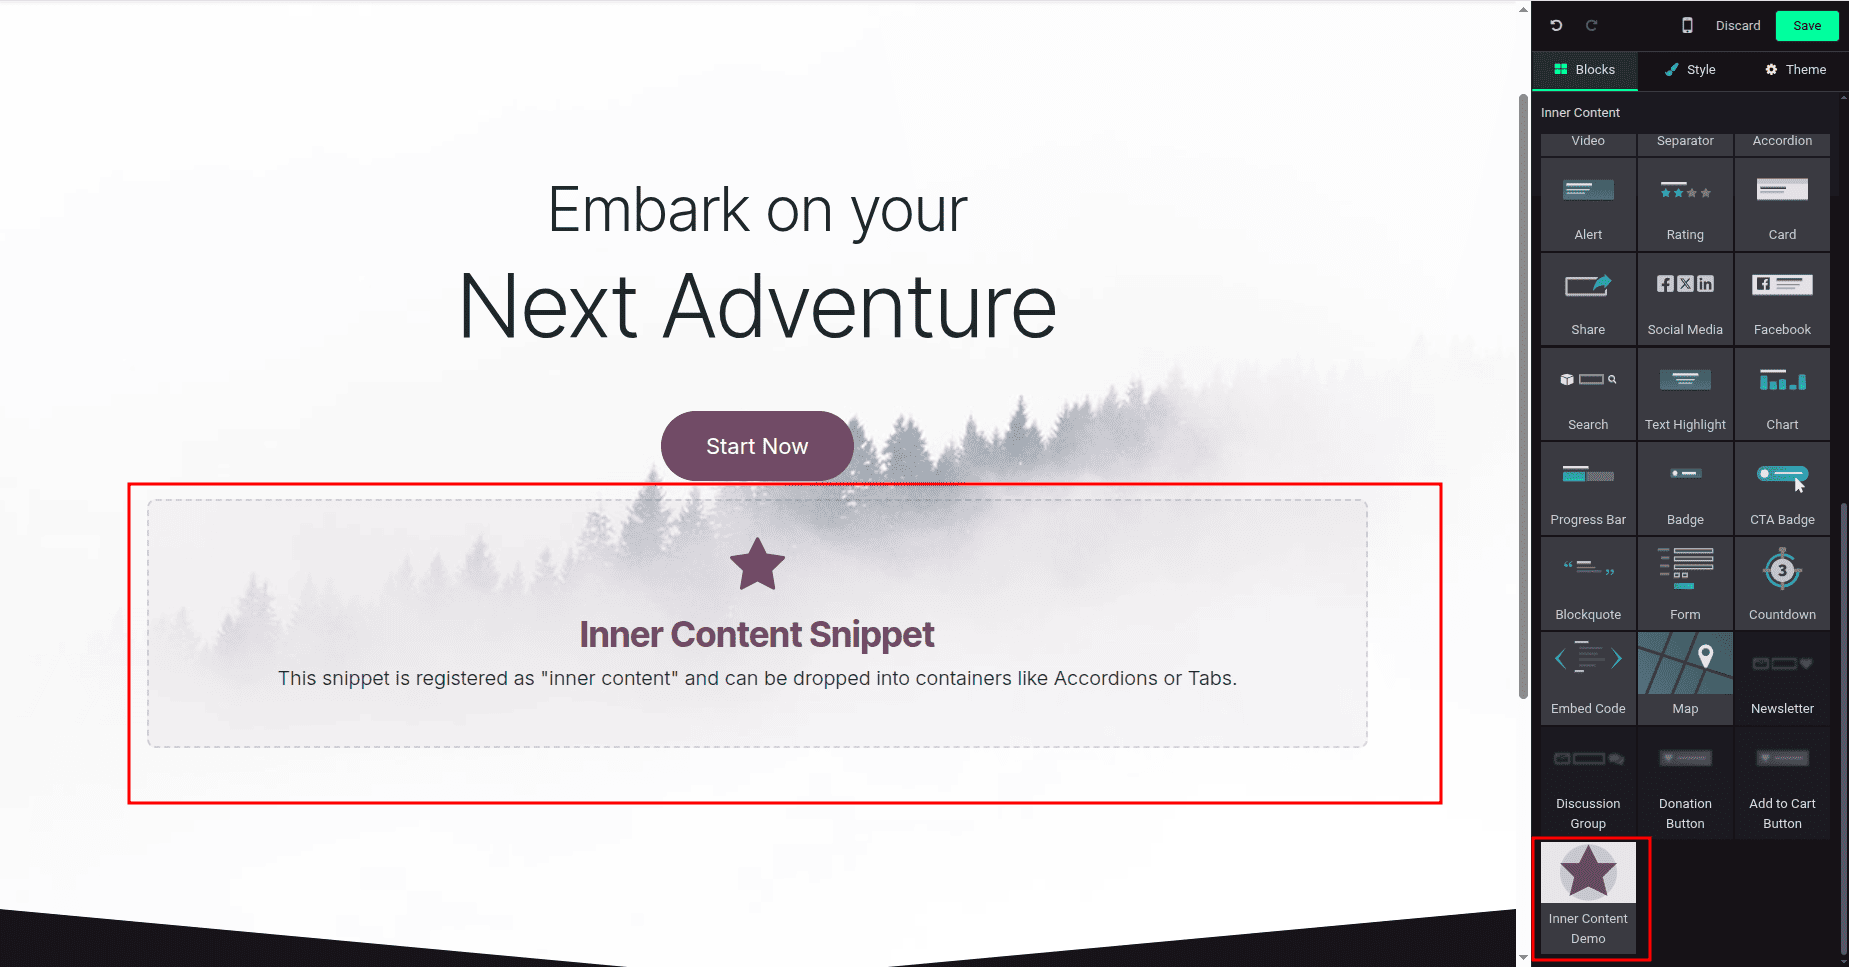
While normal snippets can be simply pulled down and placed anywhere on the body of the page, Inner Content Snippets are intended to live inside certain 'drop-zones' of other building blocks.
Let’s create a module to demonstrate an inner content snippet in Odoo 19.
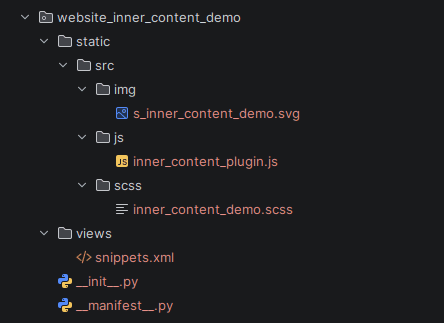
Module Structure
A clean and Odoo-compliant structure looks like this:
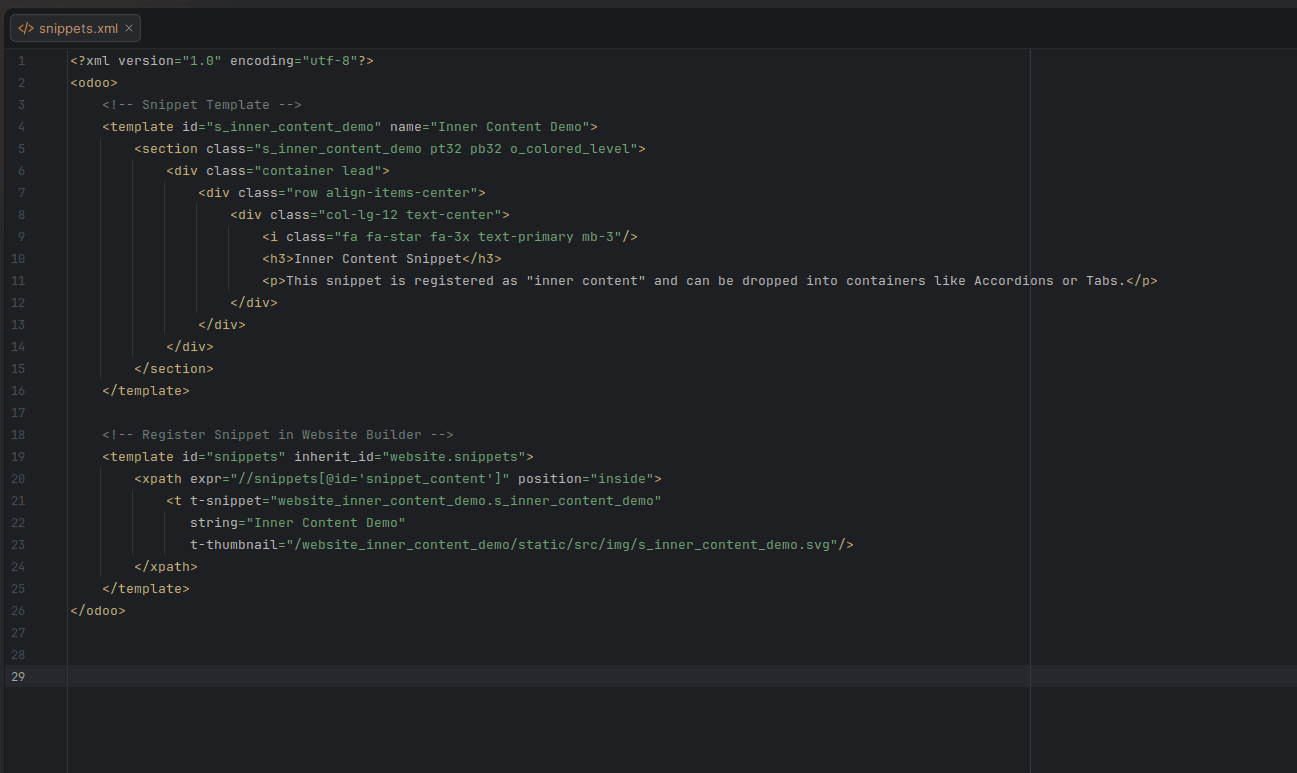
Step 1: Define the Snippet Template
First, we need to define the HTML structure of our snippet. This is done using QWeb templates in an XML file.
<?xml version="1.0" encoding="utf-8"?>
<odoo>
   <!-- Snippet Template -->
   <template id="s_inner_content_demo" name="Inner Content Demo">
       <section class="s_inner_content_demo pt32 pb32 o_colored_level">
           <div class="container lead">
               <div class="row align-items-center">
                   <div class="col-lg-12 text-center">
                       <i class="fa fa-star fa-3x text-primary mb-3"/>
                       <h3>Inner Content Snippet</h3>
                       <p>This snippet is registered as "inner content" and can be dropped into containers like Accordions or Tabs.</p>
                   </div>
               </div>
           </div>
       </section>
   </template>
</odoo>
Step 2: Register the Snippet in the Website Builder
To make the snippet appear in the "Inner Content" list, we must inherit the base website.snippets template and append our snippet to the snippet_content group.
<template id="snippets" inherit_id="website.snippets">
   <xpath expr="//snippets[@id='snippet_content']" position="inside">
       <t t-snippet="website_inner_content_demo.s_inner_content_demo"
          string="Inner Content Demo"
          t-thumbnail="/website_inner_content_demo/static/src/img/s_inner_content_demo.svg"/>
   </xpath>
</template>
Step 3: Register the Selector via JavaScript Plugin
This is the most critical step in Odoo 19. You must tell the Website Builder that your snippet is valid "inner content" by adding its selector to the so_content_addition_selector resource.
import { Plugin } from "@html_editor/plugin";
import { registry } from "@web/core/registry";
class InnerContentDemoPlugin extends Plugin {
   static id = "InnerContentDemoPlugin";
   resources = {
       // Register the selector as valid inner content
       so_content_addition_selector: [".s_inner_content_demo"],
   };
}
// Register the plugin in the correct category
registry.category("website-plugins").add(InnerContentDemoPlugin.id, InnerContentDemoPlugin);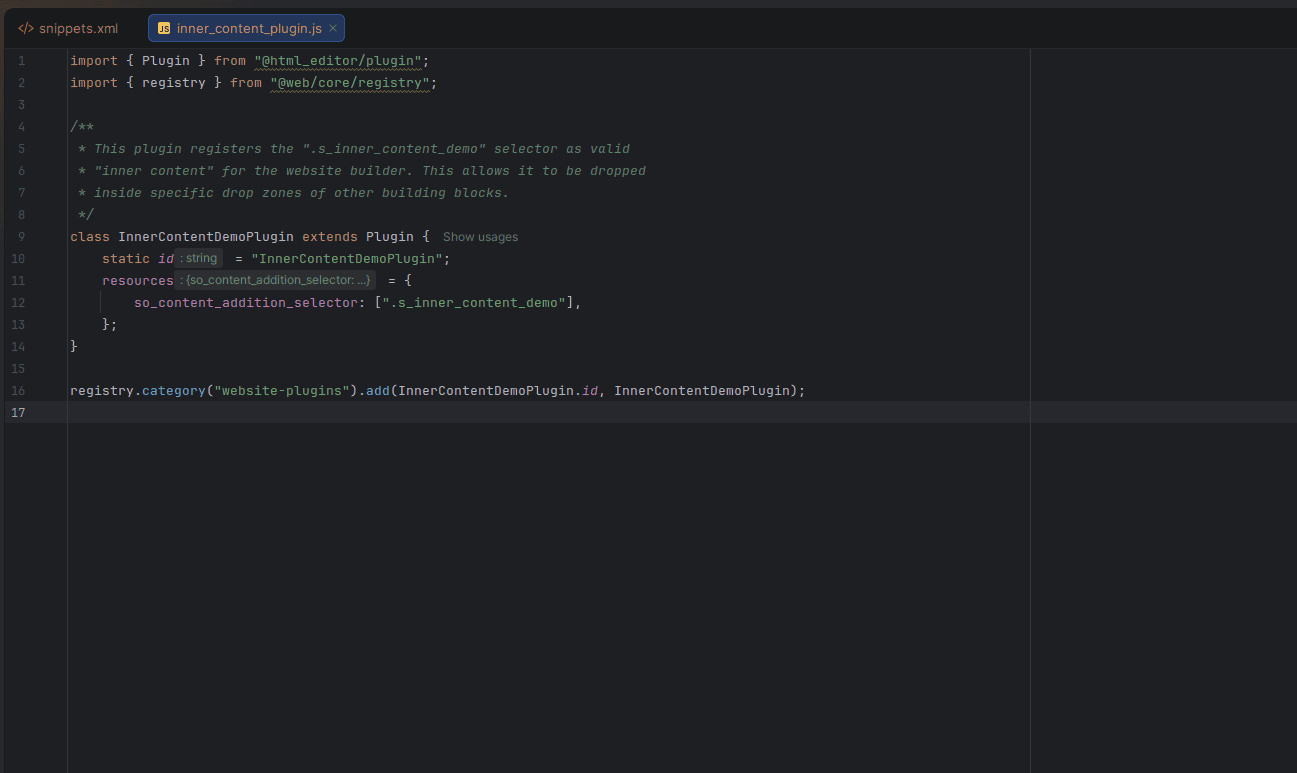
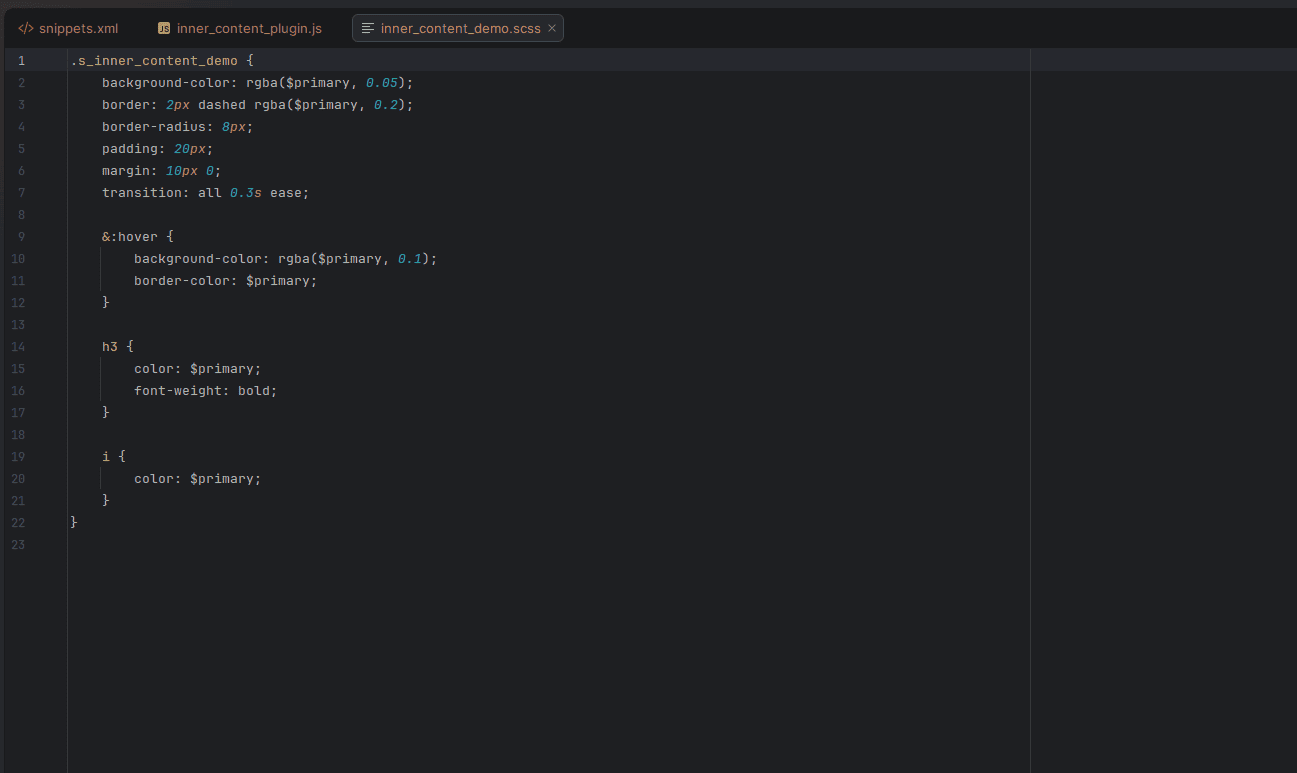
Step 4: Add Snippet Styling
To make your snippet look professional, add some SCSS styling.
.s_inner_content_demo {
   background-color: rgba($primary, 0.05);
   border: 2px dashed rgba($primary, 0.2);
   border-radius: 8px;
   padding: 20px;
   margin: 10px 0;
   transition: all 0.3s ease;
   &:hover {
       background-color: rgba($primary, 0.1);
       border-color: $primary;
   }
   h3 {
       color: $primary;
       font-weight: bold;
   }
}
Step 5: Bundle the Assets
Finally, ensure all your files are correctly listed in the __manifest__.py. In Odoo 19, the builder plugins should be included in the website.website_builder_assets bundle.

The creation of internal content snippets within Odoo version 19 is quite easy to do once you grasp how the QWeb template connects to the JavaScript builder plugin. You can refer to this blog to create a more interactive and flexible website experience for your users.
To read more about How to Create a Snippet in Odoo 18, refer to our blog How to Create a Snippet in Odoo 18.