Email marketing campaigns prove to be highly effective when it comes to engaging clients and promoting products and services. Even though Klaviyo offers numerous options for building a targeted email campaign and organizing customer audience segments, customers often store customer and mailing data in Odoo. Manually synchronizing these two systems may bring some complications, such as duplicate efforts, obsolete information, etc.
The Odoo Klaviyo Connector connects Odoo's Email Marketing module with Klaviyo. This connector helps smooth synchronization of mailing lists and contacts in both Odoo and Klaviyo. You are not only able to import existing mailing lists from Klaviyo into Odoo but also to export mailing lists that you have created in Odoo to Klaviyo.
This blog describes how to get a Klaviyo API key, set up the connector in Odoo, synchronize mailing lists and contacts, and check if synchronization was successful.
Generate a Private API Key in Klaviyo
The connector communicates with Klaviyo through its REST API. To configure Odoo, you should first create a Private API Key in your Klaviyo account.
Log in to your Klaviyo account.
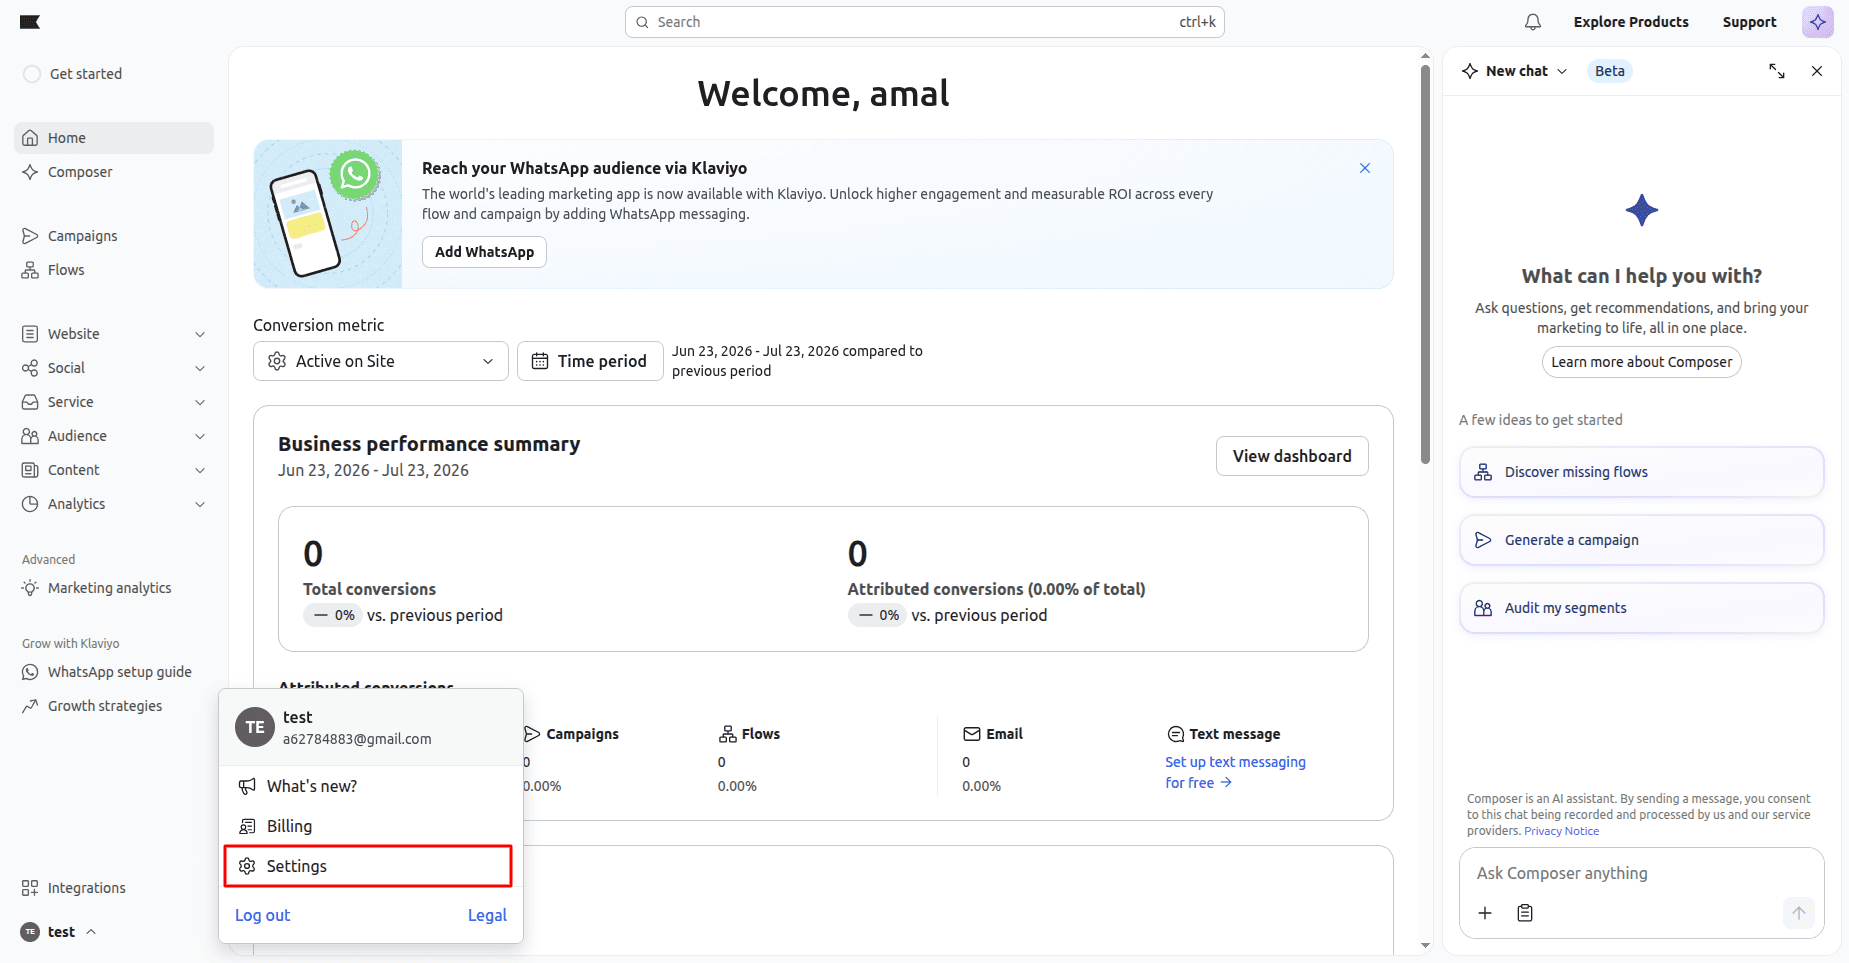
After logging in, open the account menu in the bottom-left corner and select Settings.
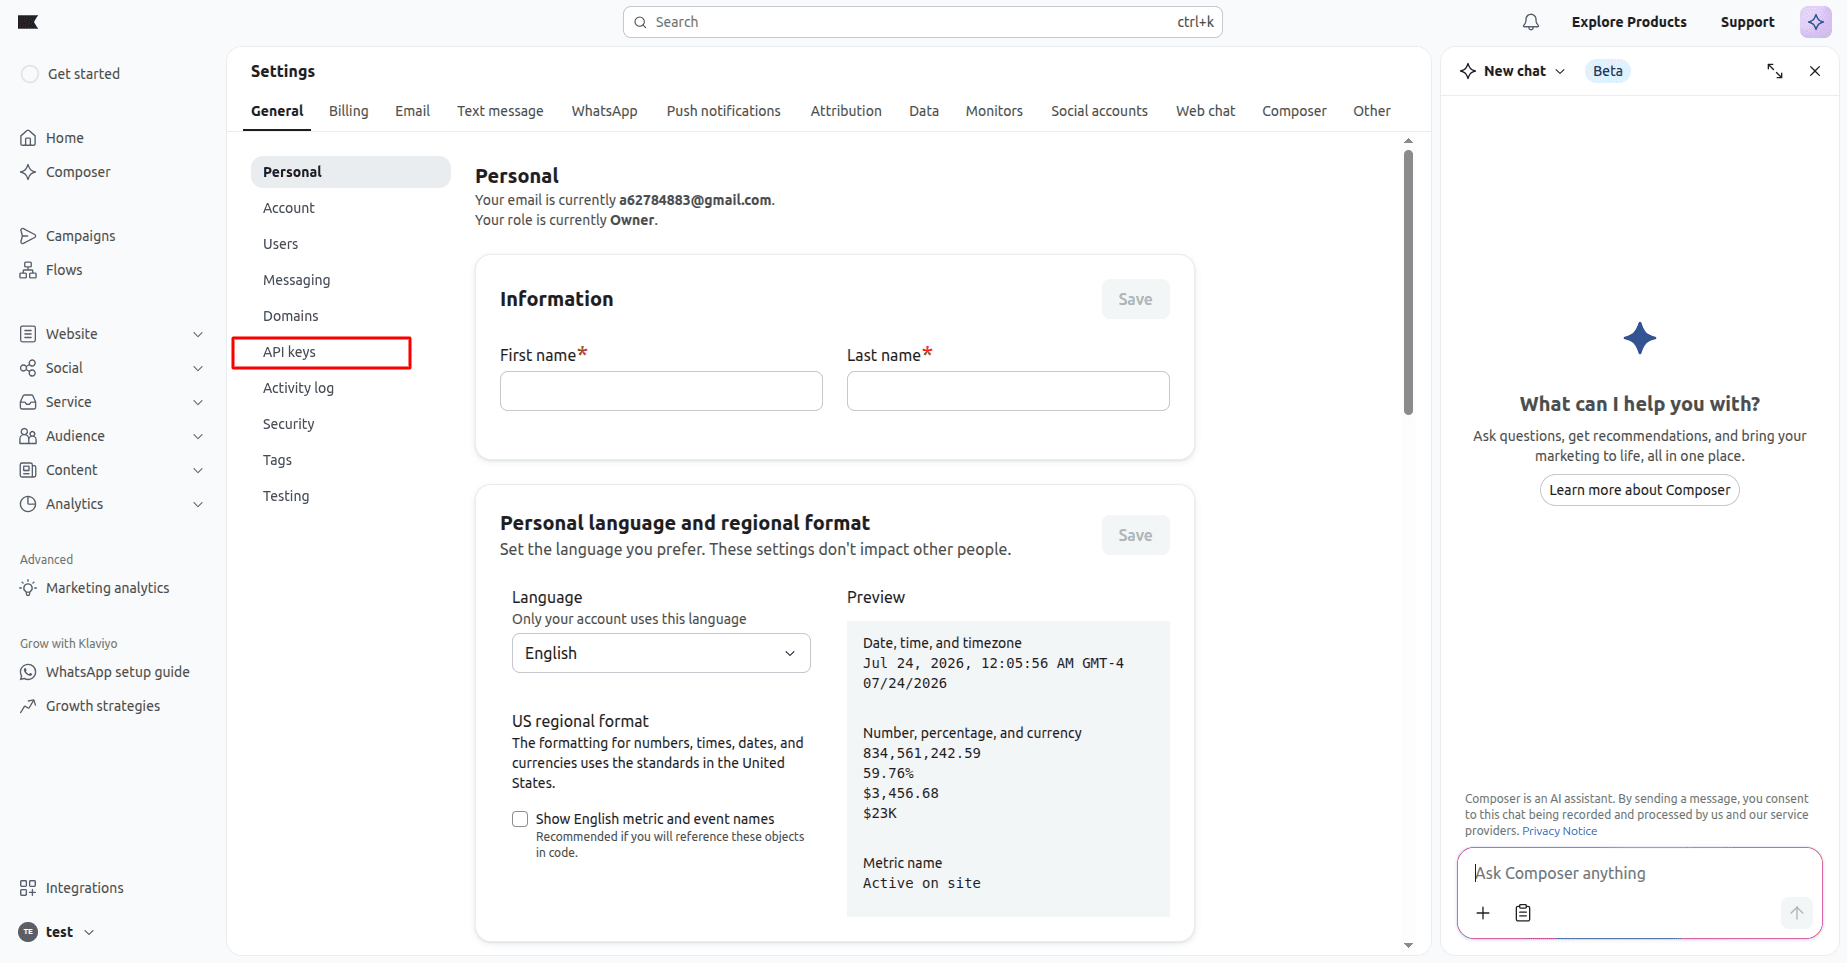
Click on API Keys under the Personal Section from the Settings page.
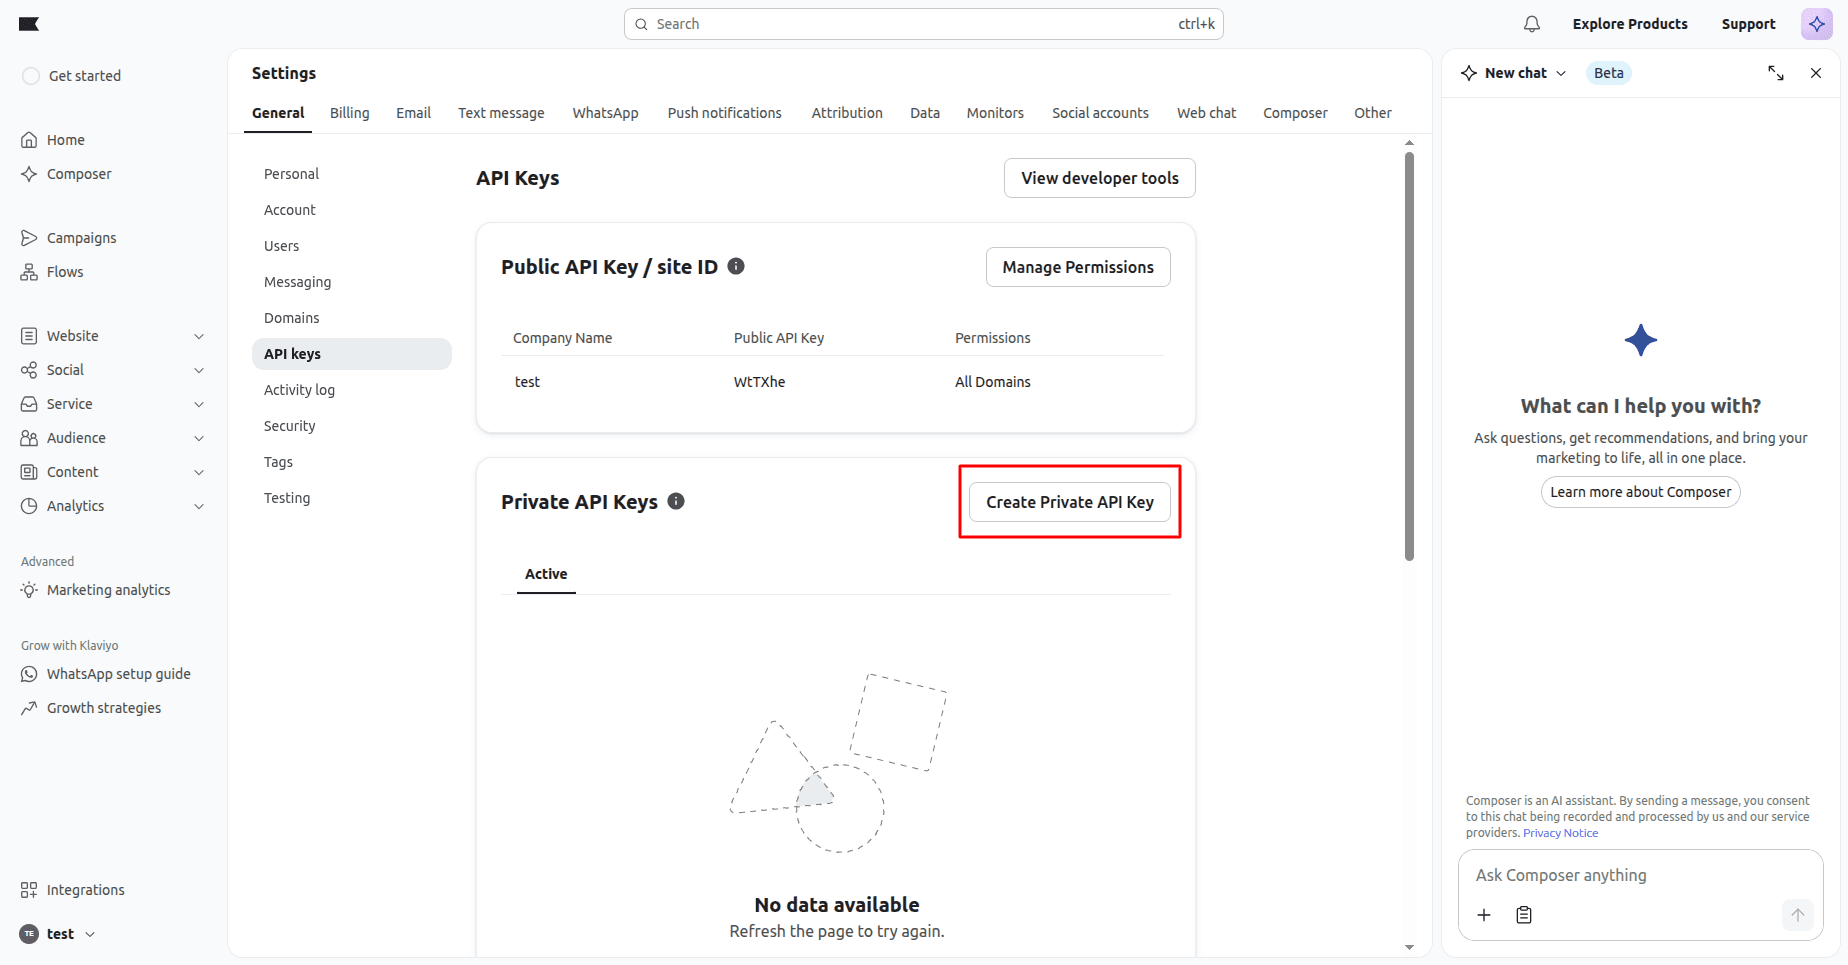
Your public and private API keys appear on the API Keys page. Click on Create Private API Key.
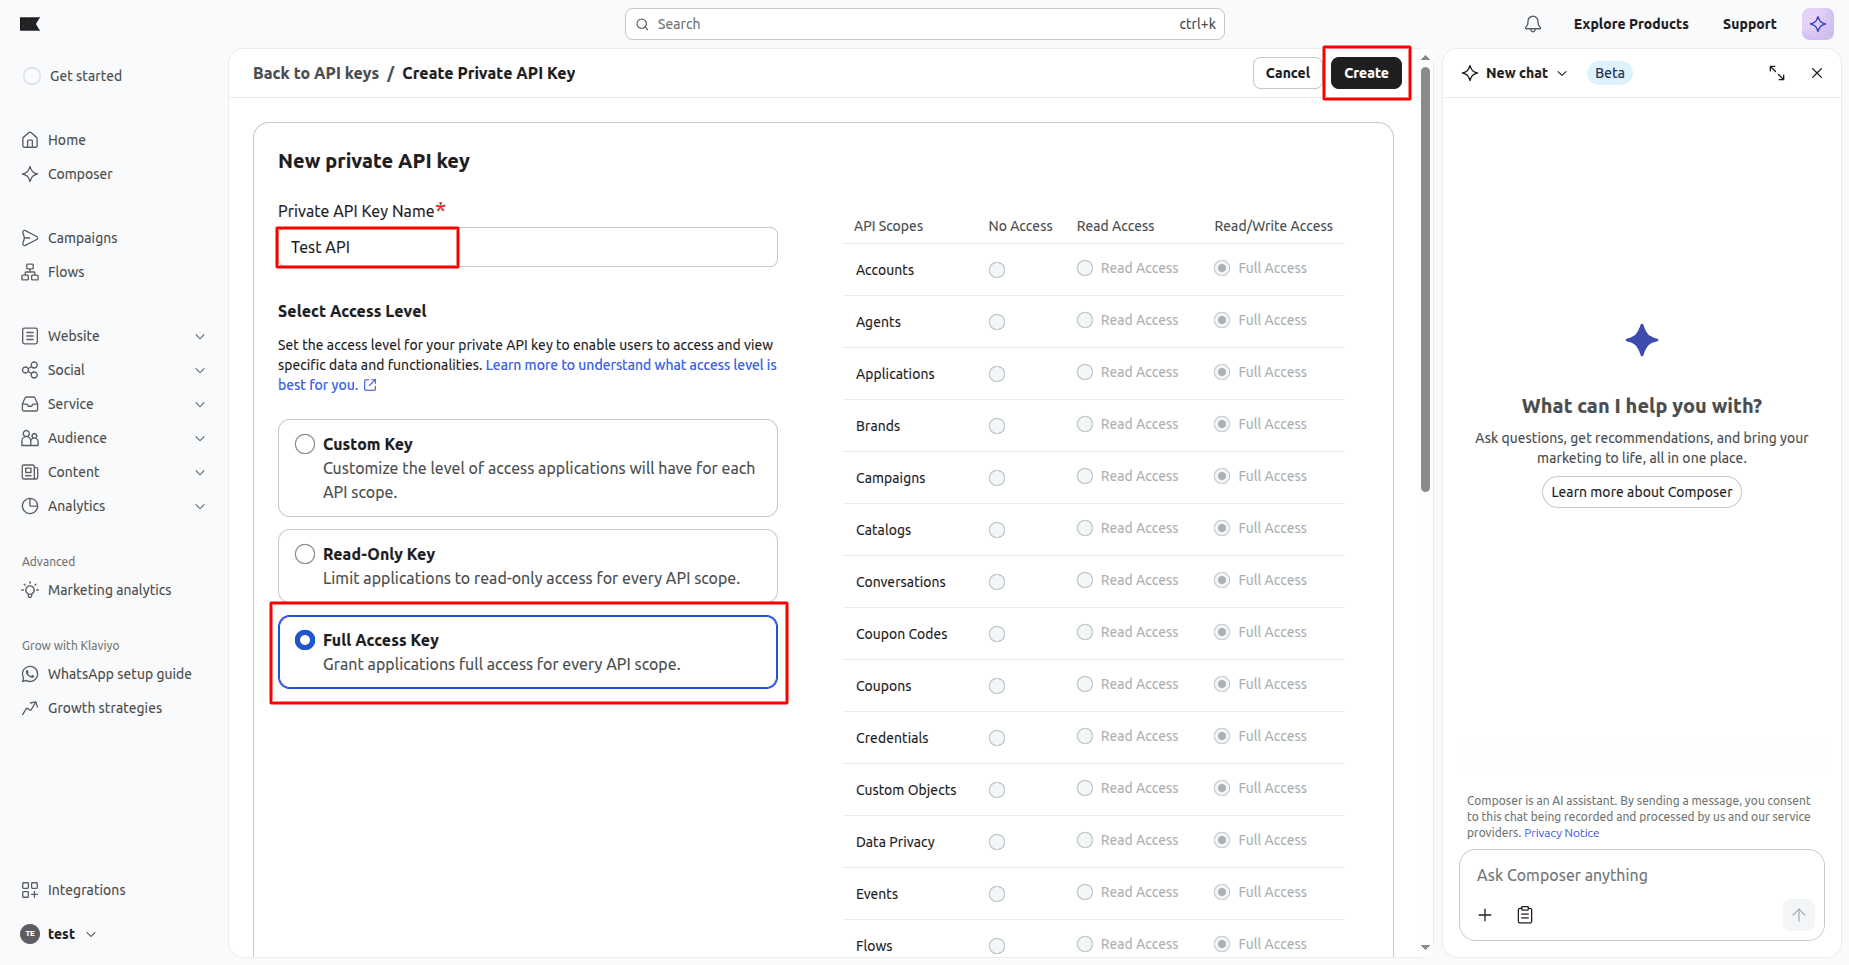
Give a suitable name to the key, e.g., Odoo Connector, choose Full Access Key, and click on Create.
The Full Access key gives permission to the connector to create mailing lists, get the existing list, handle profiles, and sync contact records from Klaviyo and Odoo.
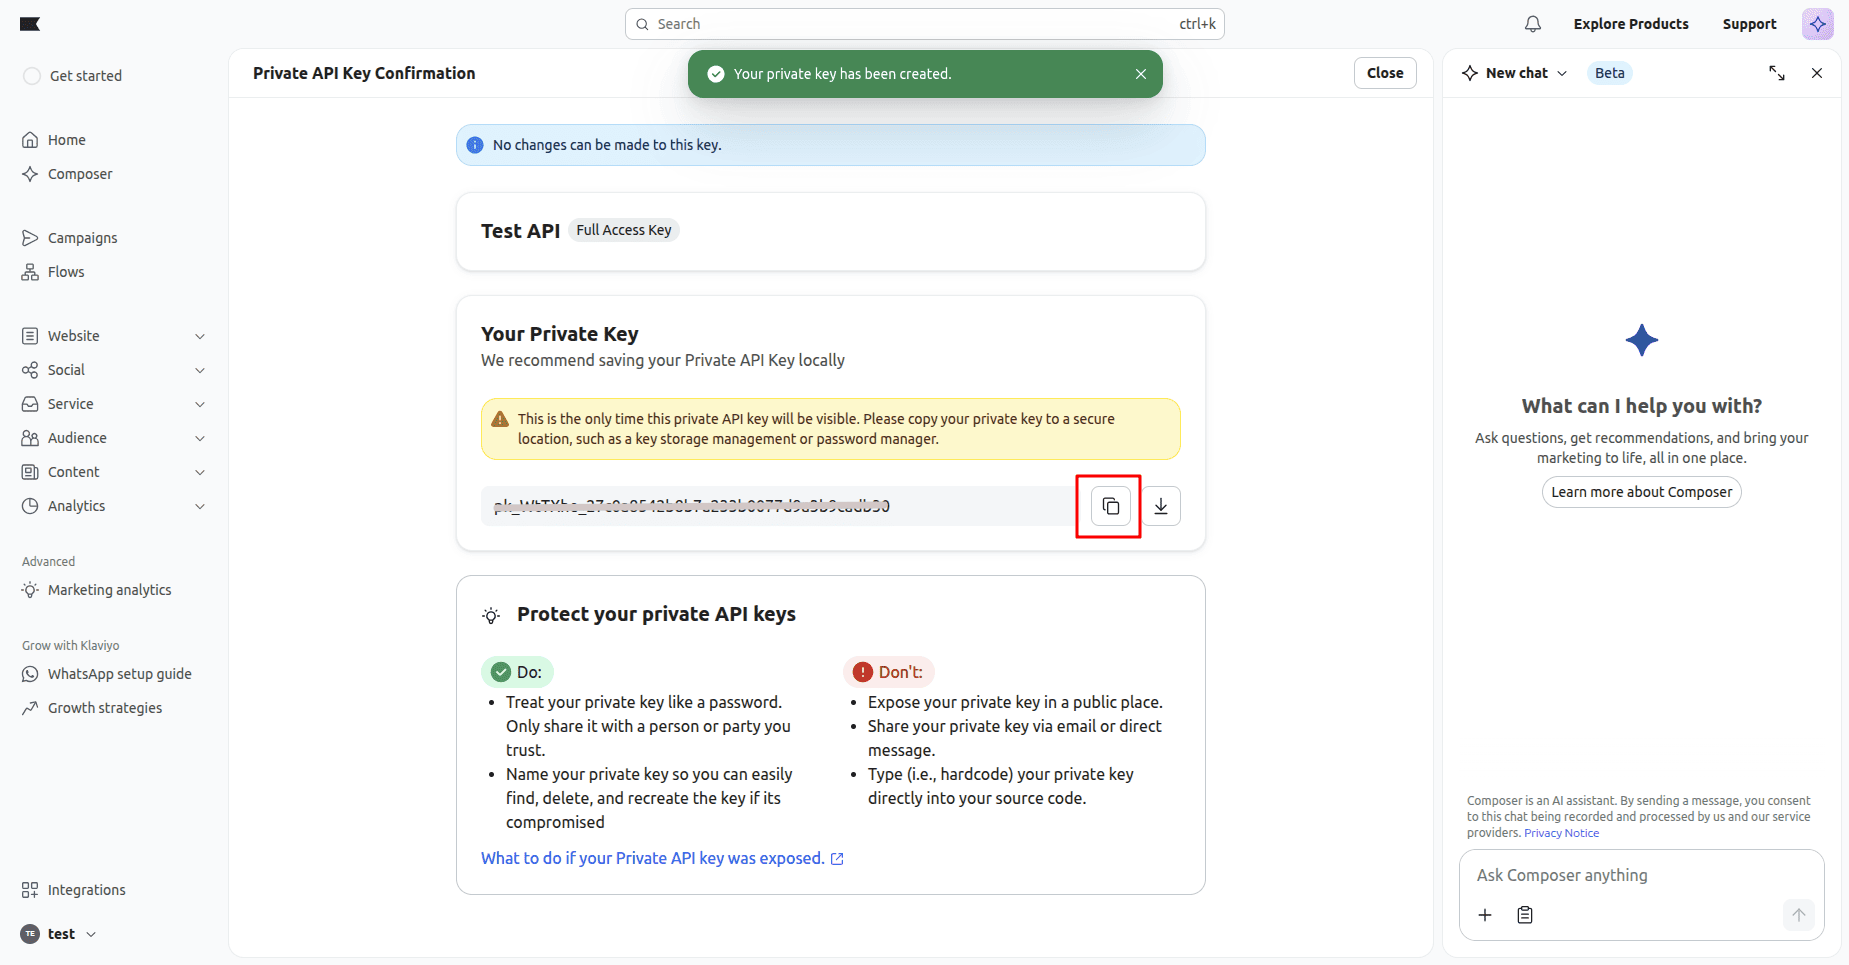
As soon as the key is created, Klaviyo shows it once. Save the generated Private API Key by copying it, as it is needed when configuring the connector in Odoo.
Configure the Klaviyo Connector in Odoo
After creating the API key, log in to your Odoo database and go to:
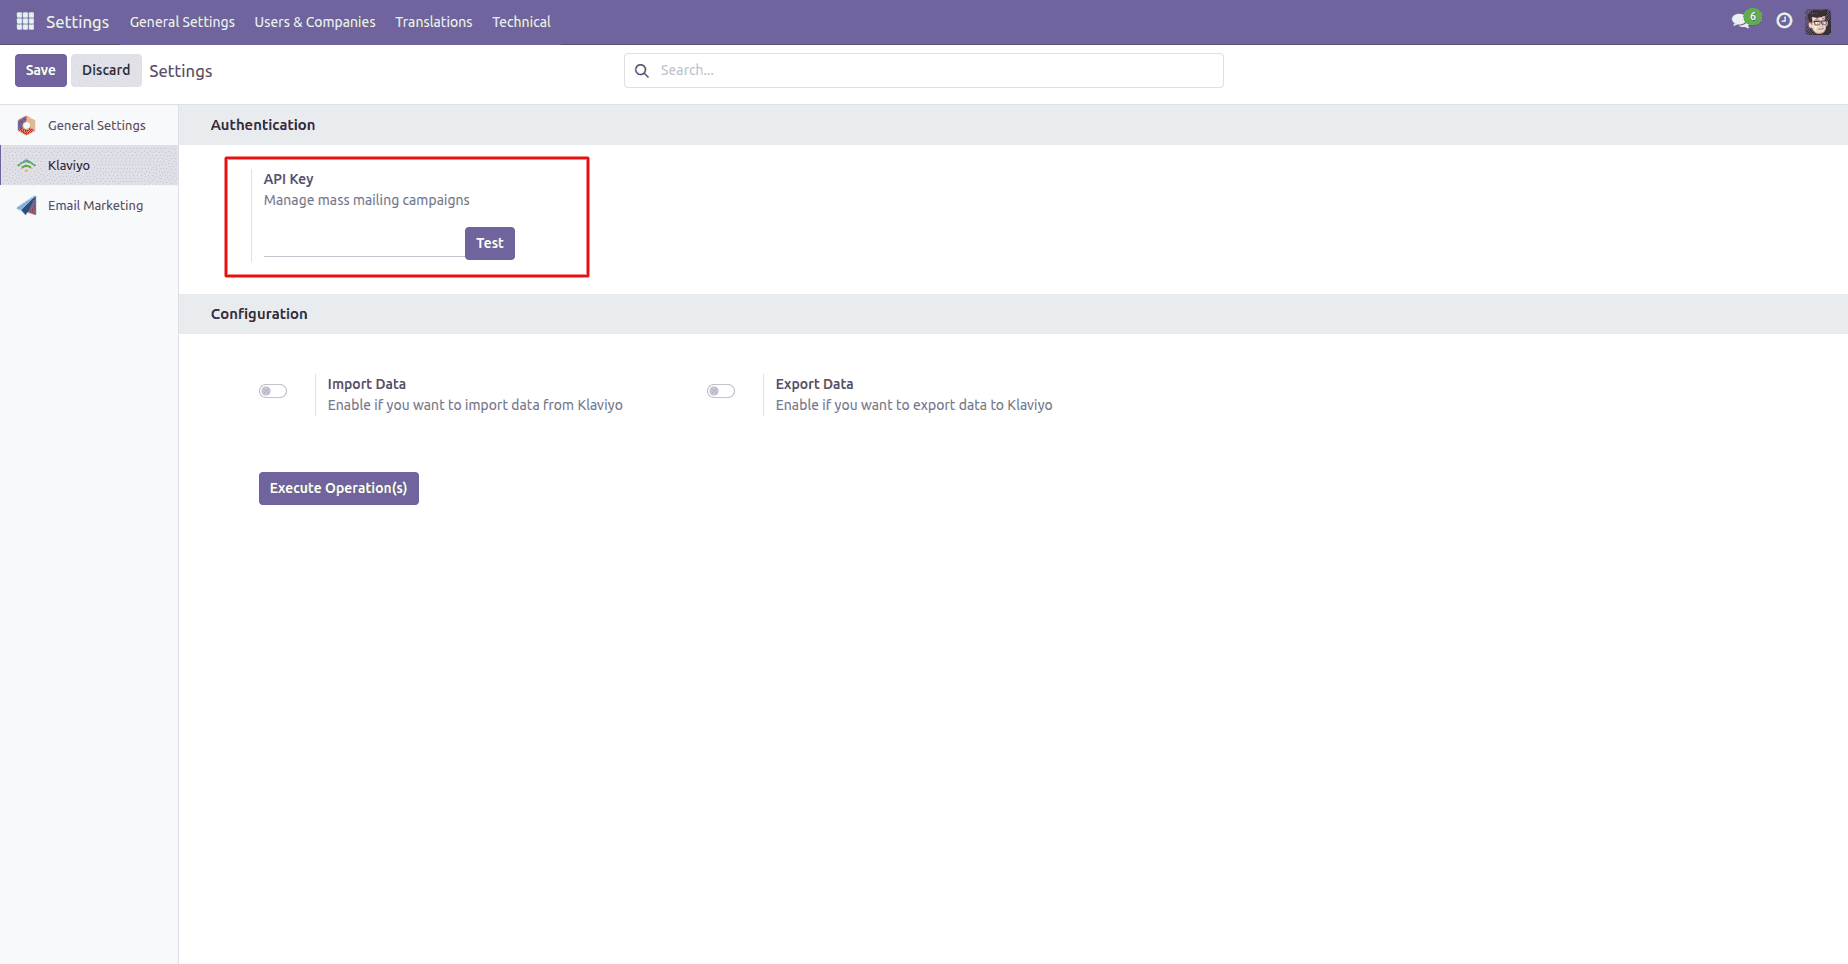
Settings > Klaviyo
This page has all the settings that are required for connecting with Klaviyo.
Paste the copied Private API Key in the API Key field.
Save the settings to save the API credentials.
Test the Klaviyo Connection
Before synchronizing any data, it is suggested to check if the connector is capable of communicating with your Klaviyo account.
Press the Test button next to the API Key.
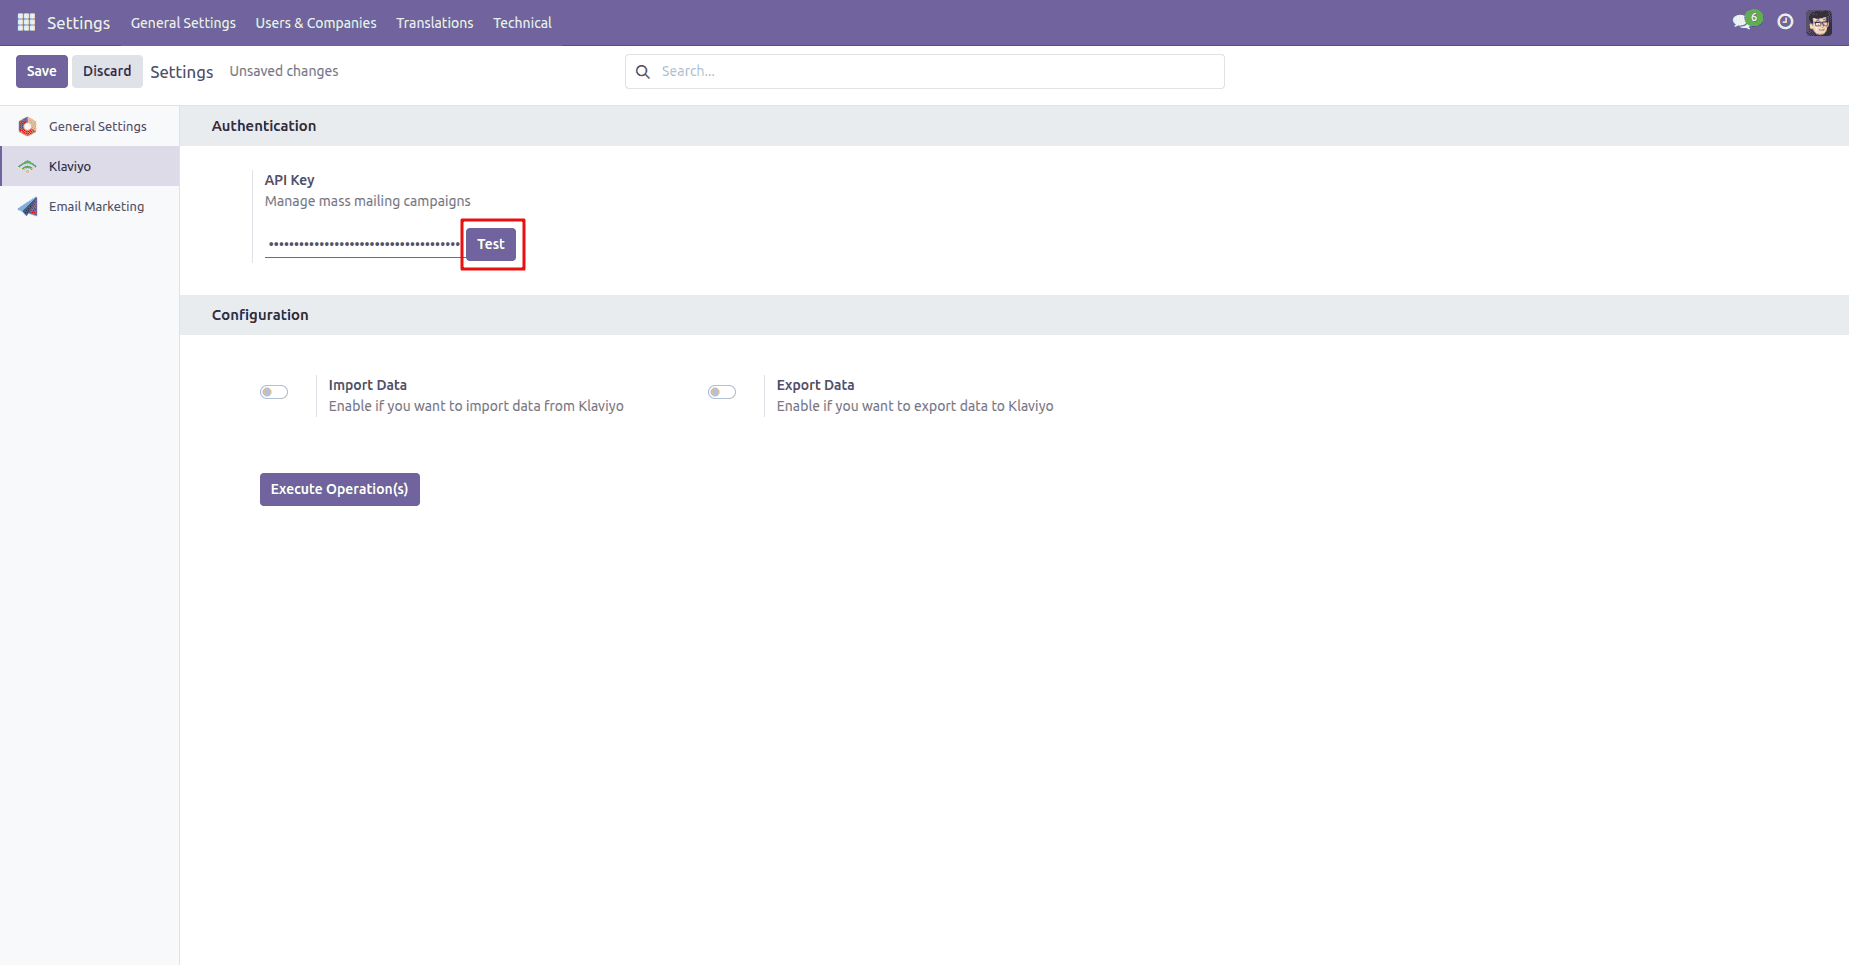
If the credentials are correct, Odoo shows a message stating that the connection was successful.
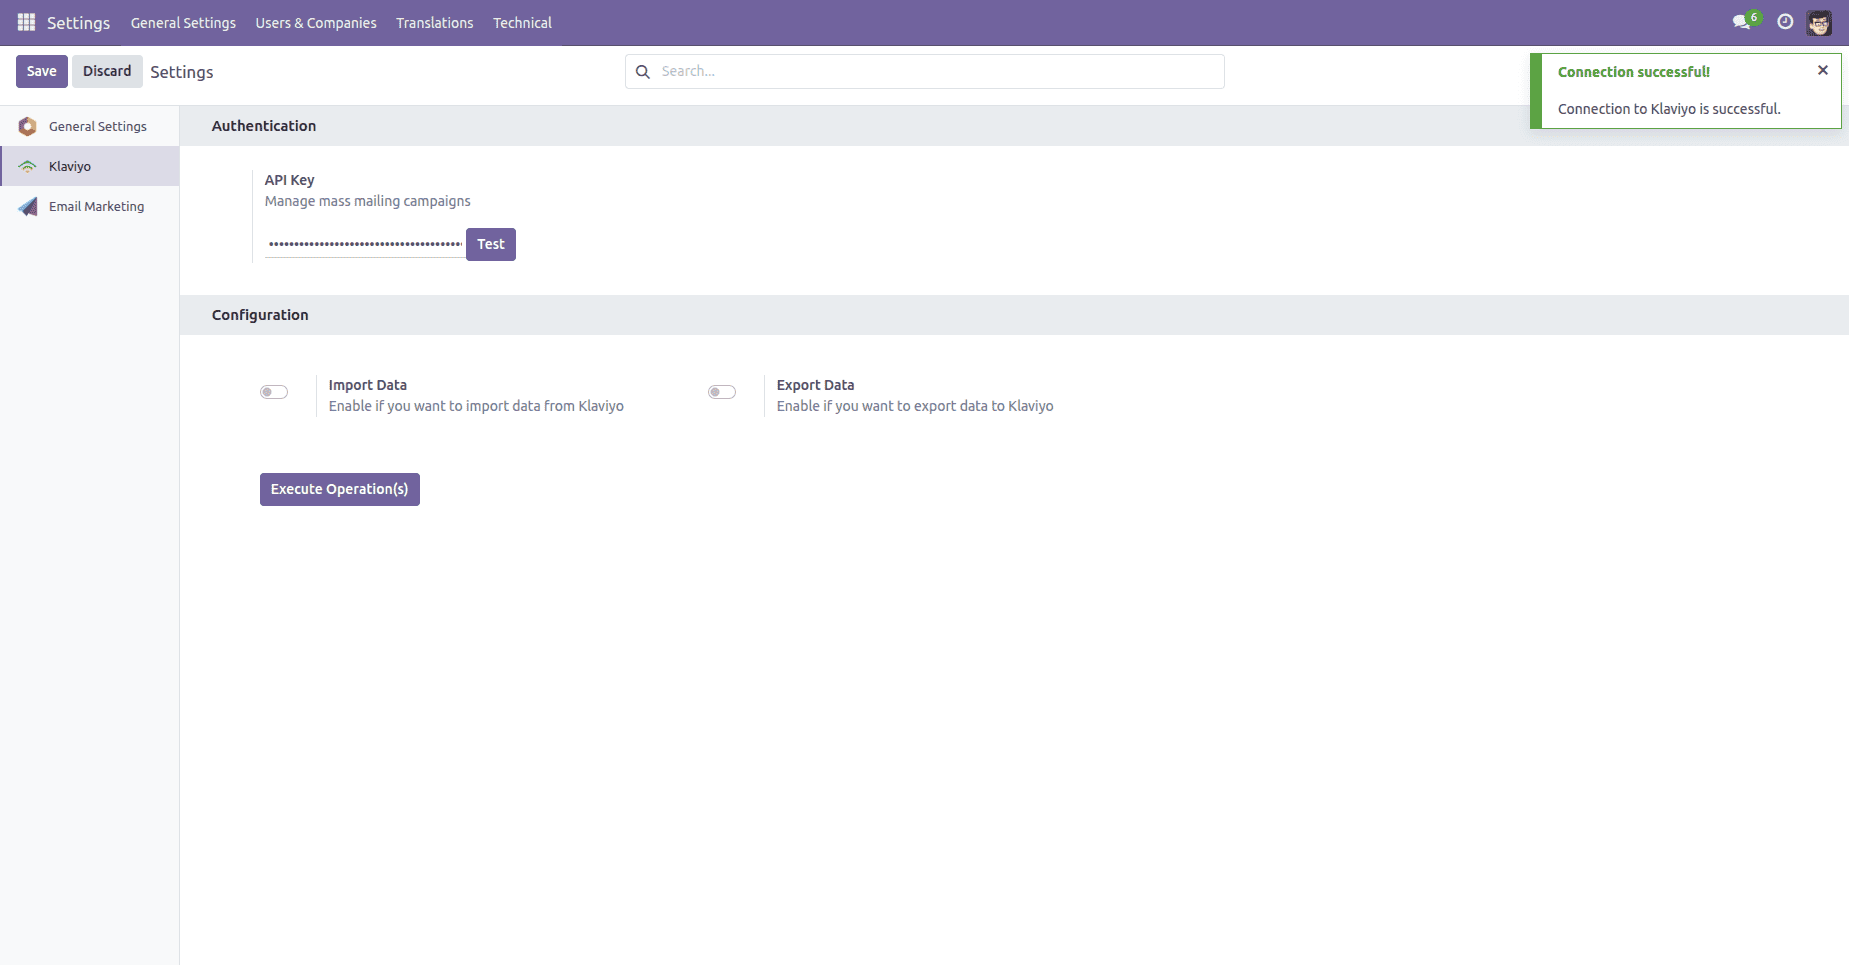
Thus, performing testing prior to synchronization allows you to check for any errors and invalid credentials, which will prevent the synchronization process from going smoothly.
Importing/Exporting Mailing Lists and Contacts
Once the connection has been checked, you can choose the desired direction of the synchronization depending on your needs.
There are two types of synchronization available:
- Import Data - this option imports mailing lists and contacts to Odoo from Klaviyo.
- Export Data - this option exports mailing lists and contacts to Klaviyo from Odoo.
Both options can be selected at once to ensure bi-directional synchronization.
Then, you should press the Execute Operation(s) button.
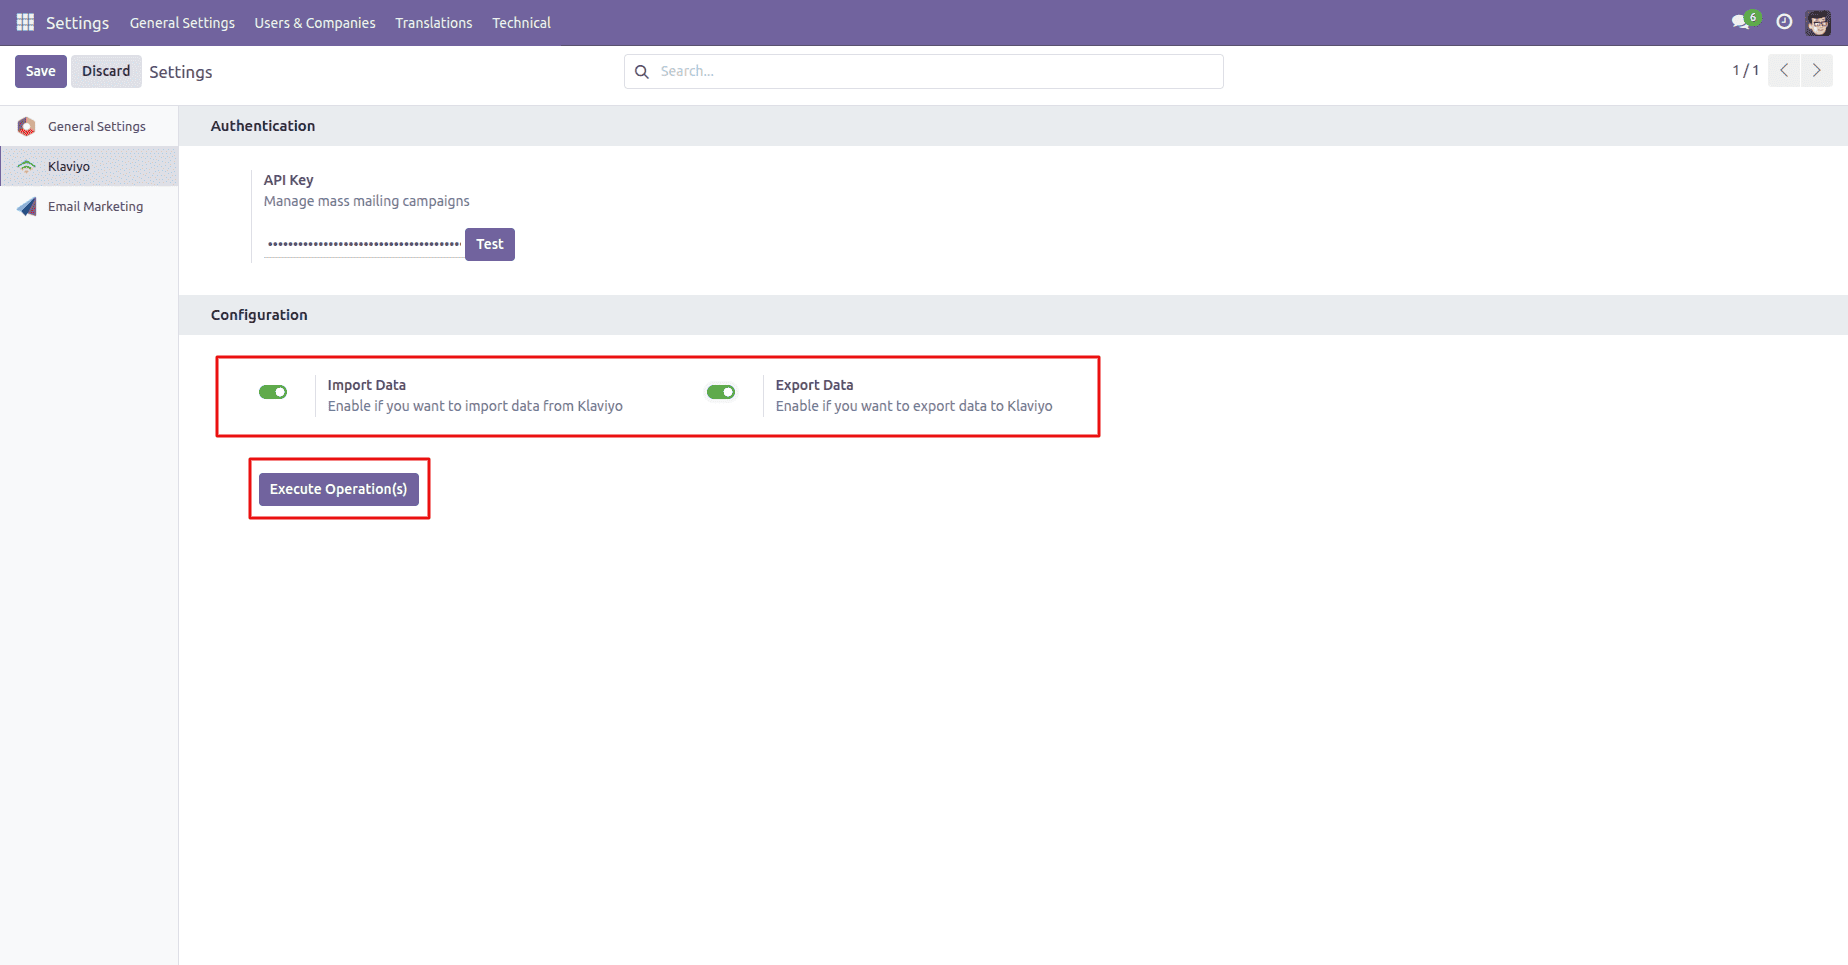
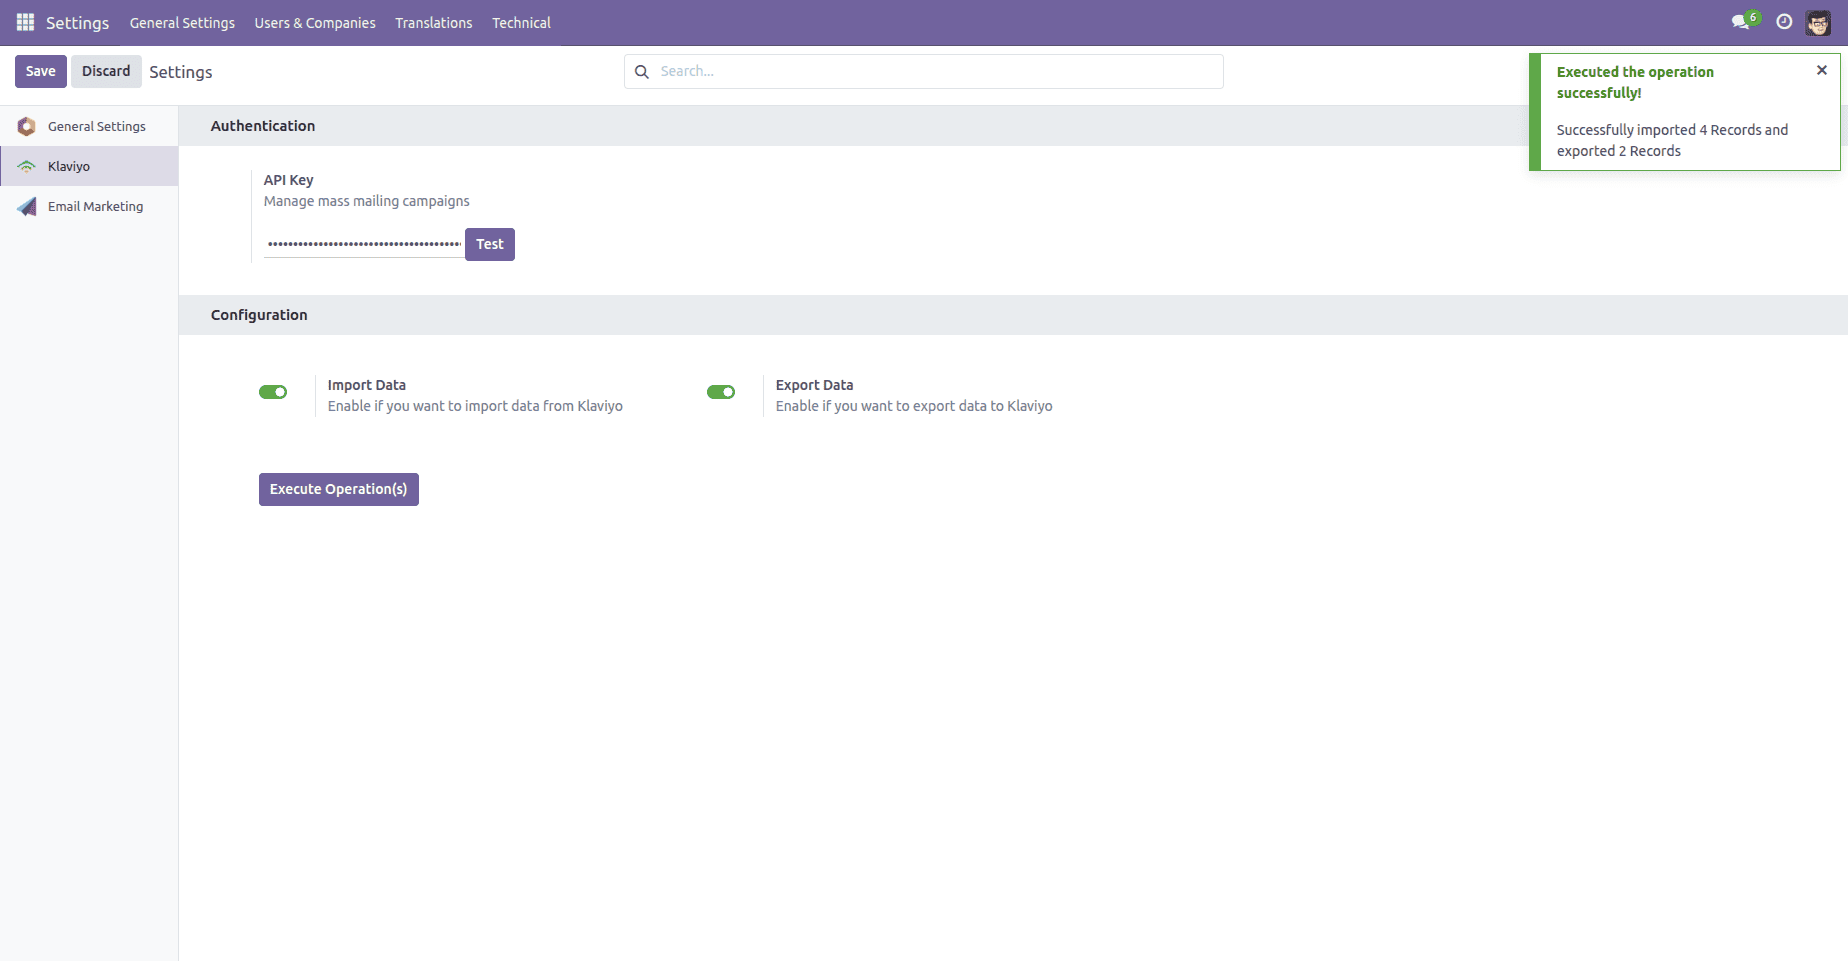
The connector will automatically execute the selected actions and show you a notification with a summary of synchronization results.
For example, the number of imported and exported records can be shown in it.
View Synchronized Klaviyo Lists in Odoo
After synchronization has finished, go to:
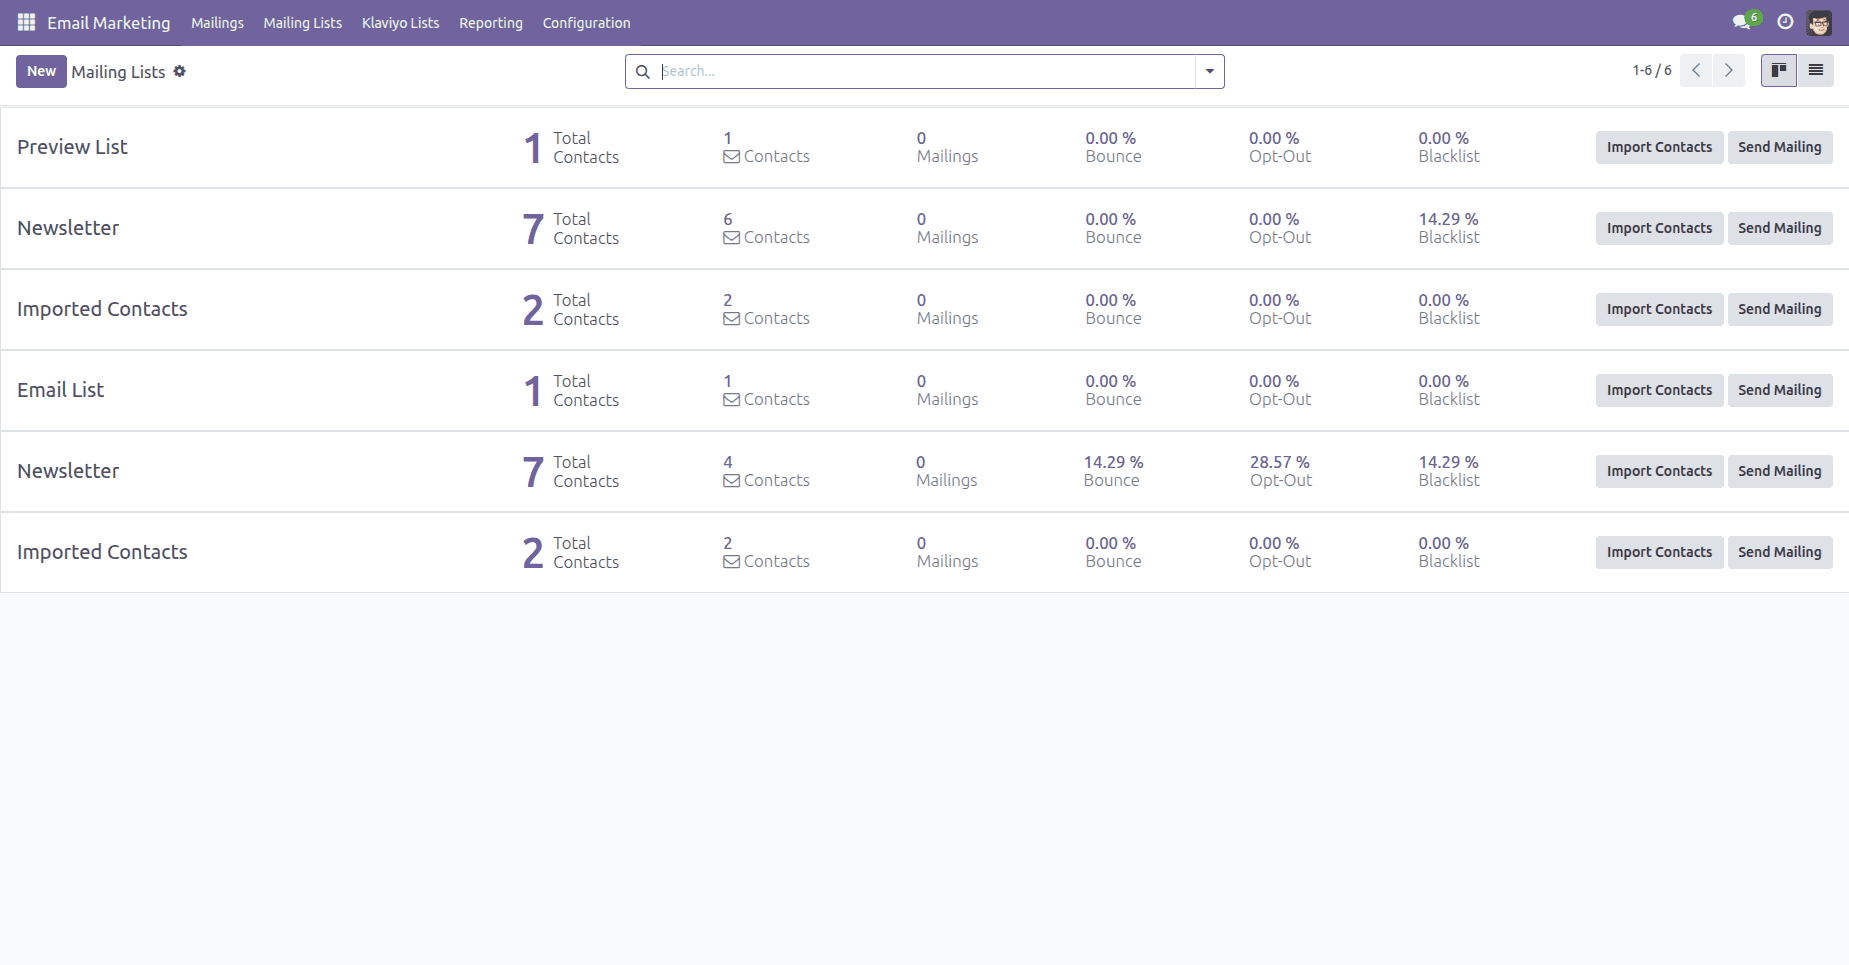
Email Marketing > Klaviyo Lists
The connector will create a special menu listing all mailing lists that have been synchronized with Klaviyo successfully.
Each record contains useful details like Name of the Mailing List, Number of Total Contacts, Number of Active Contacts, Number of Mailings, Percentage of Bounces, Percentage of Opt-outs, Percentage of Blacklists.
Thus, you will be able to easily view the list of synchronized mailing lists and continue to manage your email marketing campaigns right from Odoo.
Verify the Imported Lists in Klaviyo
To check the synchronization on Klaviyo's side, open your Klaviyo dashboard and go to:
Audience > Lists & Segments
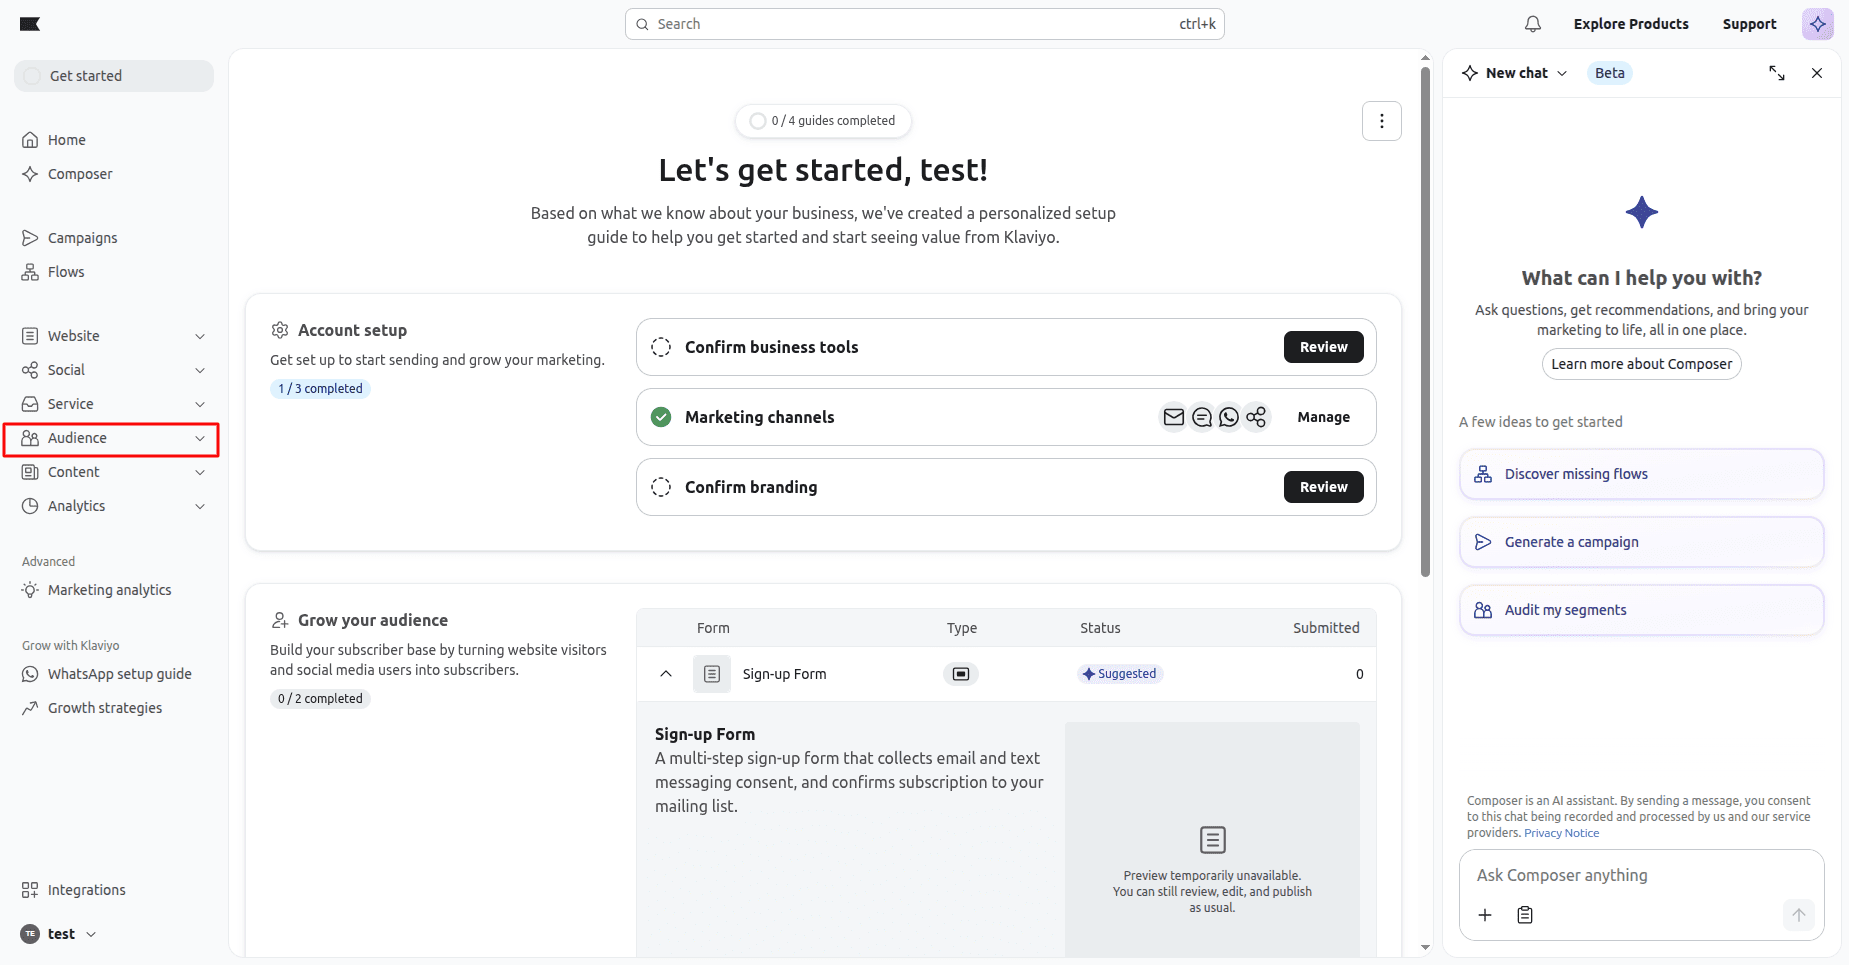
Open the Lists & Segments page.
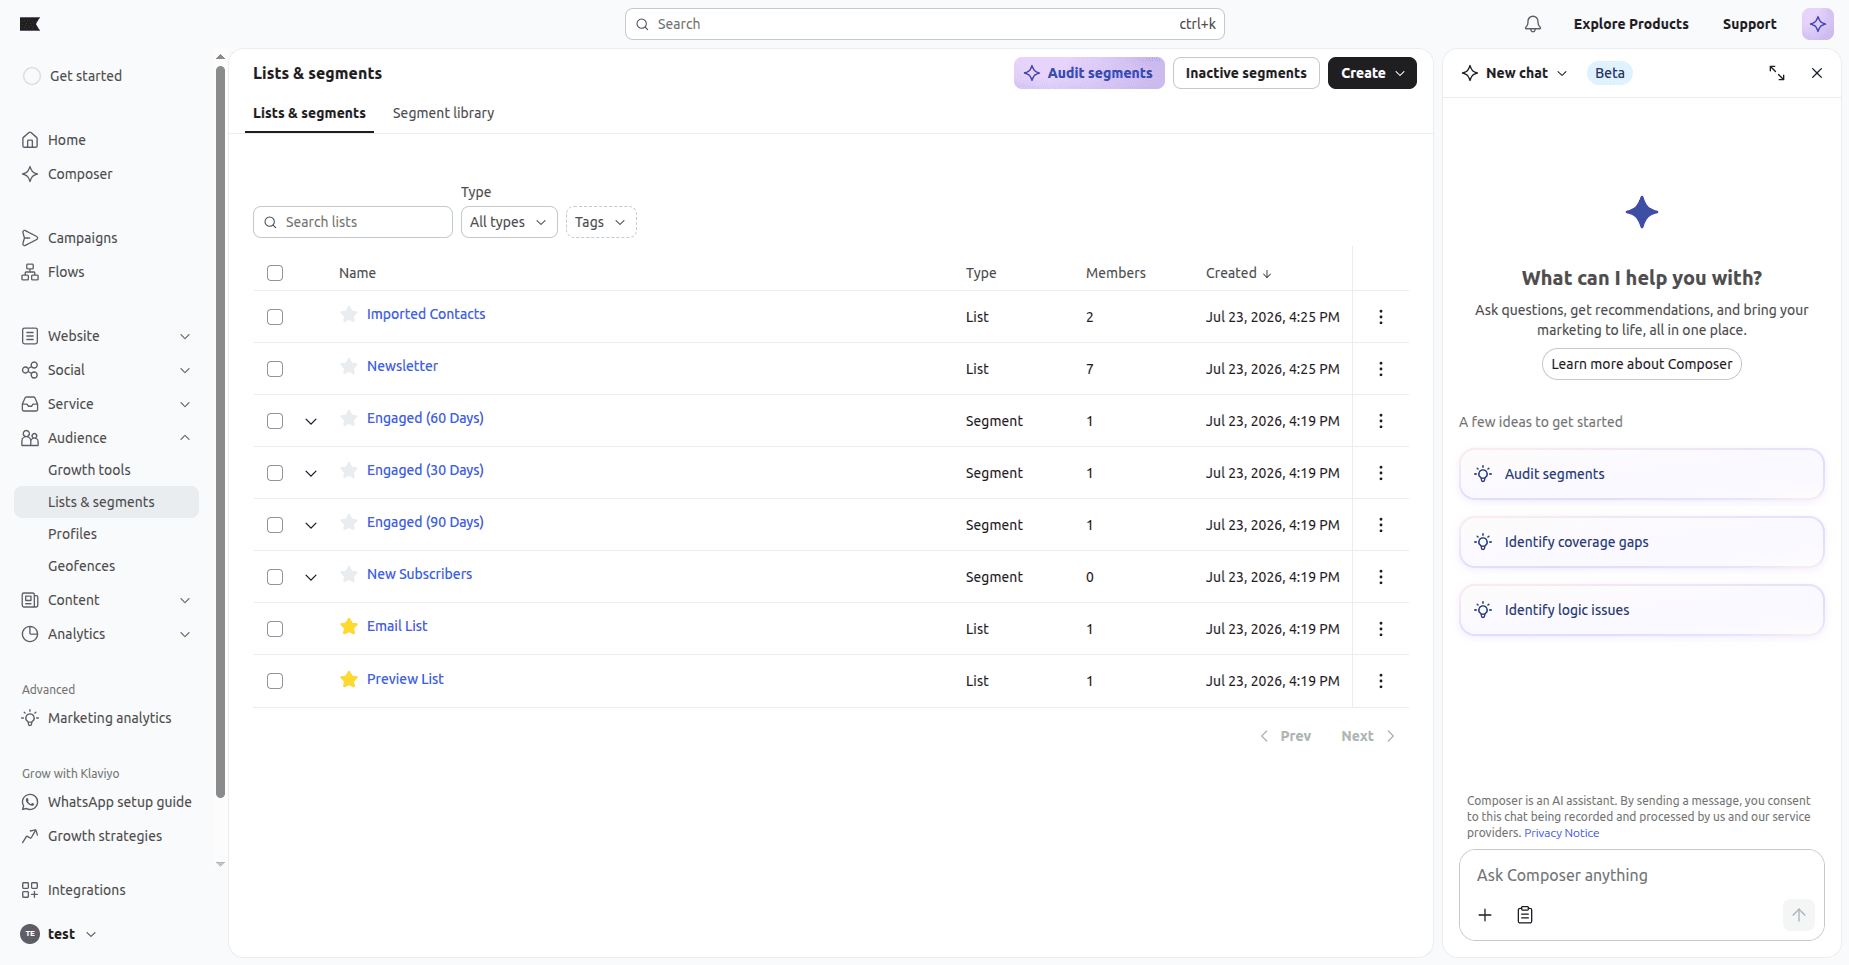
Here, you can see that the mailing lists synchronized from Odoo are also available in Klaviyo along with their contacts.
This confirmation makes sure that both applications will be in sync and use the same mailing data for future marketing campaigns.
How the Synchronization Works
Odoo Klaviyo Connector facilitates bidirectional synchronization of Odoo Email Marketing with Klaviyo.
Import Process (Klaviyo > Odoo)
Once the Import Data option is enabled in the connector,
- Connects to the Klaviyo API using the configured Private API Key.
- Downloads all mailing lists available in Klaviyo.
- Creates mailing lists in Odoo when those lists are not present already.
- Imports all associated contacts for all the mailing lists.
- Stores all Klaviyo identifiers internally to prevent duplication in future synchronization.
This feature allows organizations to keep handling their Klaviyo mailing lists directly in Odoo.
Export Process (Odoo > Klaviyo)
Once the Export Data option is enabled in the connector,
- Finds out all mailing lists created in Odoo and which are not yet synchronized.
- Creates mailing lists in Klaviyo.
- Exports all associated contacts for each mailing list.
- Links the contacts to Klaviyo mailing lists automatically.
- Stores all Klaviyo identifiers for future synchronization.
It will ensure that the customers created inside Odoo become instantly available for email campaigns in Klaviyo.
Odoo Klaviyo Connector makes it easy to integrate Odoo Email Marketing with Klaviyo by automating the process of syncing mailing lists and contacts. Rather than managing their customer audiences on both platforms separately, businesses can control their mailing data through Odoo and ensure that Klaviyo has up-to-date data to run email marketing campaigns.
The connector offers a reliable solution to keep marketing data consistent between both systems, with secure API authentication, connection testing, configurable import and export options, and dedicated synchronisation menus. Whether you are migrating existing Klaviyo audiences into Odoo or exporting Odoo mailing lists to Klaviyo, the connector simplifies the whole workflow and saves manual work.
To read more about How to Manage Waste Efficiently in Odoo 19 with Waste Management ERP, refer to our blog How to Manage Waste Efficiently in Odoo 19 with Waste Management ERP.