As technology and business are rapidly evolving, organizations look for safe and easy ways to accept and process online payments through electronic commerce and digital transactions. Odoo is a flexible integrated platform with many capabilities for configuring several types of payment processors your business may want to utilize. Odoo will help companies adjust their business operations and improve their payment processing capabilities.
In this article, we will explore how to set up payment providers to accept online transactions through Odoo 19.
The Payment Providers Dashboard
The primary dashboard can be used to handle your payment processors.
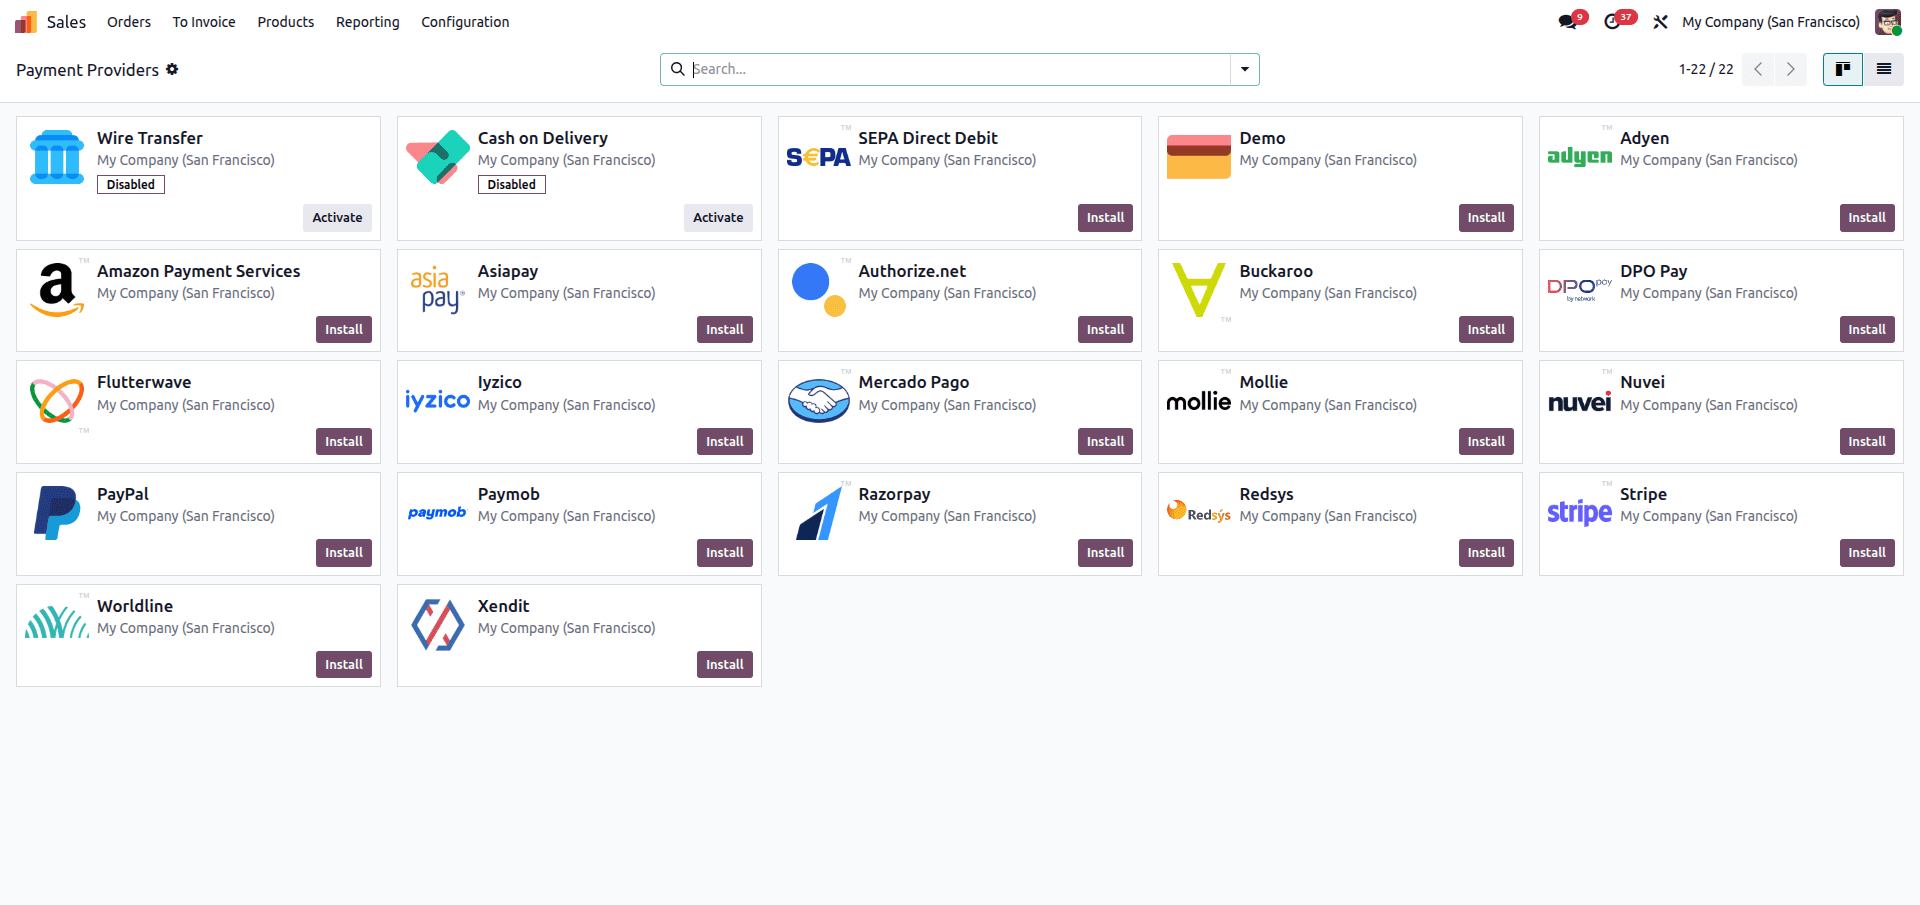
To set up your payment processors, go to Setup > Payment Providers to access the Payment Providers Configuration Page, where you can see a list of all of your installed payment providers (such as Stripe, PayPal, and Asiapay) and their current status, as well as add additional providers as your company expands.
Setting the Provider State
Back in the Payment Provider form, the State field is the first control you should check.
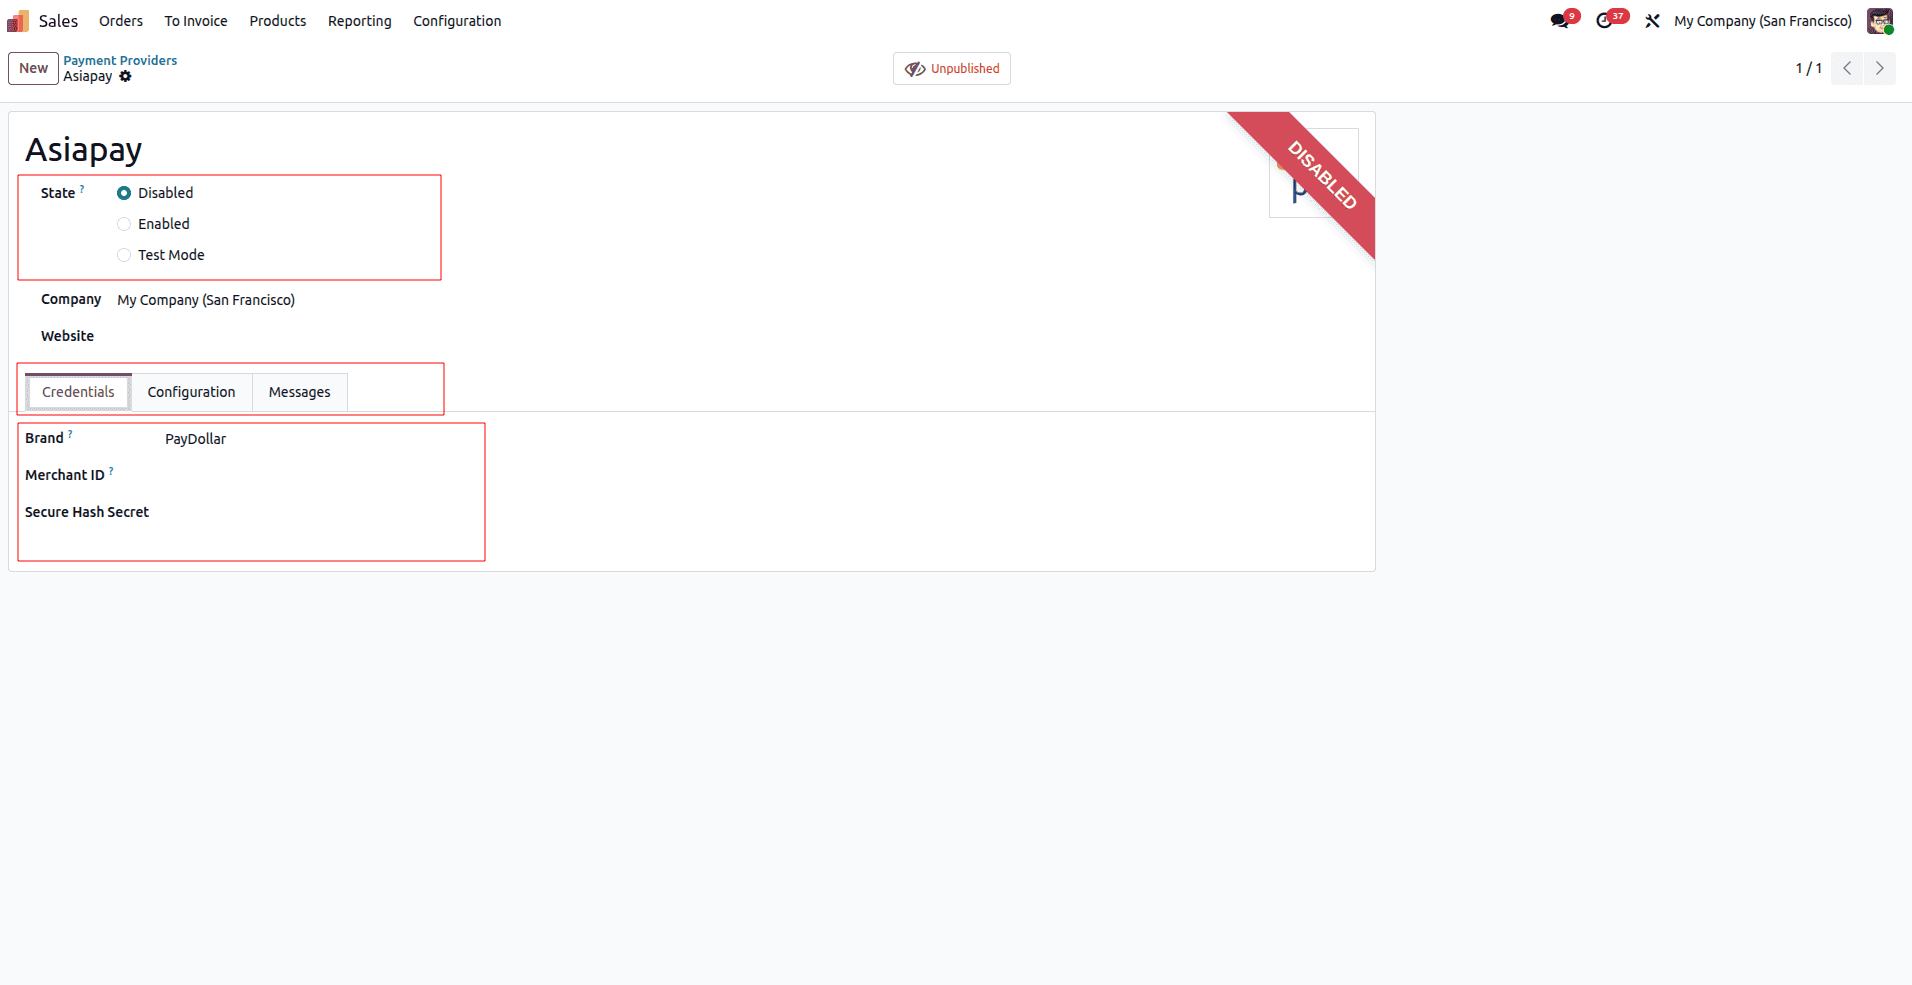
Use the State field to define the provider's mode:
- Disabled: The provider is off.
- Enabled: The provider is live and processing real money.
- Test Mode: The provider is active for simulation. Always start in Test Mode before going live.
For a provider to function, it must authenticate with the payment gateway. This is handled in the Credentials tab.
This section is unique to each provider. For example, with Asiapay, you must enter the Brand, Merchant ID, and Secure Hash Secret. These credentials secure the connection between Odoo and the banking institution.
General Configuration
Let's look at the Configuration tab of a payment provider (e.g., Asiapay). This section allows you to define the essential availability rules and accounting links.
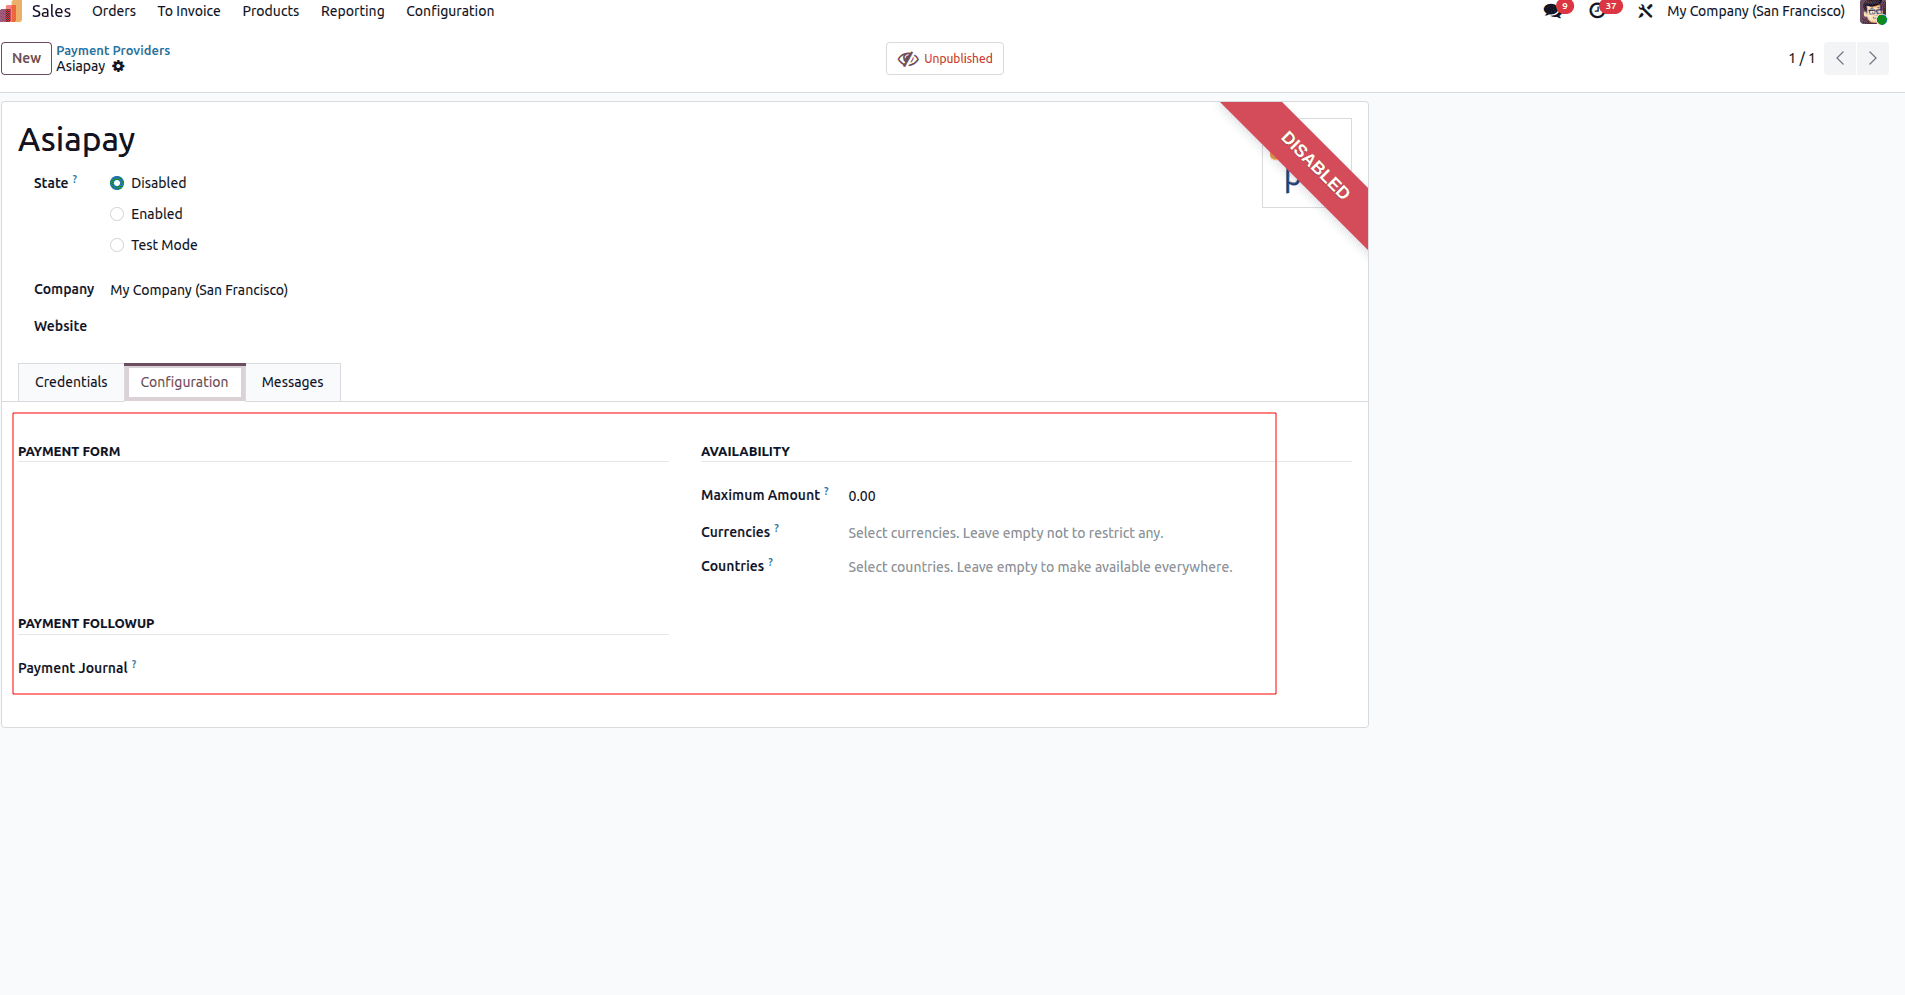
The Configuration tab is used to set the Payment Form type and Availability features. The Maximum Amount field indicates the highest payment amount permissible for this provider. You can also restrict the provider to specific Currencies or Countries; leaving these fields blank extends availability everywhere. Finally, choosing the correct Payment Journal is crucial for ensuring that transactions are recorded in the correct accounting ledger.
Customizing Messages
You can personalize the communication your customers receive during the payment process.
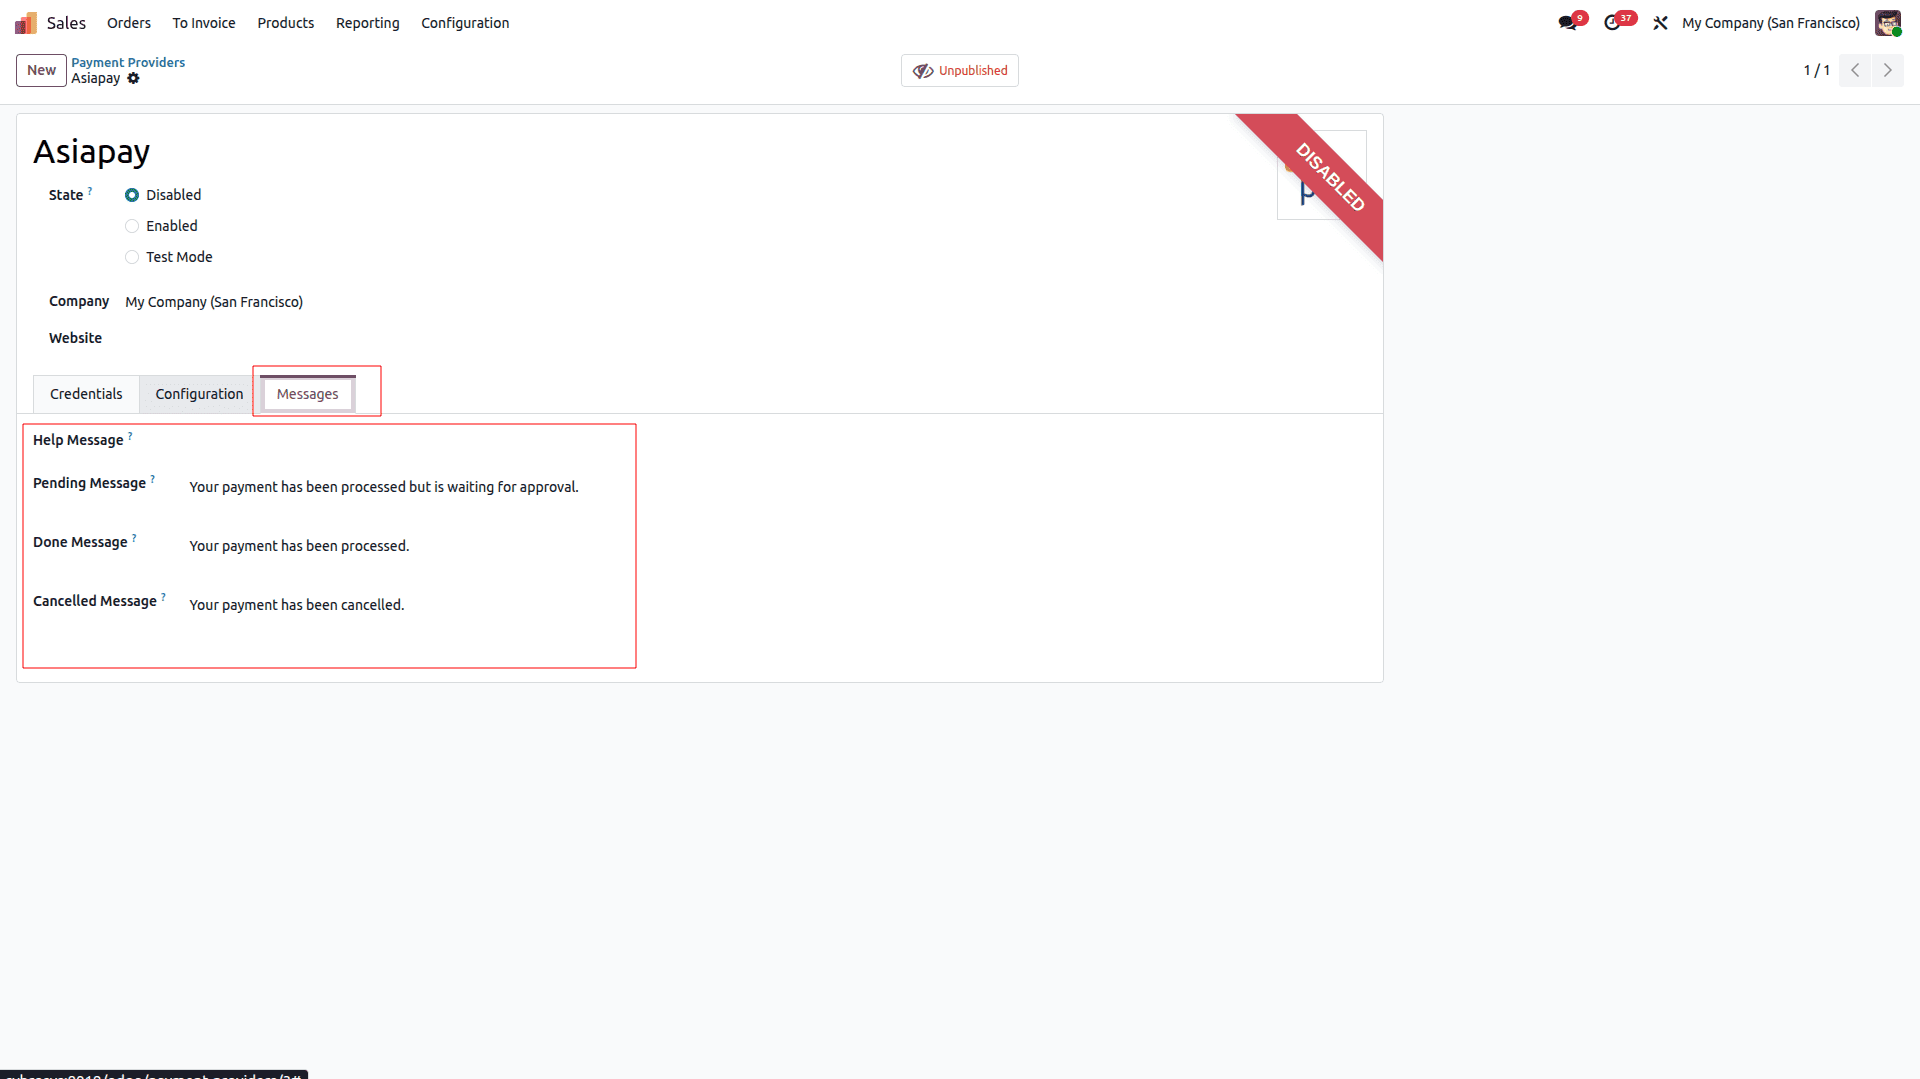
The Messages tab allows you to define custom text for:
- Help Message: Instructions for the user.
- Pending Message: Status updates for asynchronous payments.
- Done Message: Success notifications.
- Cancelled Message: Alerts for failed transactions.
Enabling Payment Methods
Once the provider is configured, you must ensure the specific payment methods are active. These are the actual options the customer will see (e.g., Card, Demo, Apple Pay).
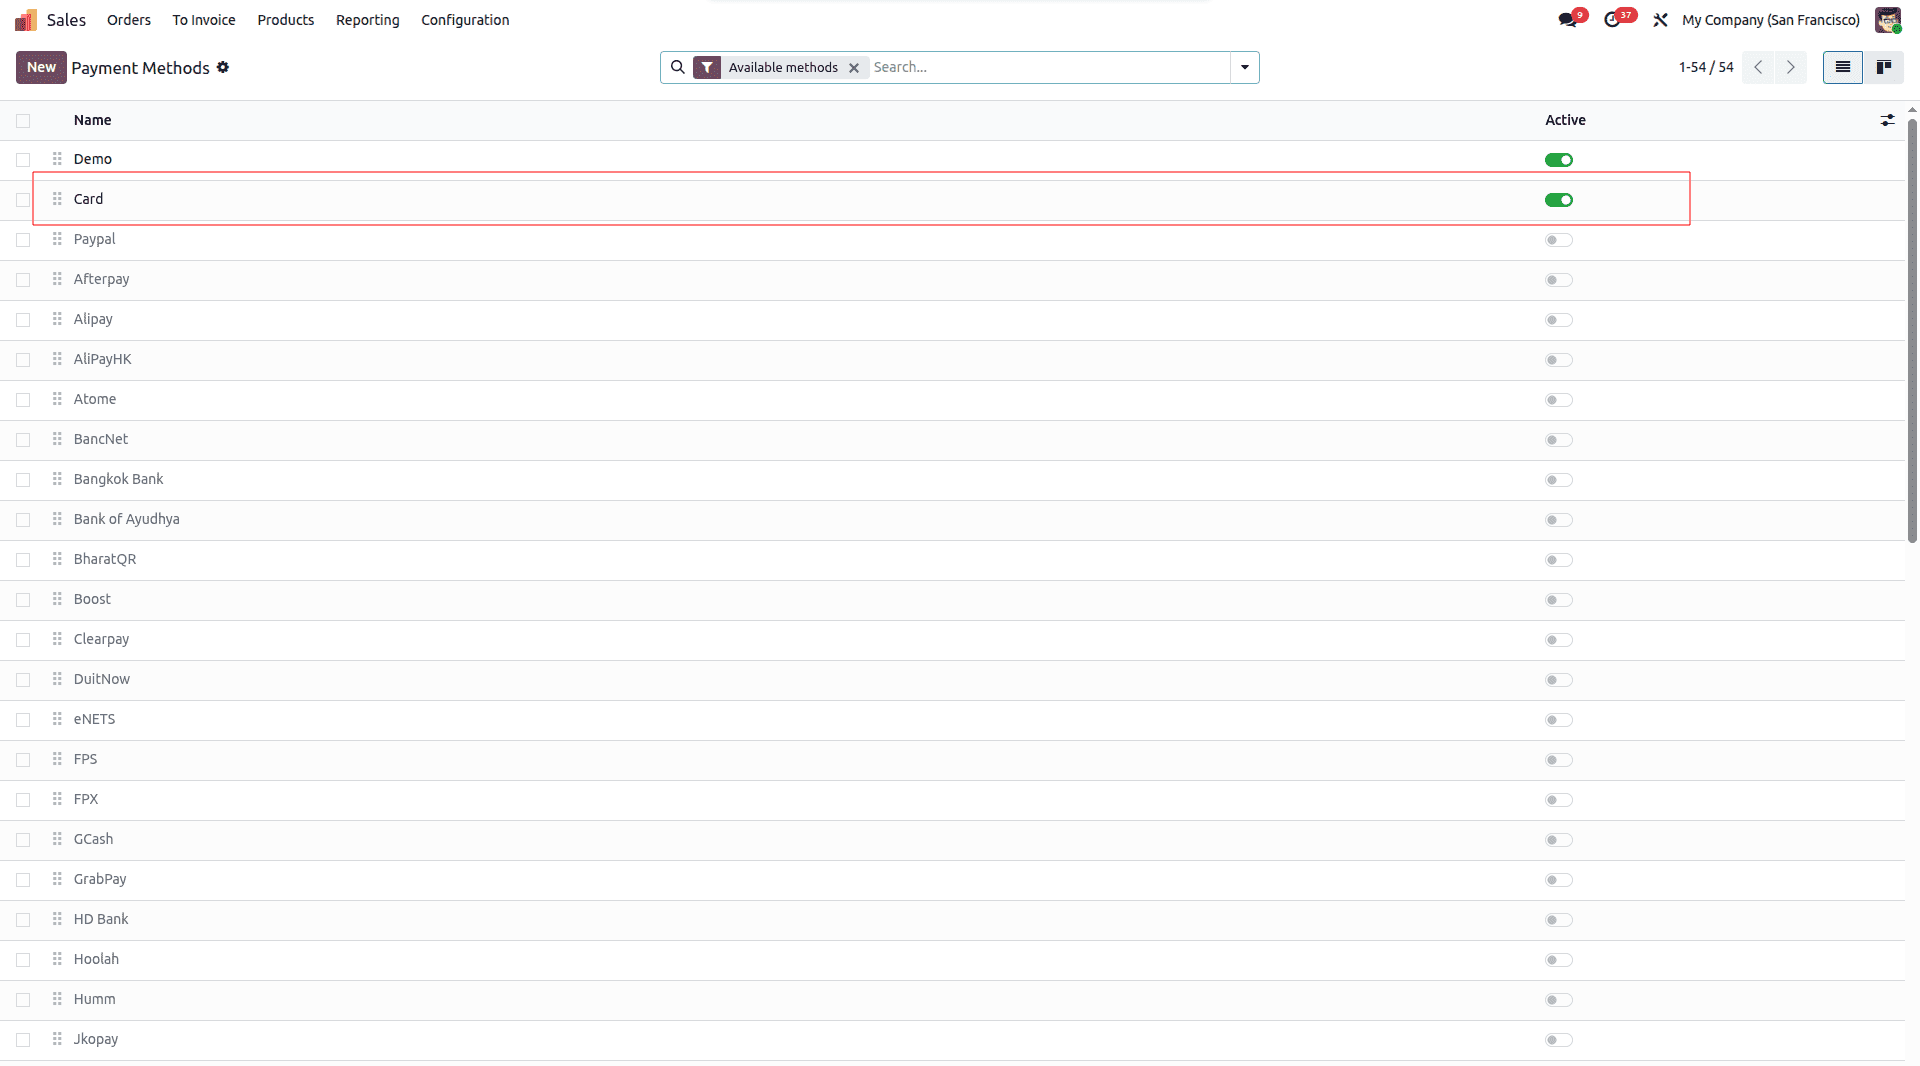
Navigate to Configuration > Payment Methods. In the list view, locate the methods linked to your provider—such as Card or Demo—and ensure the toggle is switched to Active. This step facilitates the connection between the backend provider and the frontend checkout.
Testing: The Order Summary
Now, let's test the configuration from the user's perspective. After adding items to the cart on the website, the customer proceeds to the checkout page.
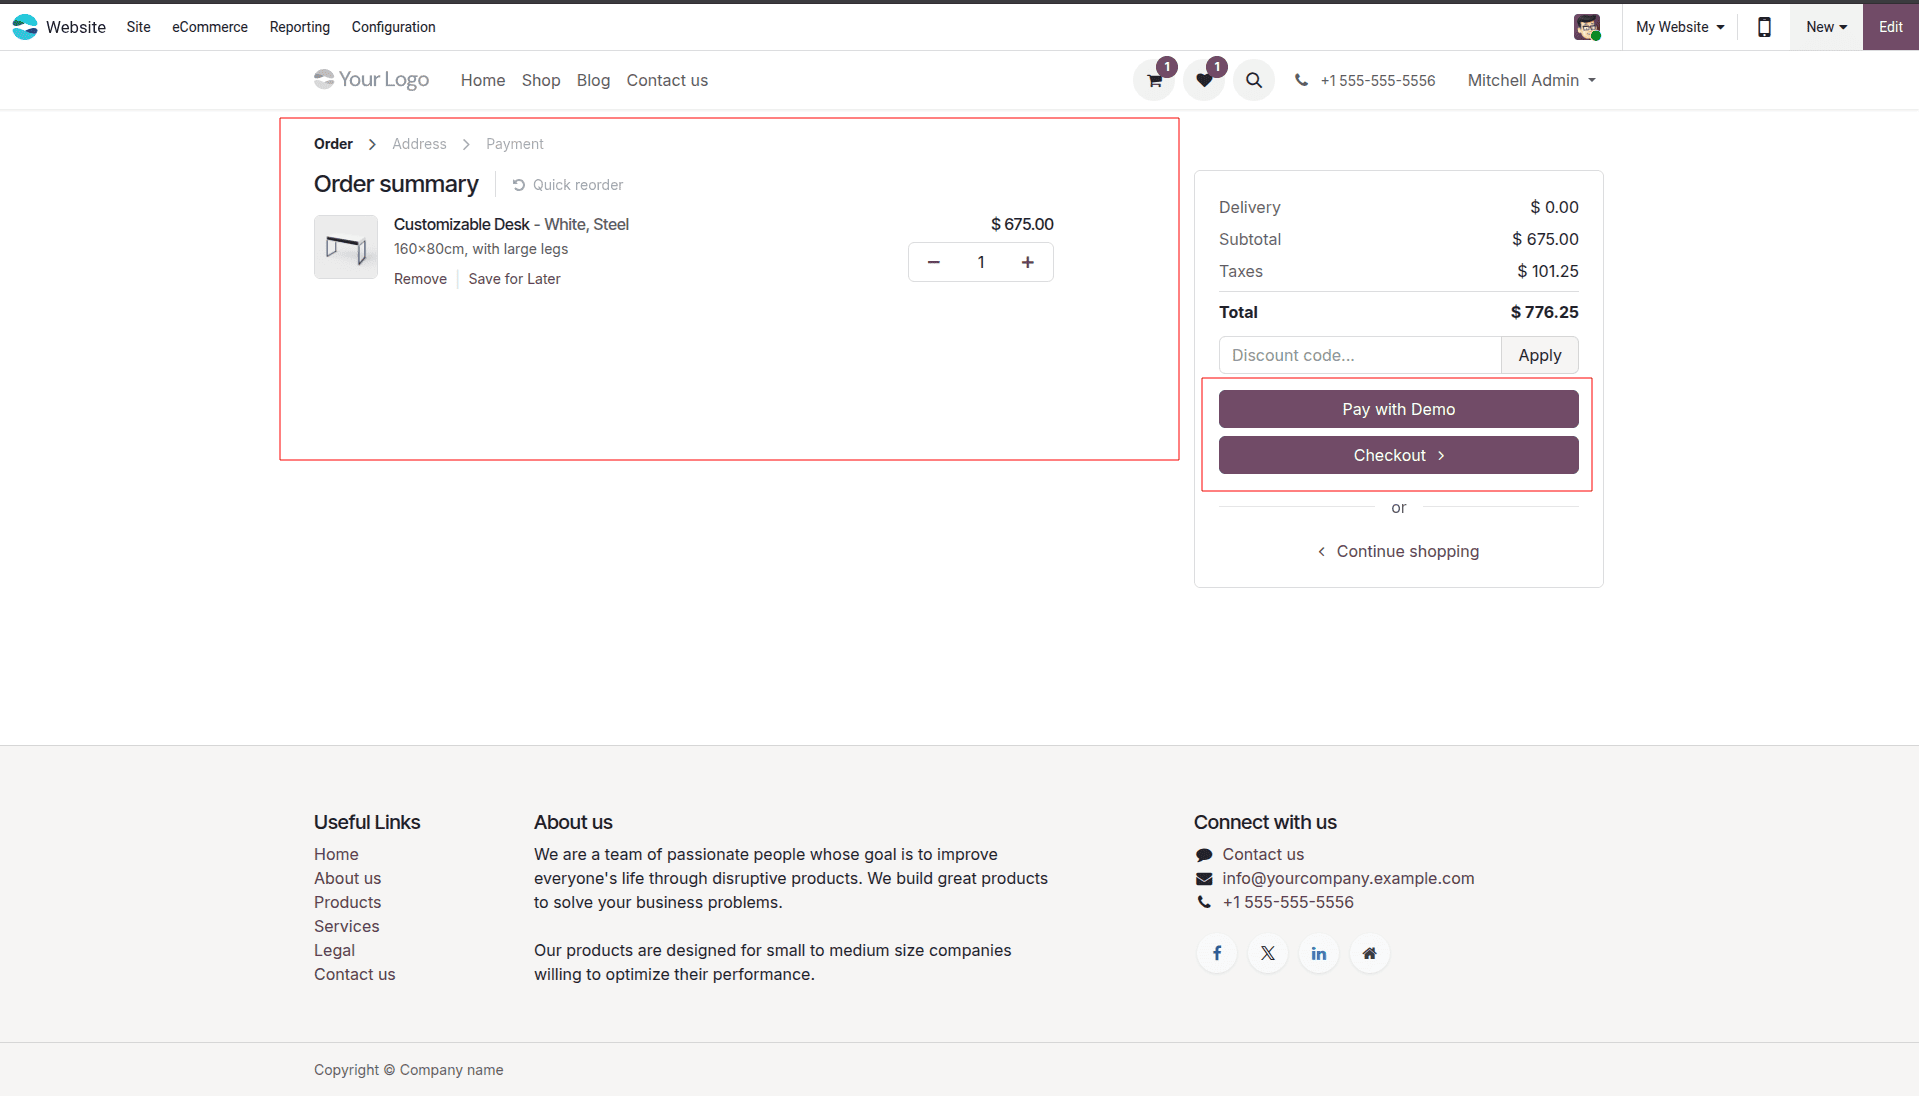
On the Order summary page, the customer can review their total. If the configuration is correct, they will see the option to Pay with Demo (or your active provider). This button initiates the secure payment flow.
Selecting the Payment Method
After clicking "Pay," the user is presented with the available payment methods configured in the previous steps.
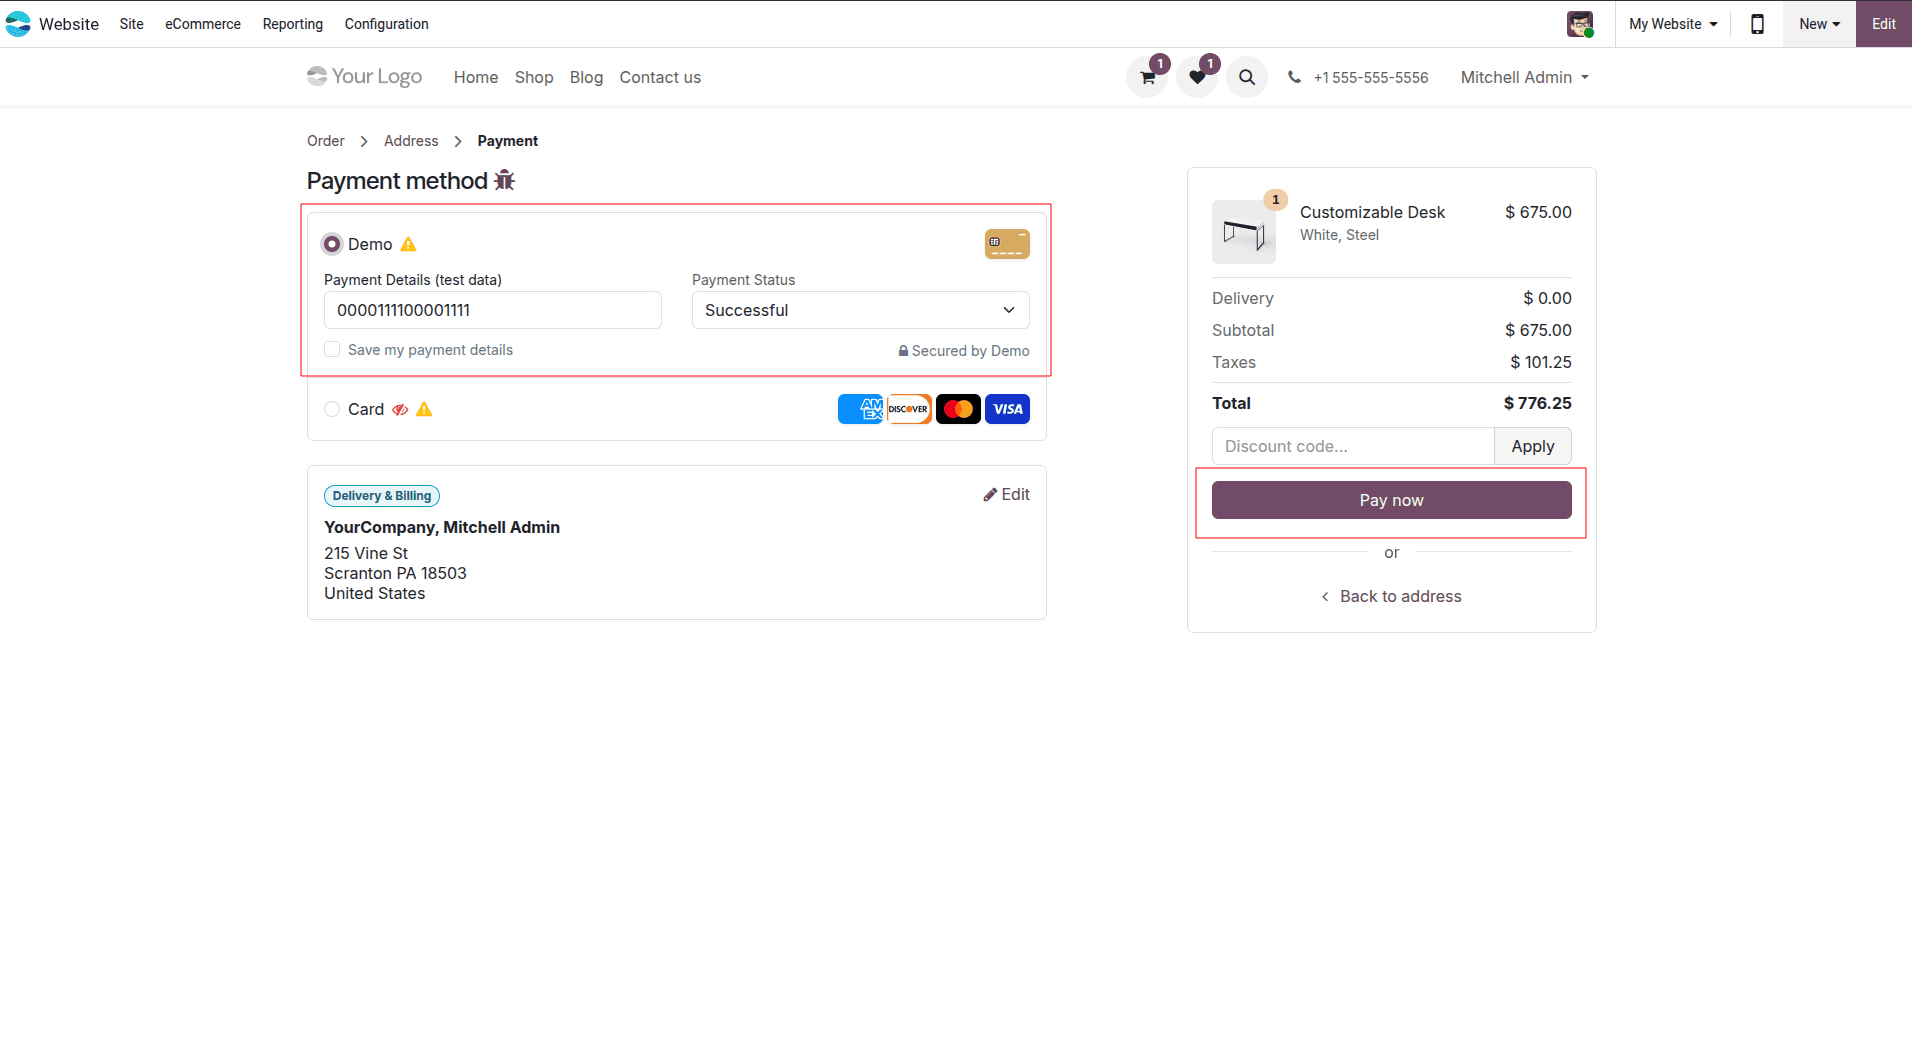
Here, the user selects Demo (or Card). Odoo 19 displays a clean, user-friendly form where payment details can be entered. For the Demo provider, this includes simulated card data for testing purposes.
Express Checkout
For a seamless experience, Odoo 19 offers an Express Checkout pop-up.

This modal allows the user to review their details (Name, Email, Address) and confirm the transaction without leaving the page. In Test Mode, you can also select the "Payment Status" (e.g., Successful) to verify how the system handles different outcomes. Click Pay to complete the test.
Payment Status Details
In some flows, the user may see a dedicated Payment Status page, which provides more technical confirmation.
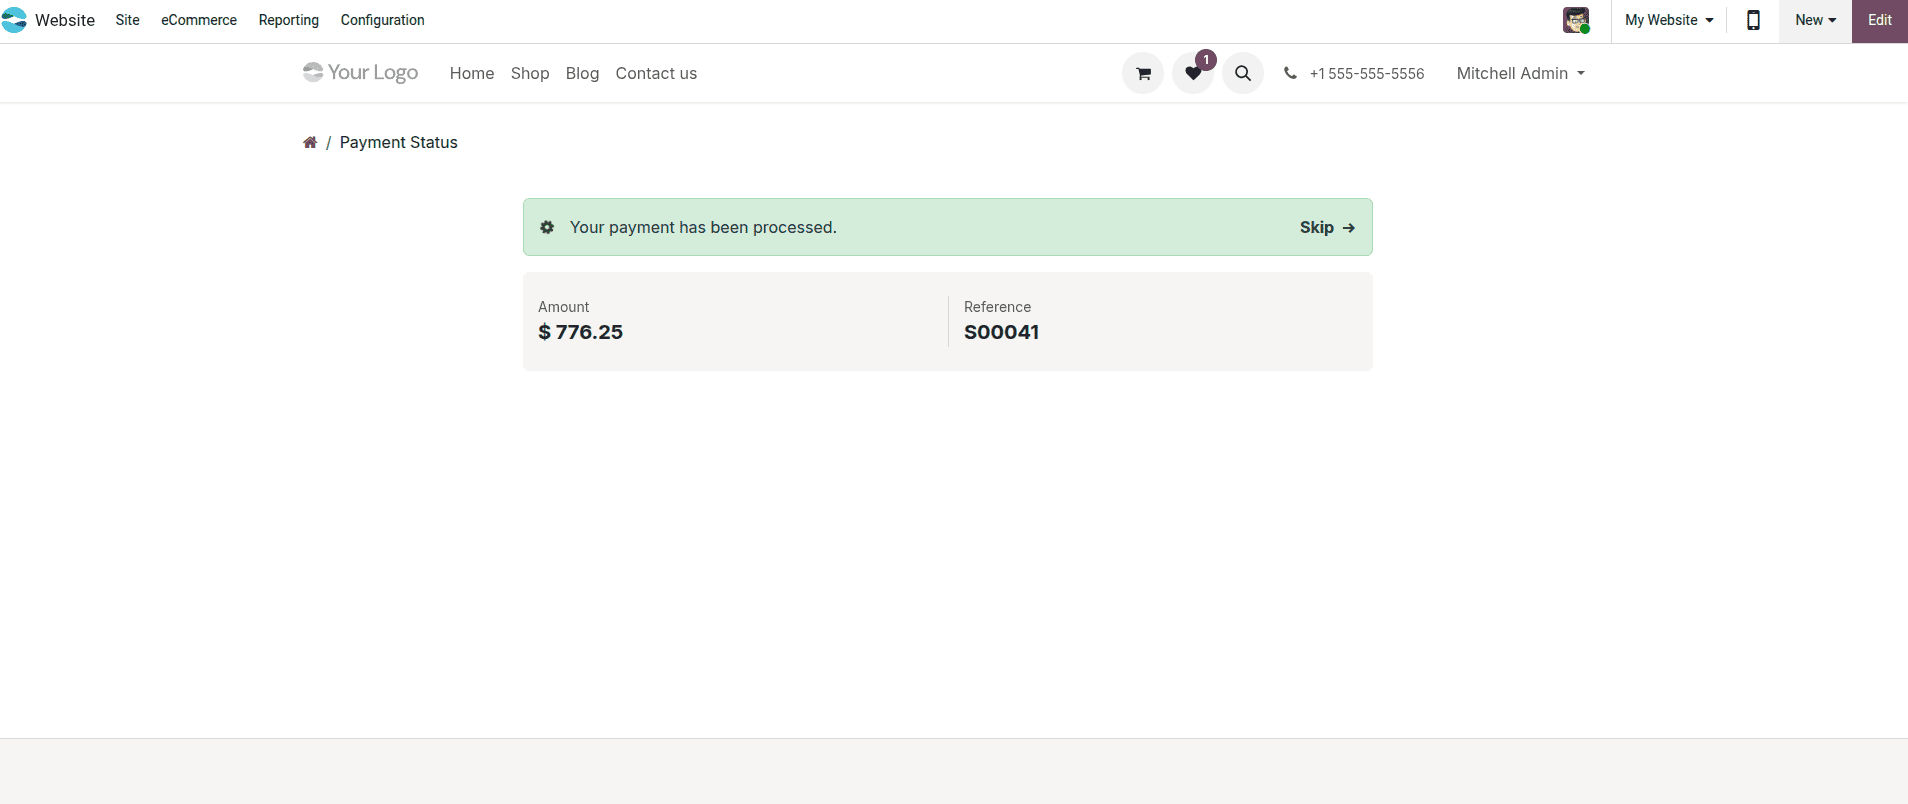
This screen confirms the Amount paid and the transaction Reference. It serves as a digital receipt for the customer, ensuring transparency in the transaction process.
Order Confirmation
Upon successful payment, the customer is immediately reassured with a confirmation screen.
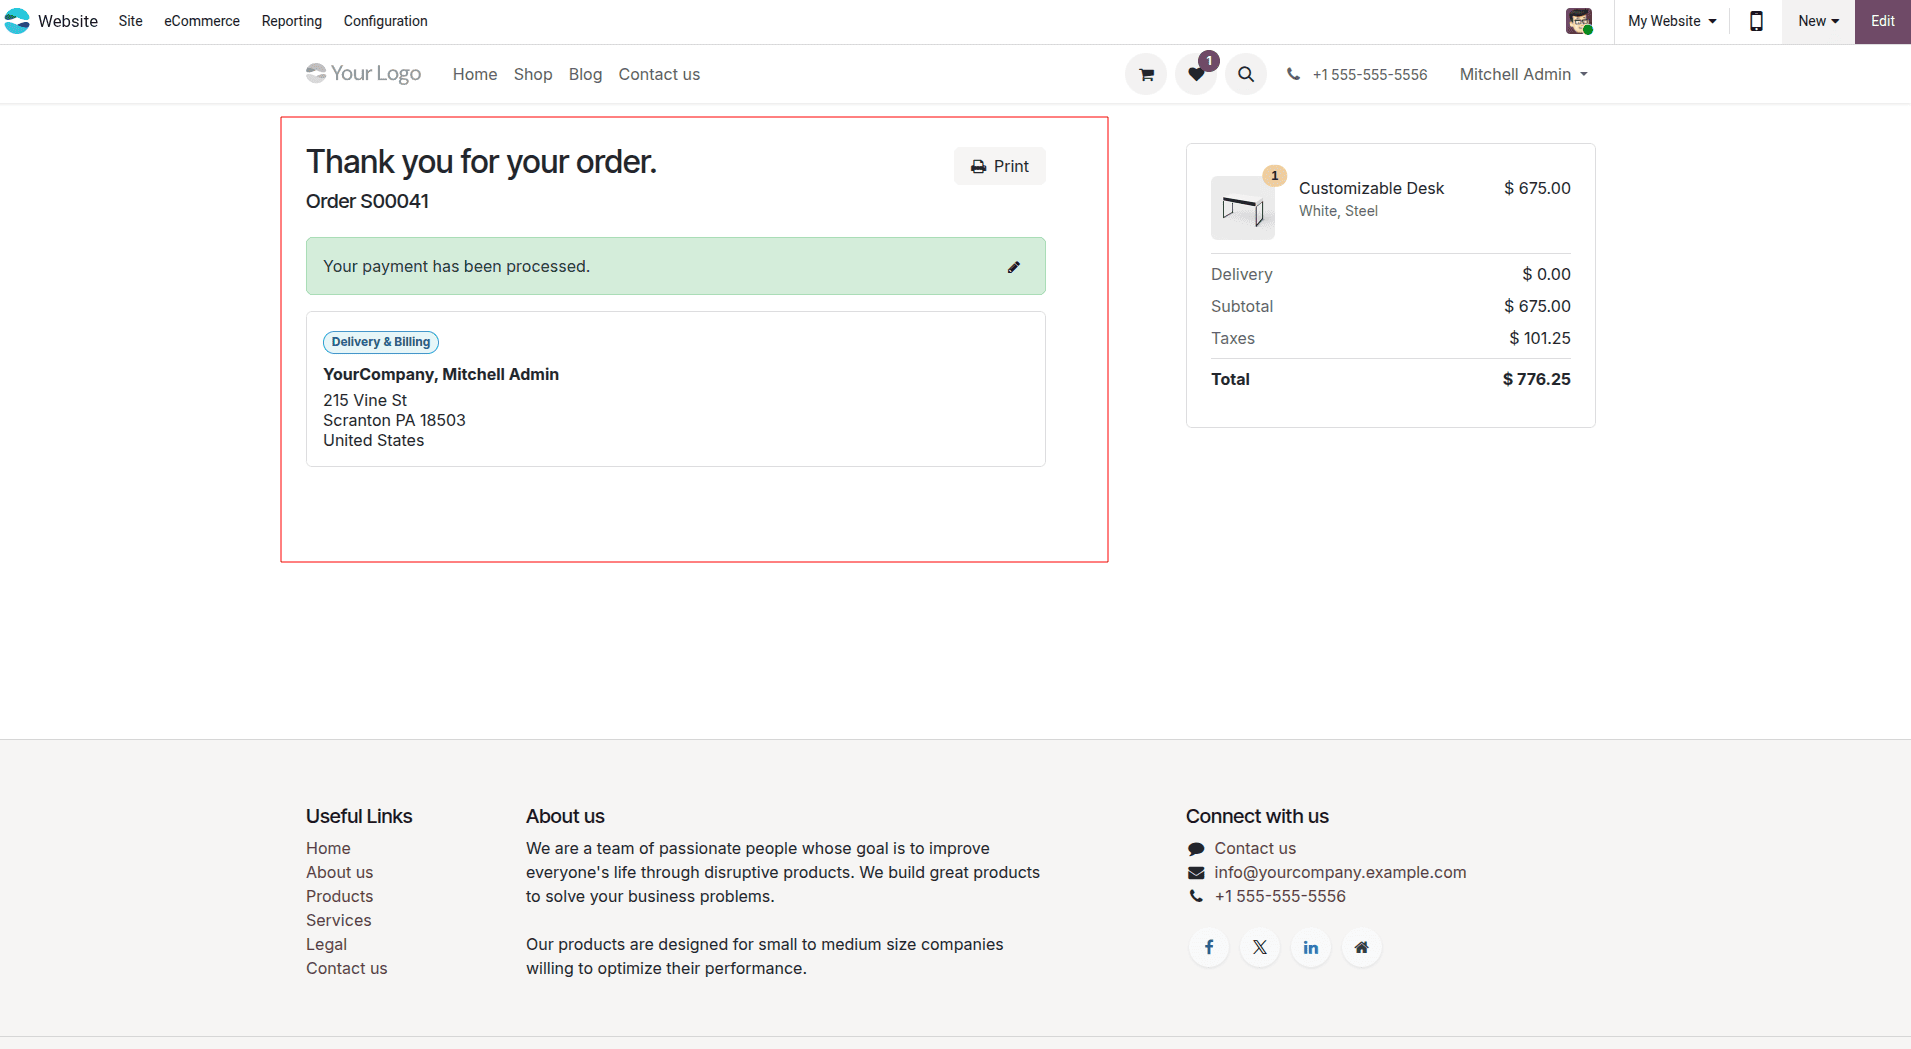
The "Thank you for your order" page displays the order number (e.g., S00041) and a green banner stating, "Your payment has been processed." This visual confirmation is vital for user trust.
Backend Verification
Now, let's verify the transaction in the backend to ensure the Accounting module has captured the data correctly.
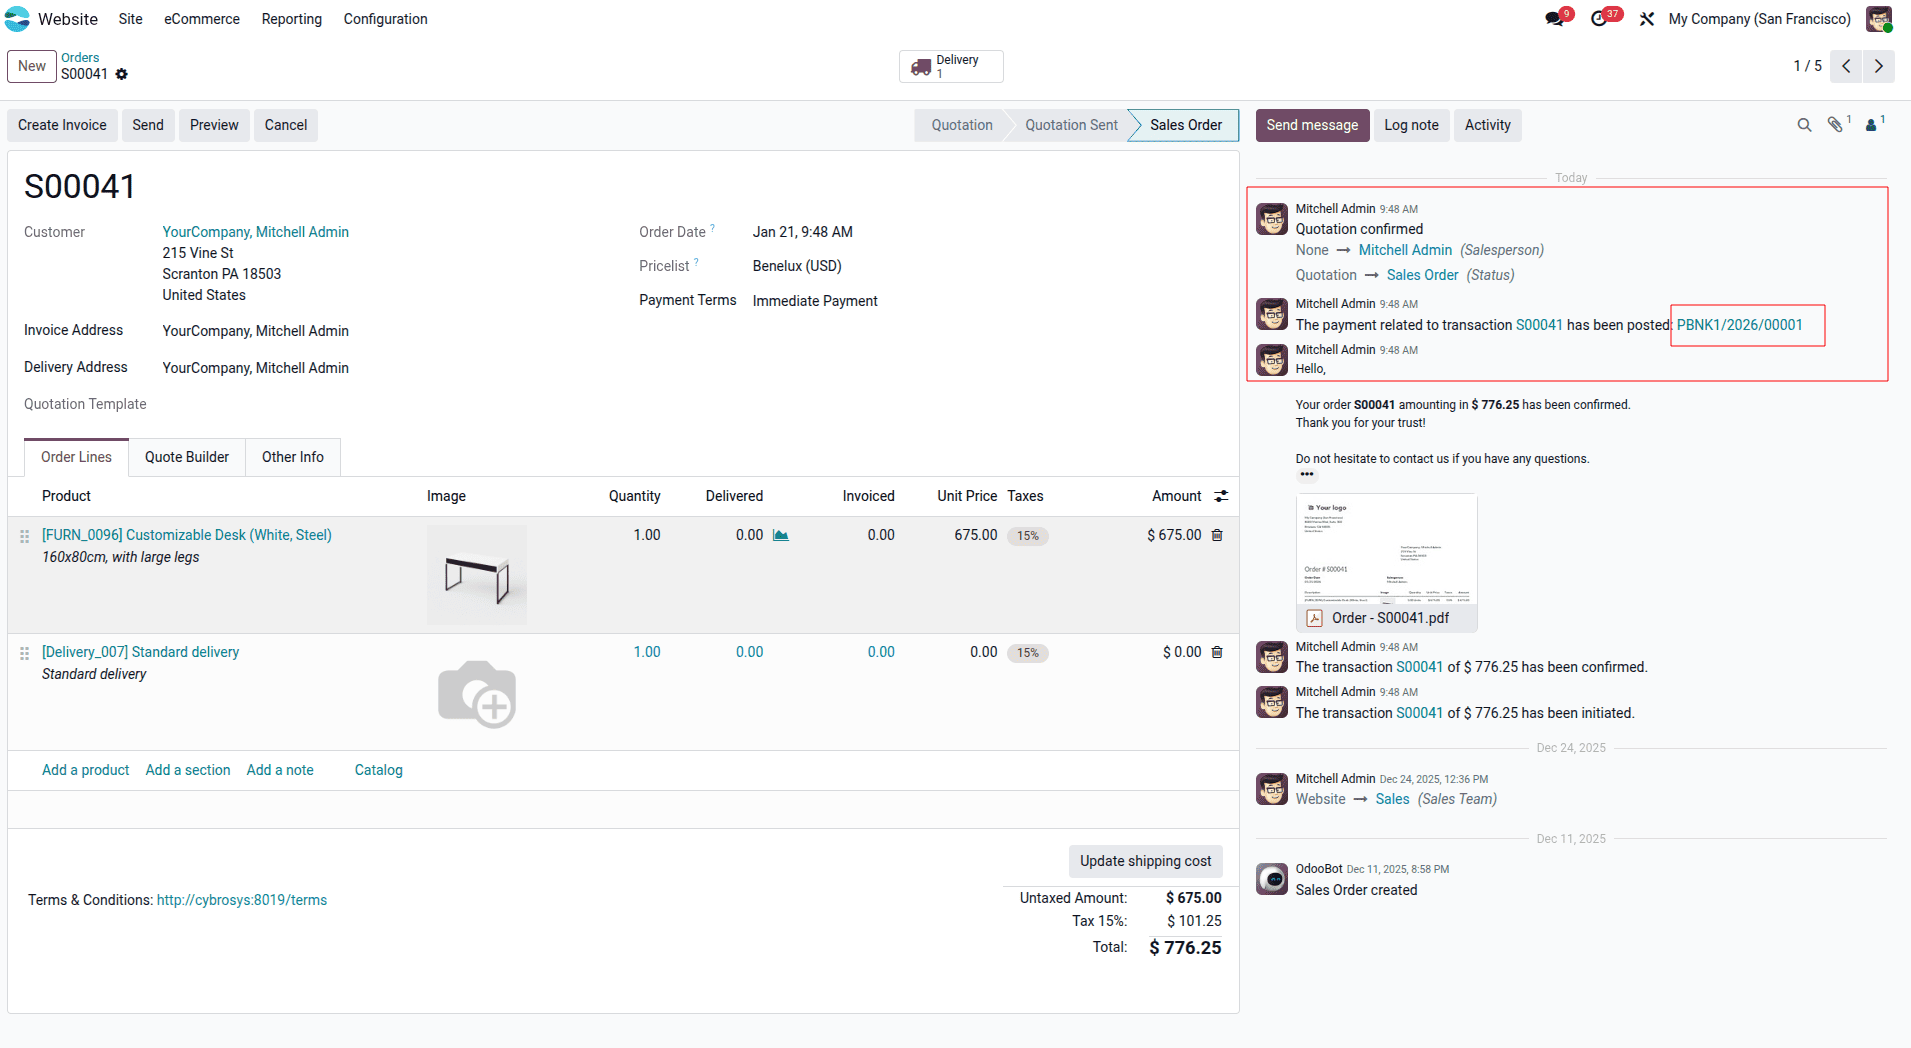
The Sales Order (for example, S00041) will display a system message in Chatter that indicates that the payment related to the order has been entered into the Journal with a link (for example PBNK1/2026/00001). This proves that the payment provider integration is functioning correctly.
Establishing the payment providers in Odoo 19 Accounting to accept payments from the internet is a strategy some businesses want to use to improve their accounting processes. Odoo is an excellent product for businesses that want quick and efficient methods of using accounting software, and it integrates seamlessly with payment providers to make it as user-friendly as possible.
To sum up, configuring payment providers in Odoo 19 is a simple process and will greatly improve your ability to perform safe and efficient online transactions. By configuring your payment provider (including enabling it on your Odoo Dashboard), creating credentials, and personalizing messages, as well as verifying your transaction, you will create a continuing experience for both your finance department and your customers. Whether the payment provider is a global gateway like Stripe or a regional gateway like AsiaPay, Odoo is flexible enough to meet your business needs, which will help streamline your business operations and build customer confidence.
To read more about How to Set Up and Manage Payment Options in Odoo 18 E-Commerce, refer to our blog How to Set Up and Manage Payment Options in Odoo 18 E-Commerce.