A common issue for businesses is handling backorders, which happen when customer demand surpasses stock availability. Odoo 19 Inventory provides robust backorder management solutions that provide a seamless order fulfilment process.
In Odoo 19, a backorder is generated when the requested quantity cannot be delivered immediately because of insufficient stock or other fulfillment constraints. The undelivered items are moved to a backorder for processing at a later time. A backorder is generated when a customer orders a product that cannot be fulfilled immediately due to insufficient stock or product unavailability. The Inventory module in Odoo 19 can be used to manage backorders. By monitoring orders that are postponing fulfillment due to stock shortages, the system enables efficient inventory and order processing management. Odoo 19's Inventory module detects these situations and creates backorders to alert you to unfulfilled customer requests.
Next, let's explore the importance of backorders in relation to the Picking Policy. The Odoo 19 Inventory has two distinct selection policies. The first option allows backorders, enabling available items to be shipped immediately while the remaining items are delivered once they become available. The second option requires all items to be available before the order is shipped in a single delivery. The Picking Policy can be configured from the Settings menu in the Inventory module.
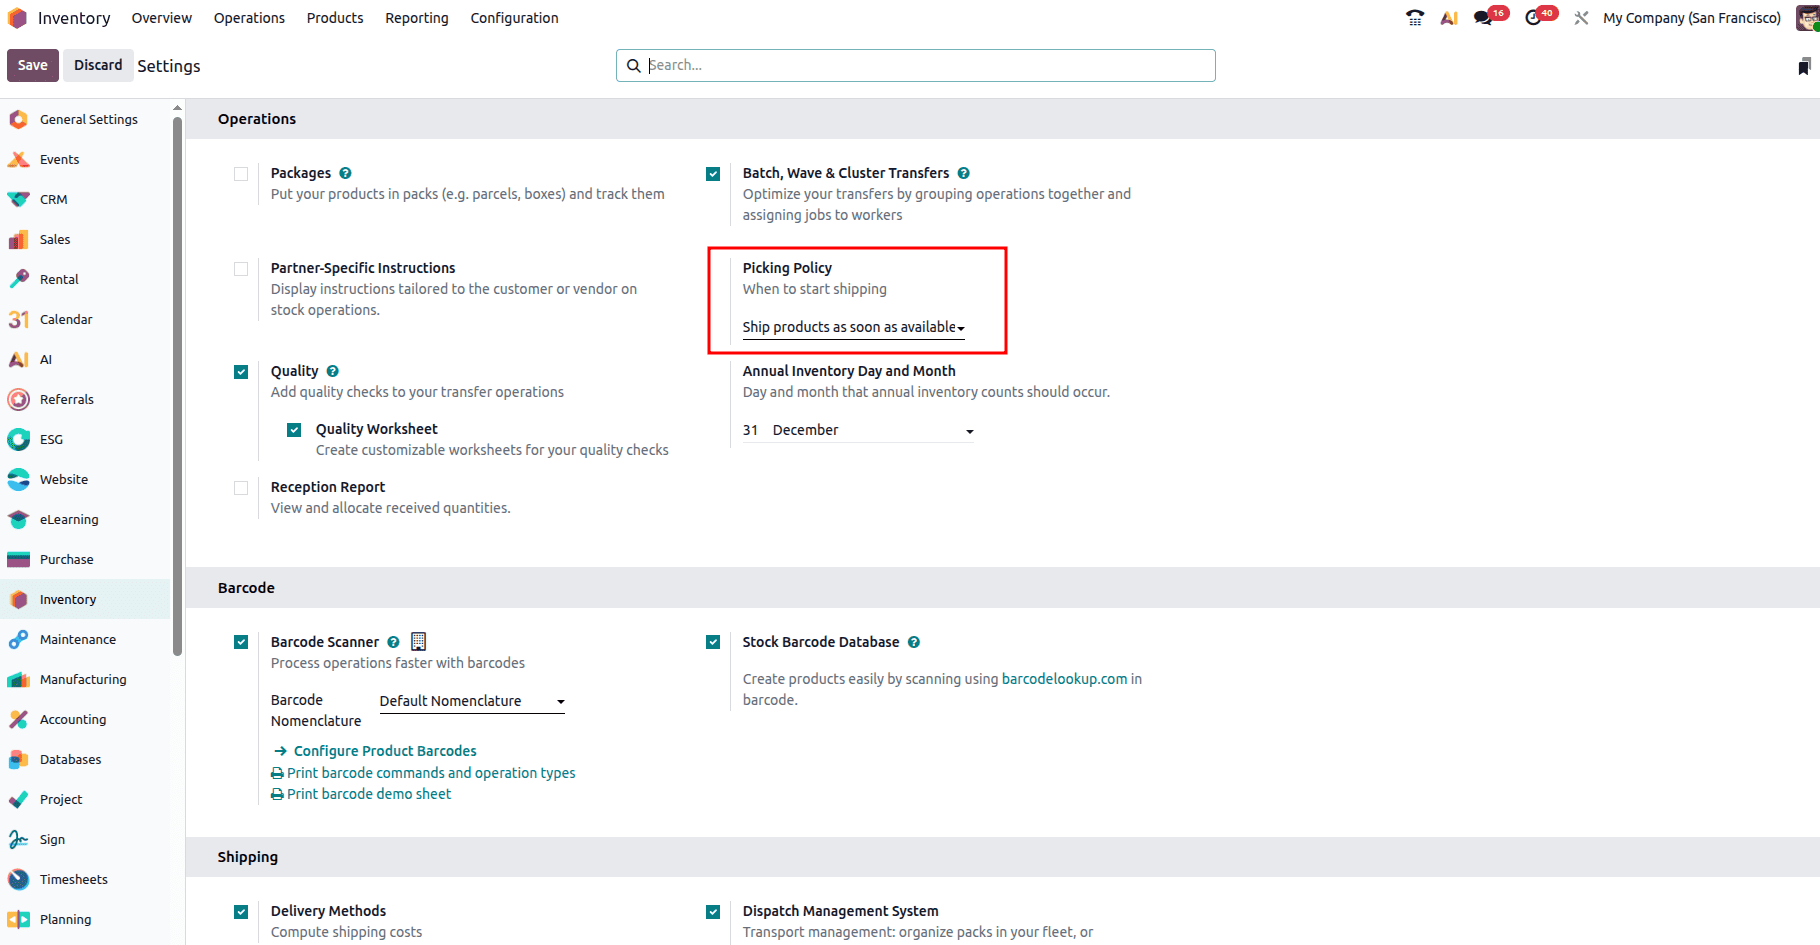
If “Ship all products at once” is selected, the transfer won't be approved until every product that was ordered is available. Conversely, selecting "Ship products as soon as available, with backorders" enables the system to process and deliver the available items immediately while automatically creating backorders for any remaining quantities that are not currently in stock.
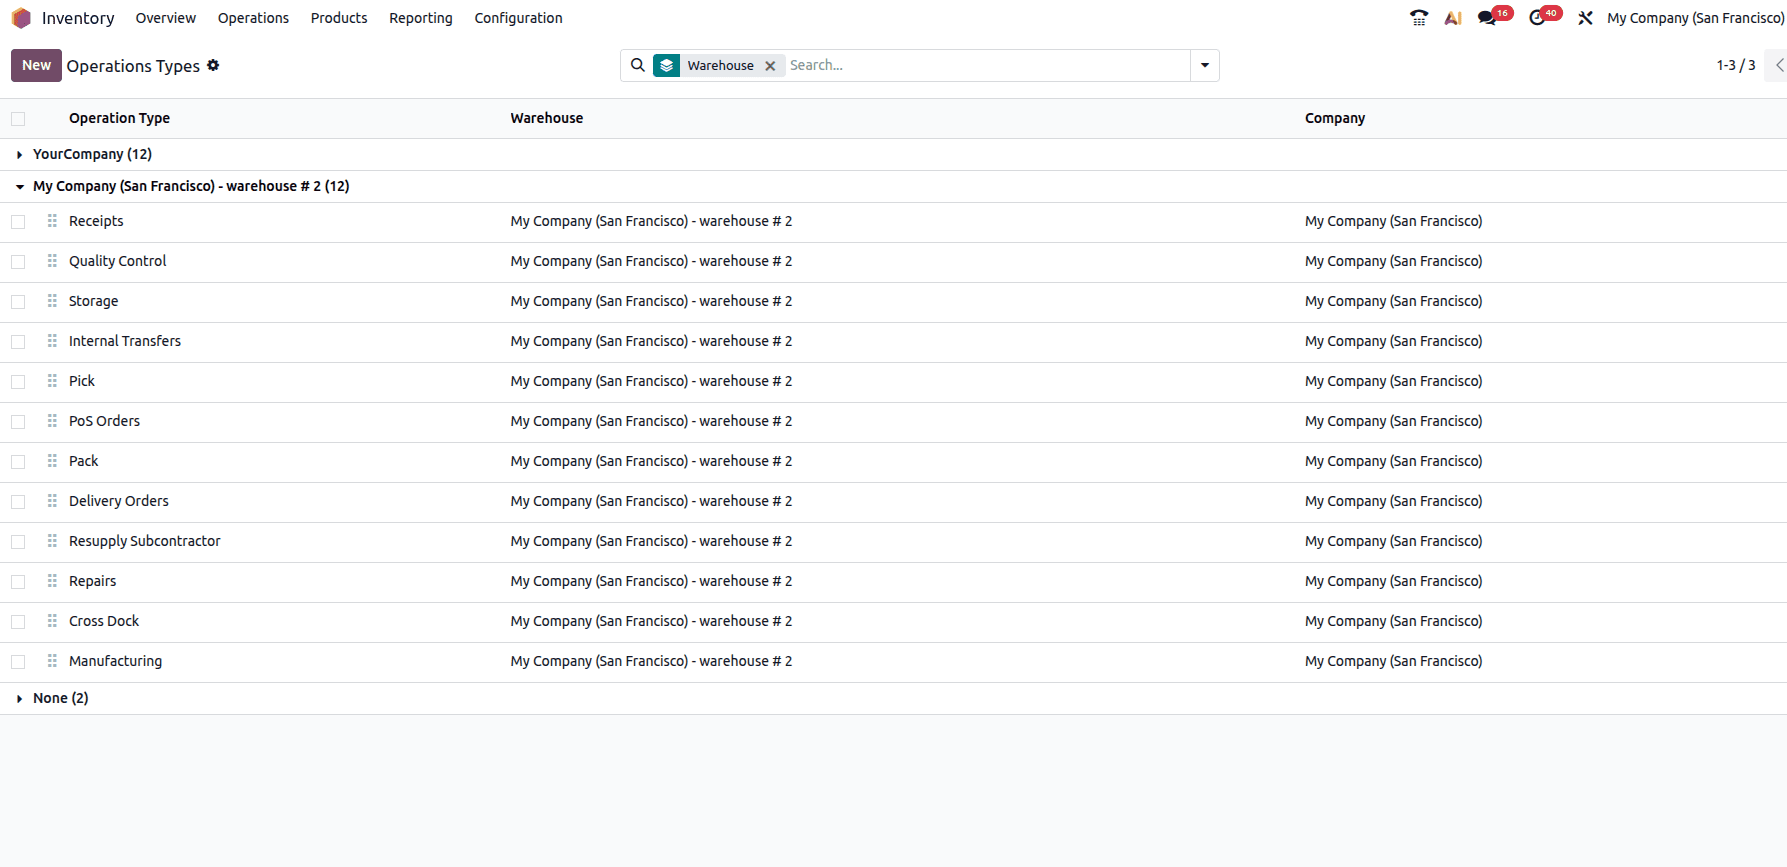
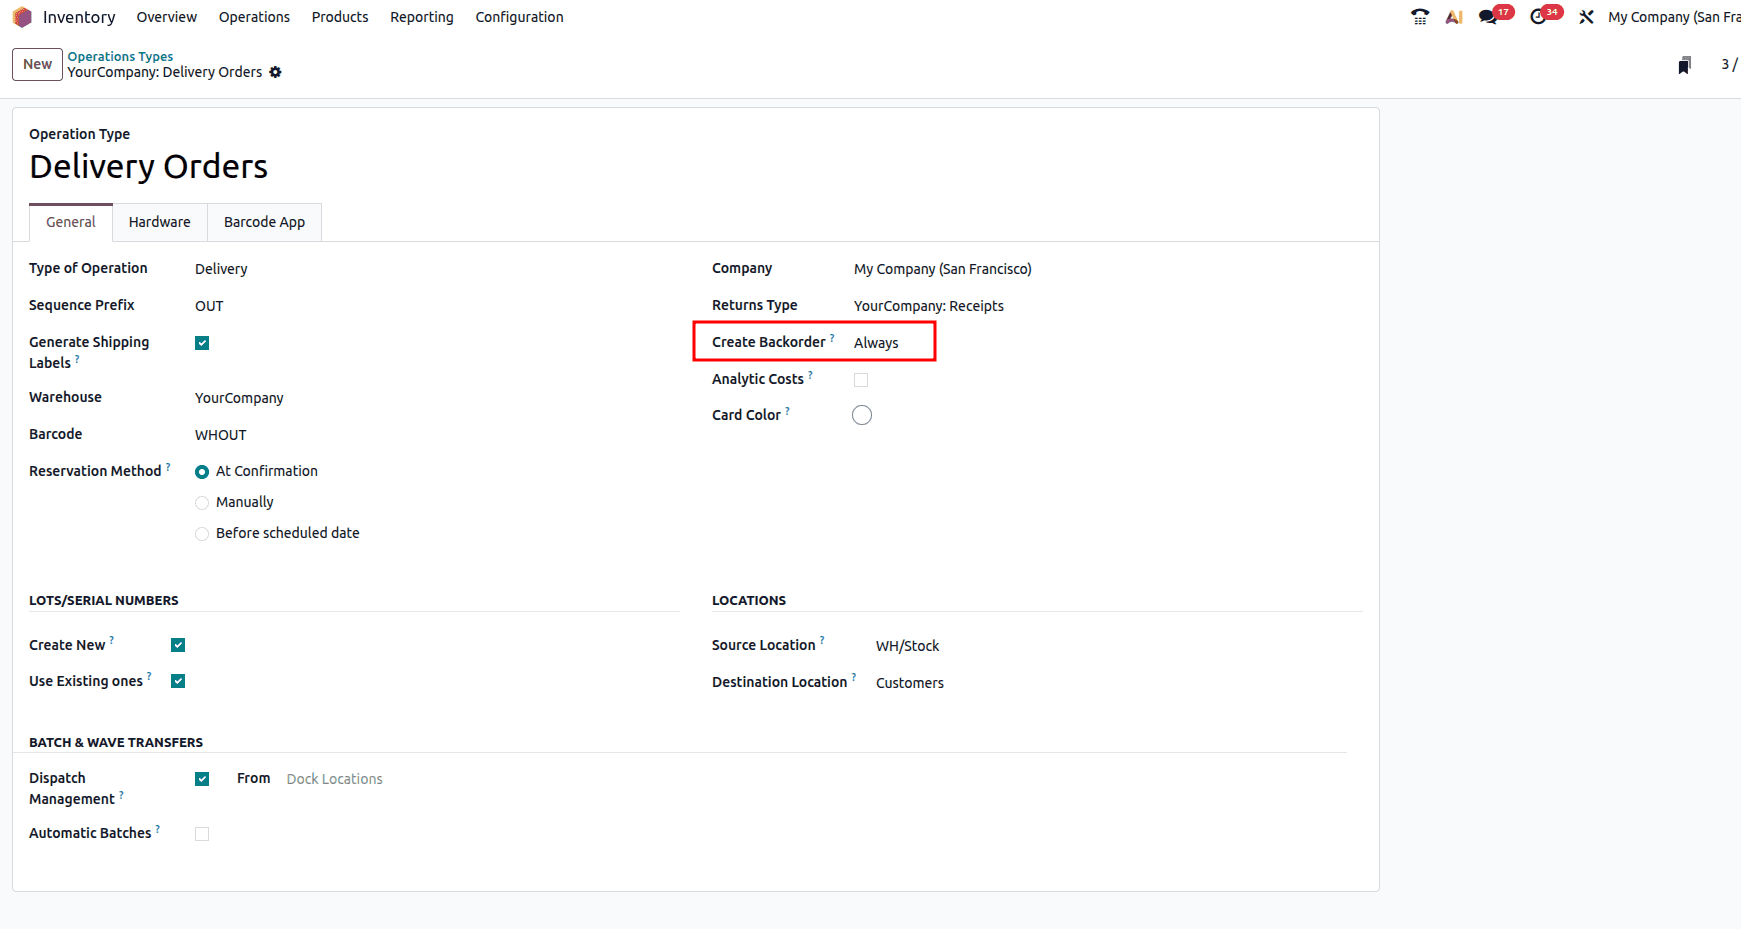
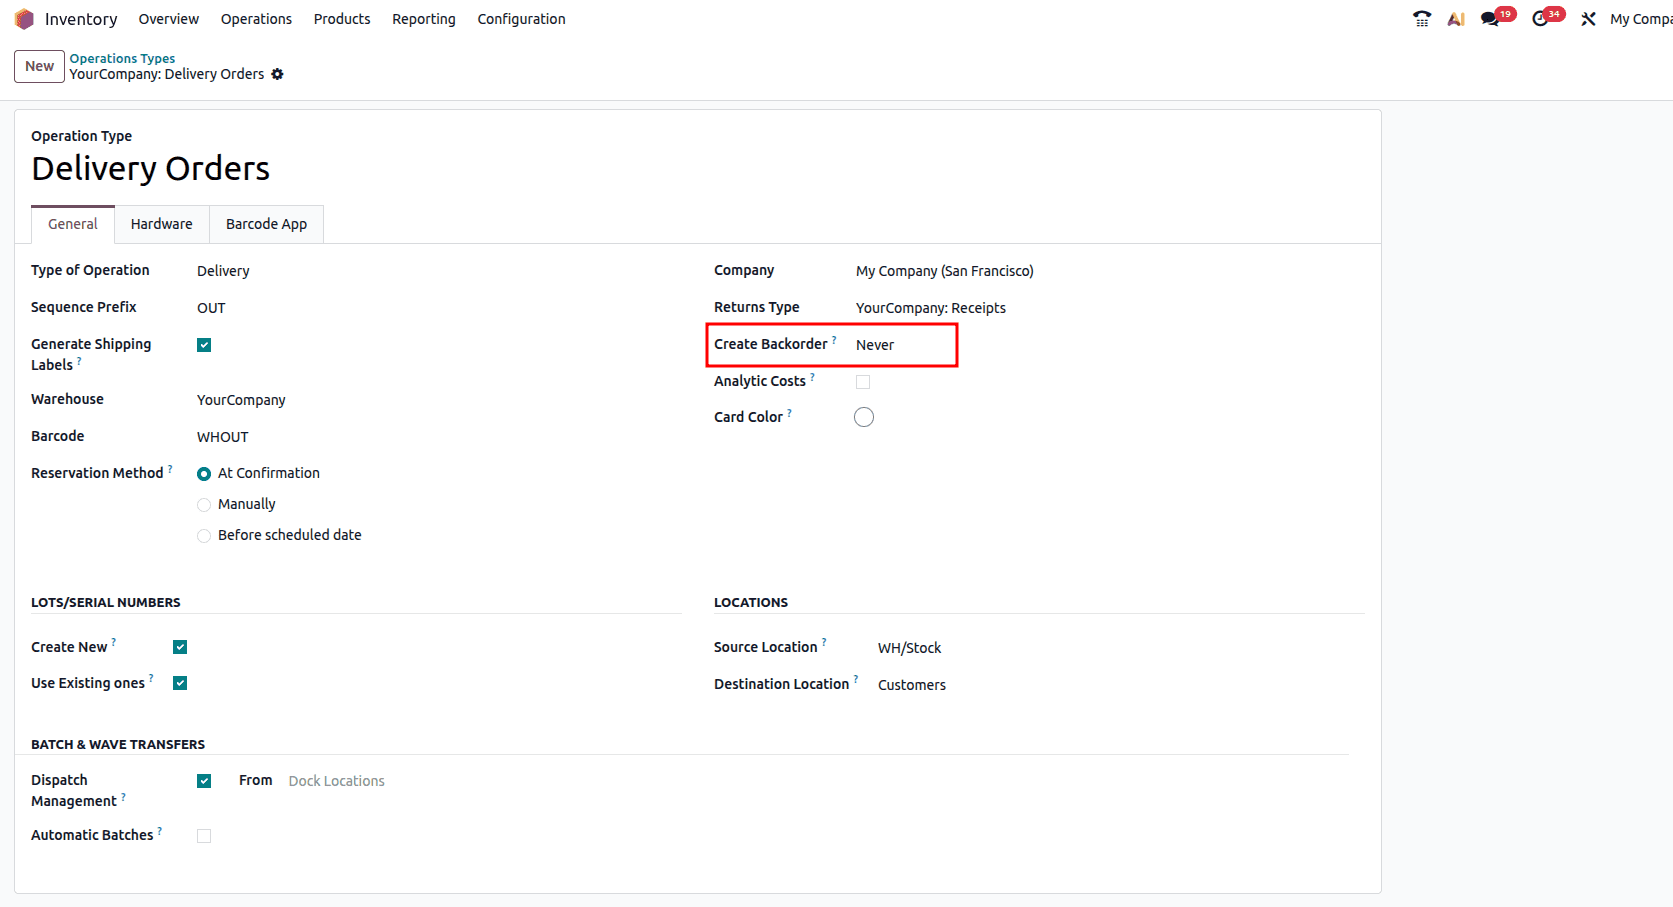
In Odoo, you can configure this under Configuration > Operation Types, where a list of operation types is displayed, including Warehouse, Reference Sequence, and Company. From this list, select Delivery Orders.
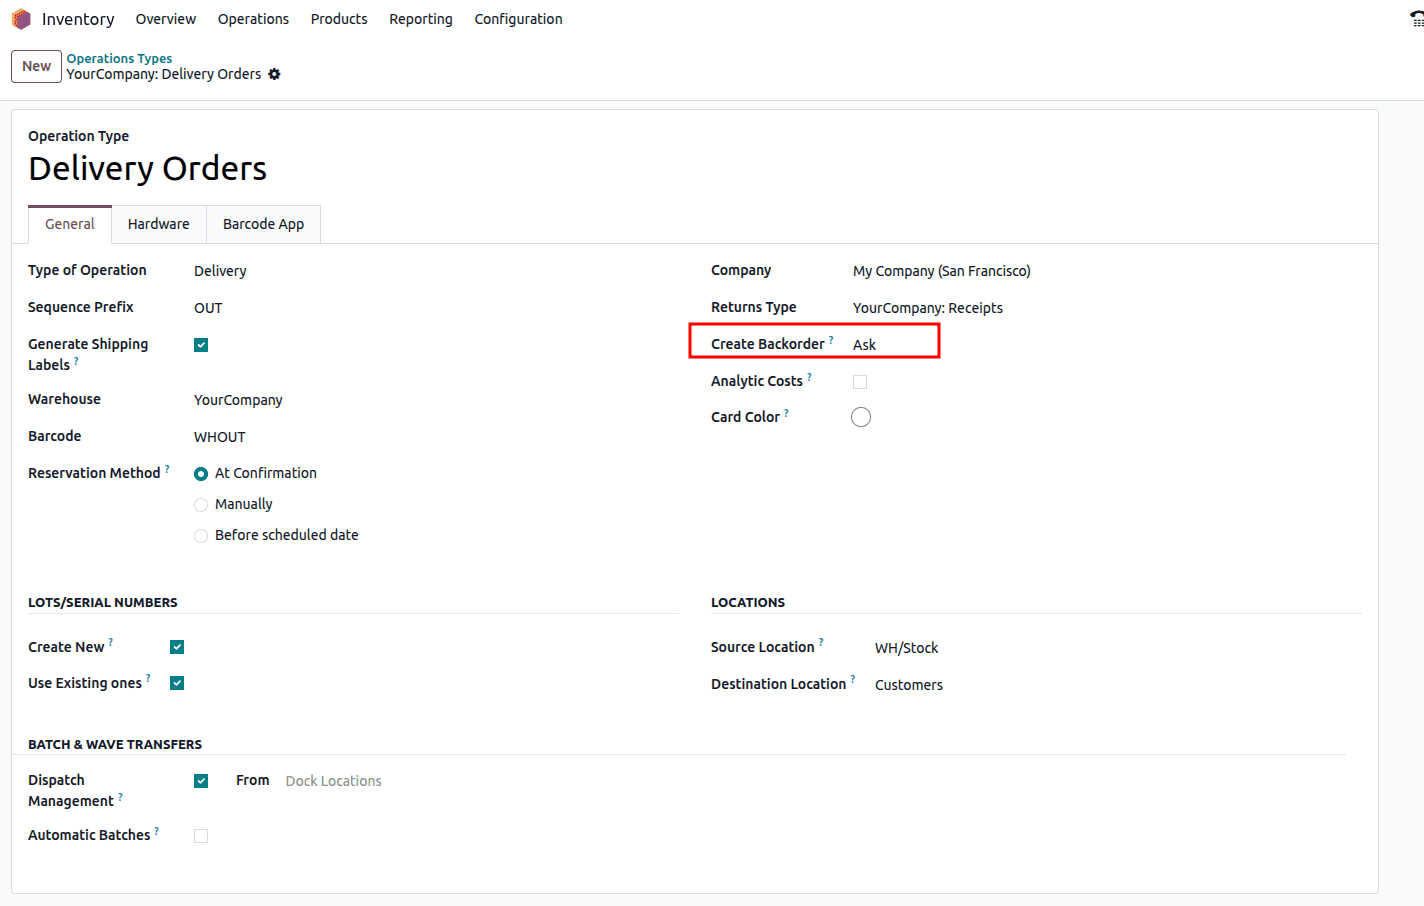
The Type of Operation is set to ‘Delivery’. Now, we have an option for Create Backorder from which we have three options: 'Ask’, ‘Always’, and ‘Never’.
- Ask: Customers are asked if they would like to create a backorder for the remaining items that are not available.
- Always: A backorder is automatically created for any items that cannot be fulfilled.
- Never: No backorder is created, and any unfulfilled quantities are automatically canceled.
Now let’s analyse each of the possibilities. Consider the option ‘Ask’ first.
Let’s check the product ‘Drawer Case Black’.
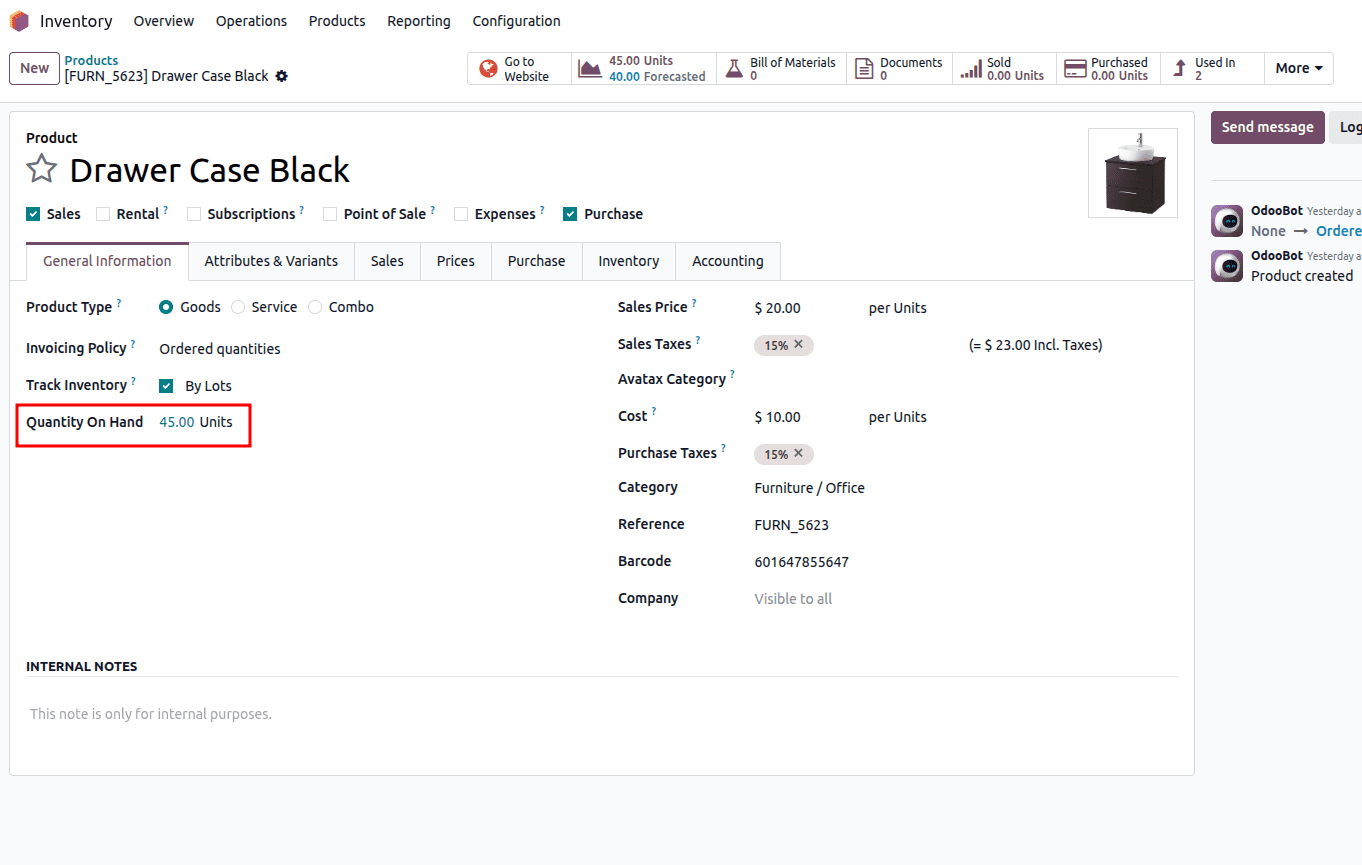
Here you can see the on-hand quantity of this product is 45 units. Now let’s create a new sale order for this product. The customer places an order for 55 units of the product.
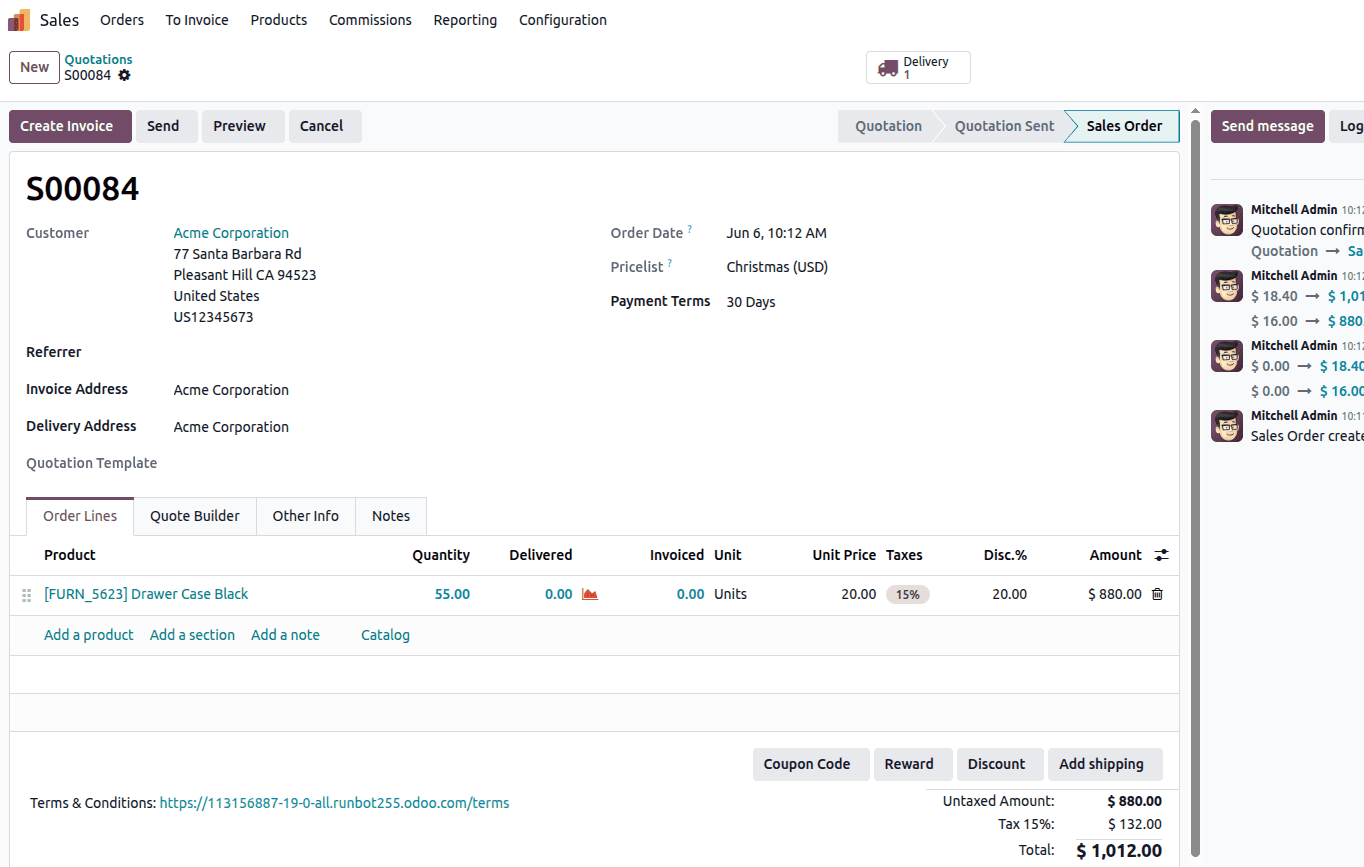
In the quotation, we have added the product and the quantity as 55 units. Once the sale order is confirmed, you will have a ‘Delivery’ smart button.
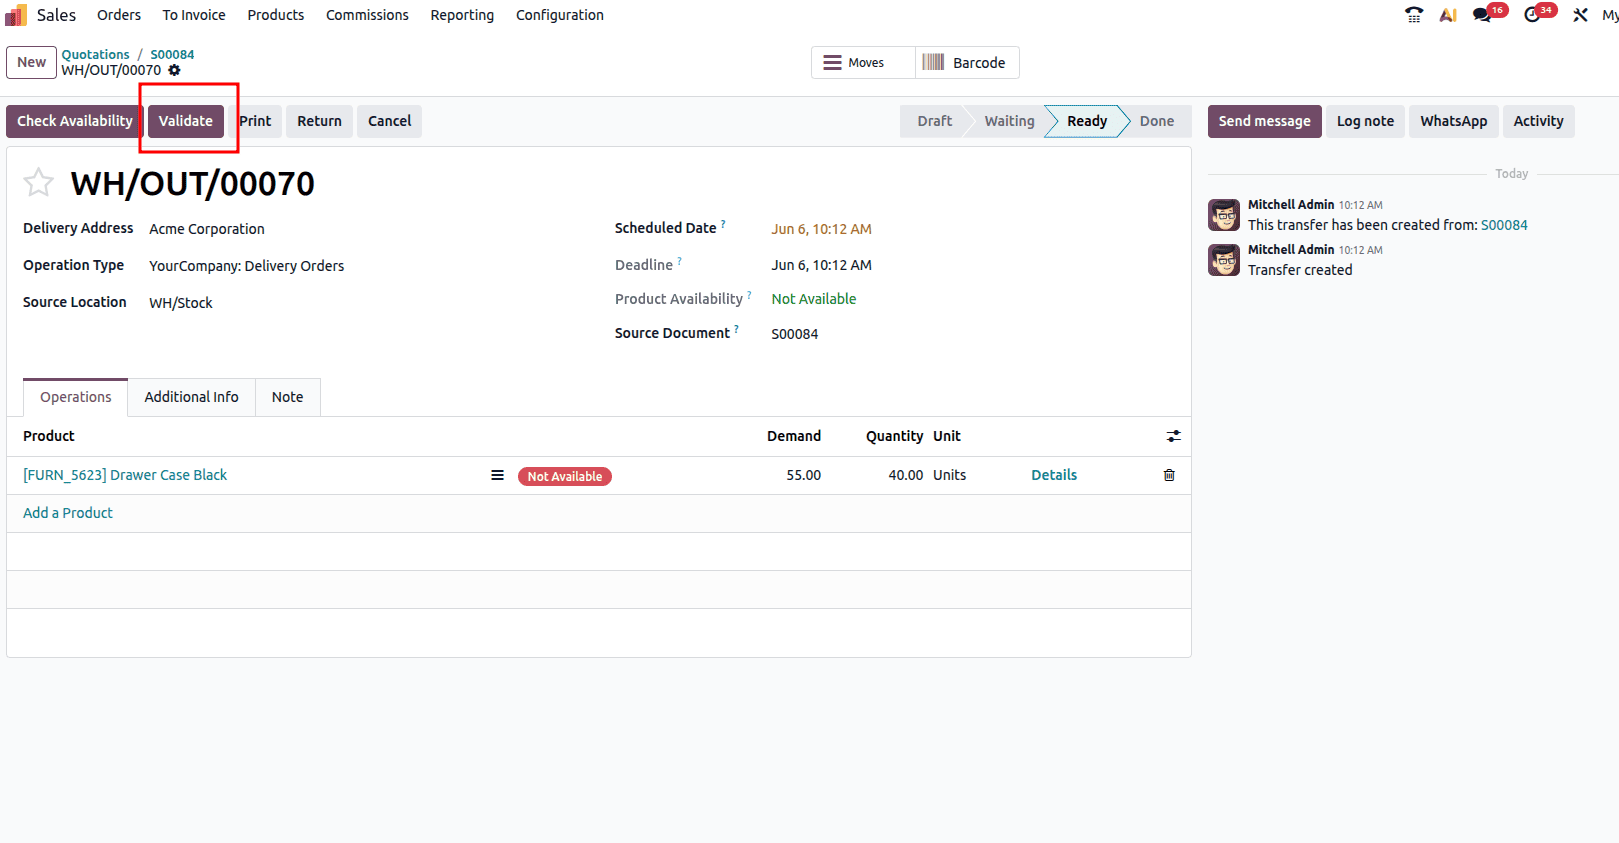
Once you open the smart button, you will have an option to validate the delivery. Click the Delivery button to continue. A pop-up window is displayed, as shown below.
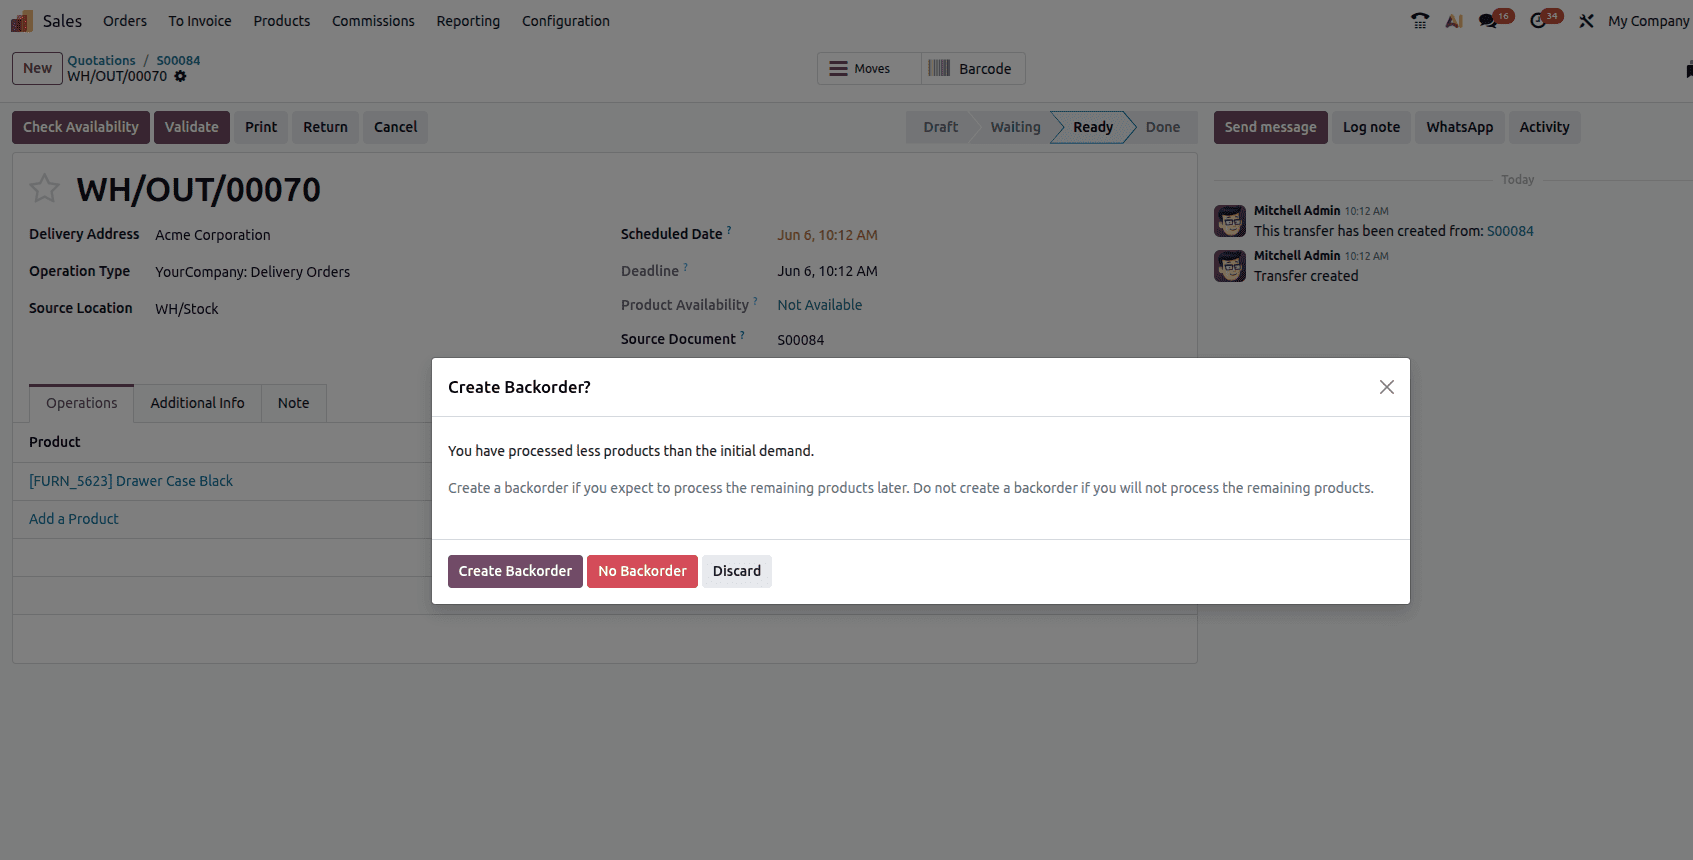
Users are presented with two options: they can either cancel the remaining quantities by selecting the “No Backorder” button or create a backorder for the undelivered items. To proceed with a backorder, click the “Create Backorder” button.
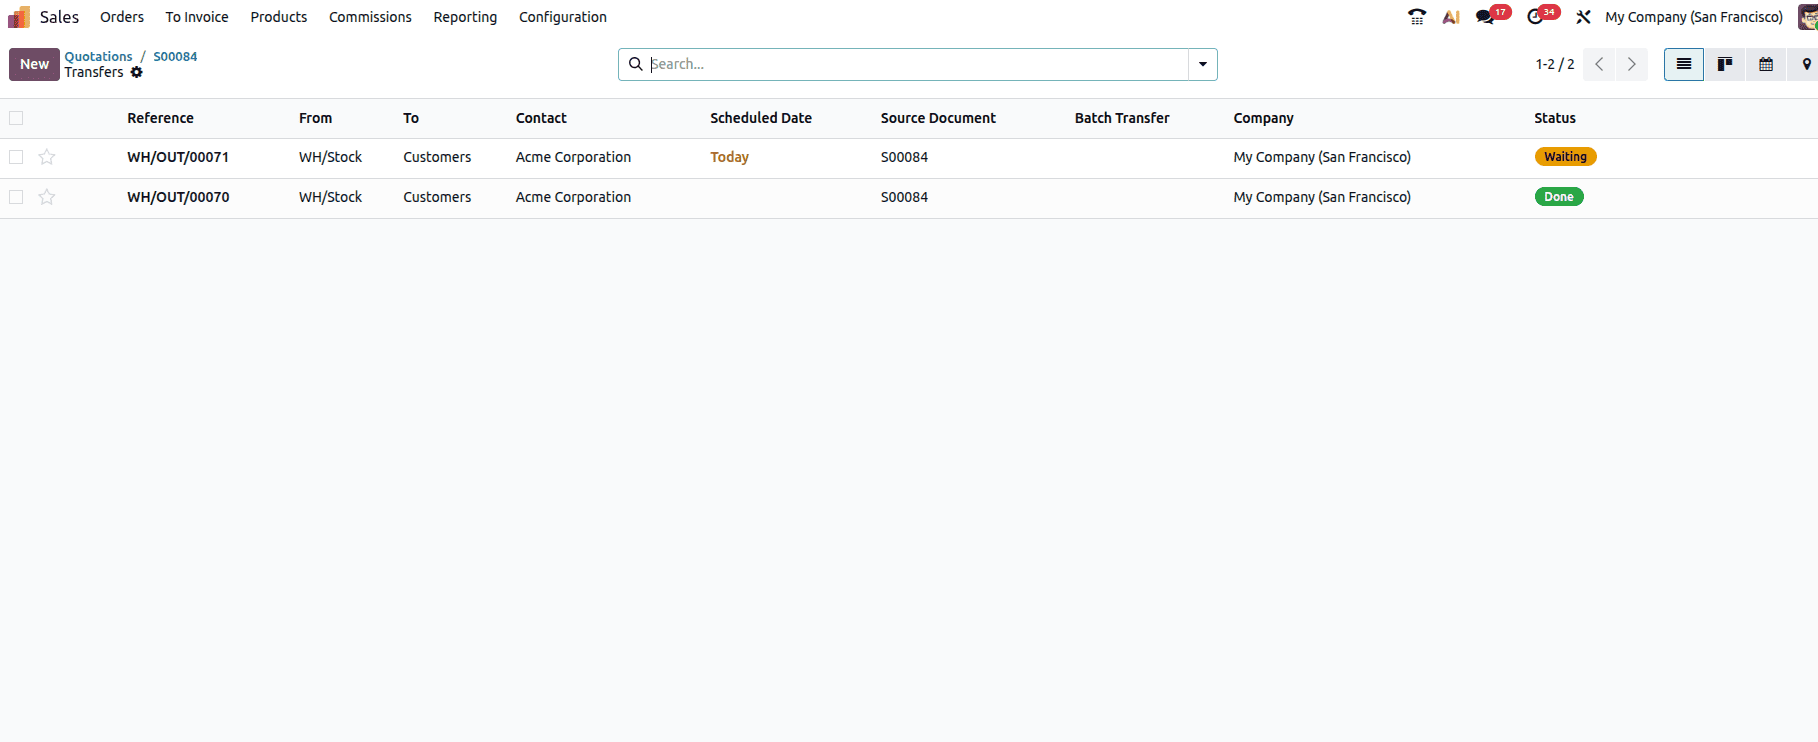
Once confirmed, the available on-hand quantities are automatically delivered to the customer. Now, when we check the smart button, the delivery will show 2 transfers there.
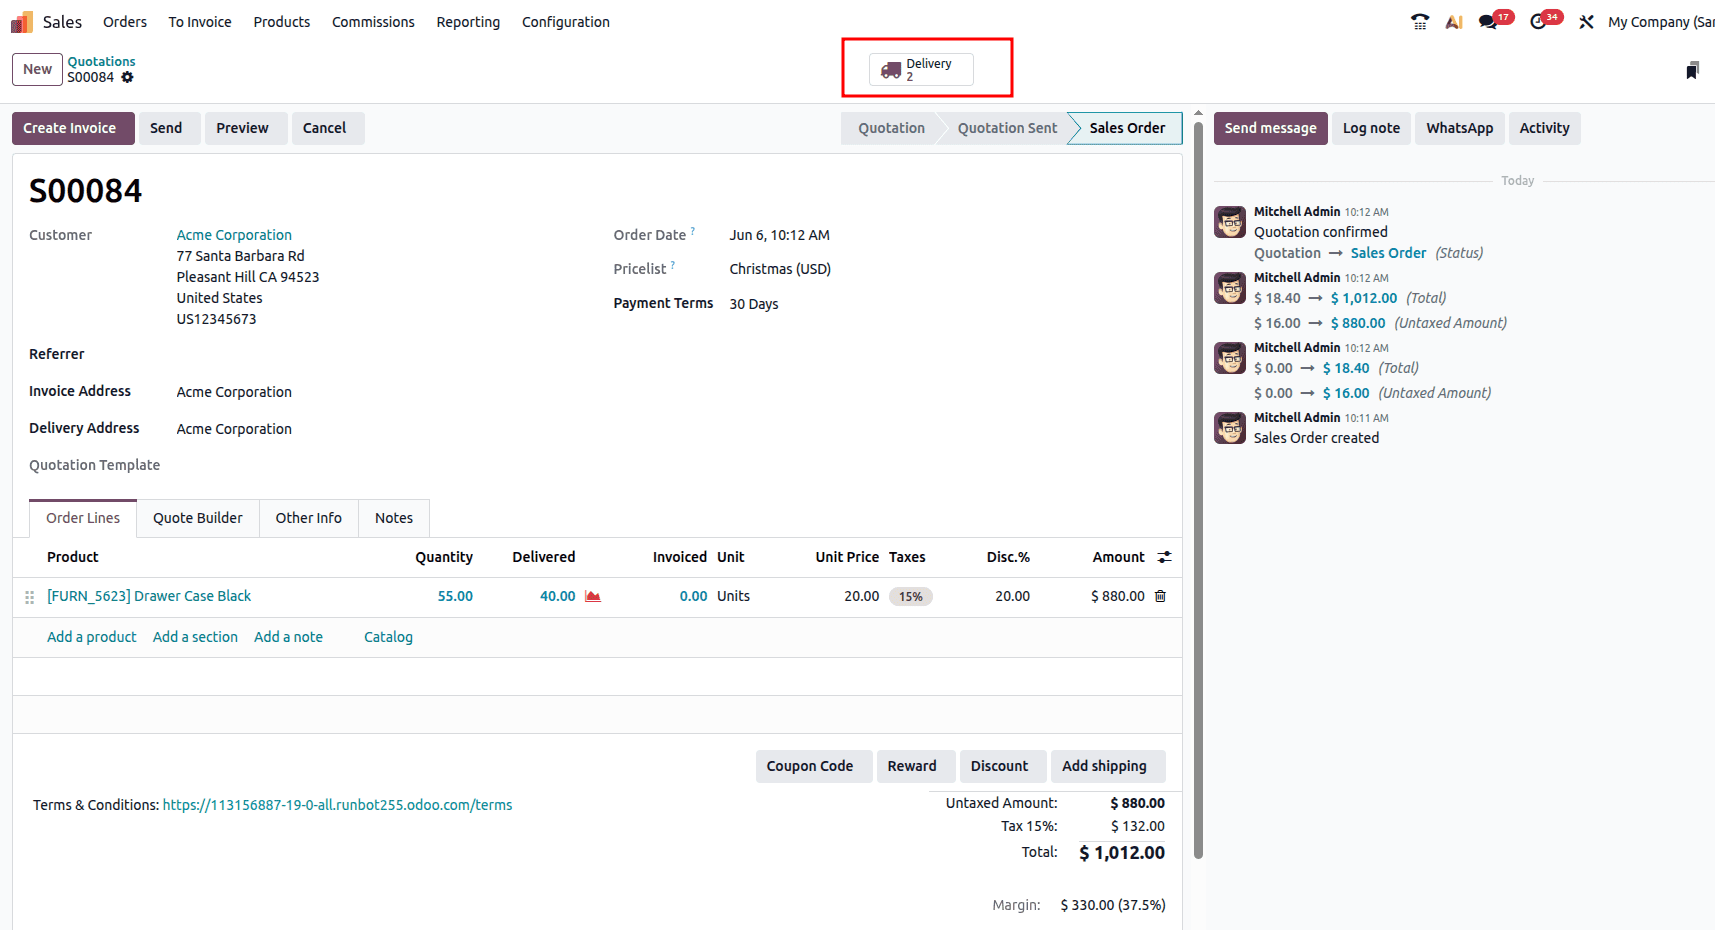
Click Create Backorder to generate a new transfer for the remaining quantities in the same sales order. The newly created transfer will have the status “Waiting.”
This backorder is easily identified and characterised as a backorder associated with a specific transfer since it includes a clear reference to the original transfer.
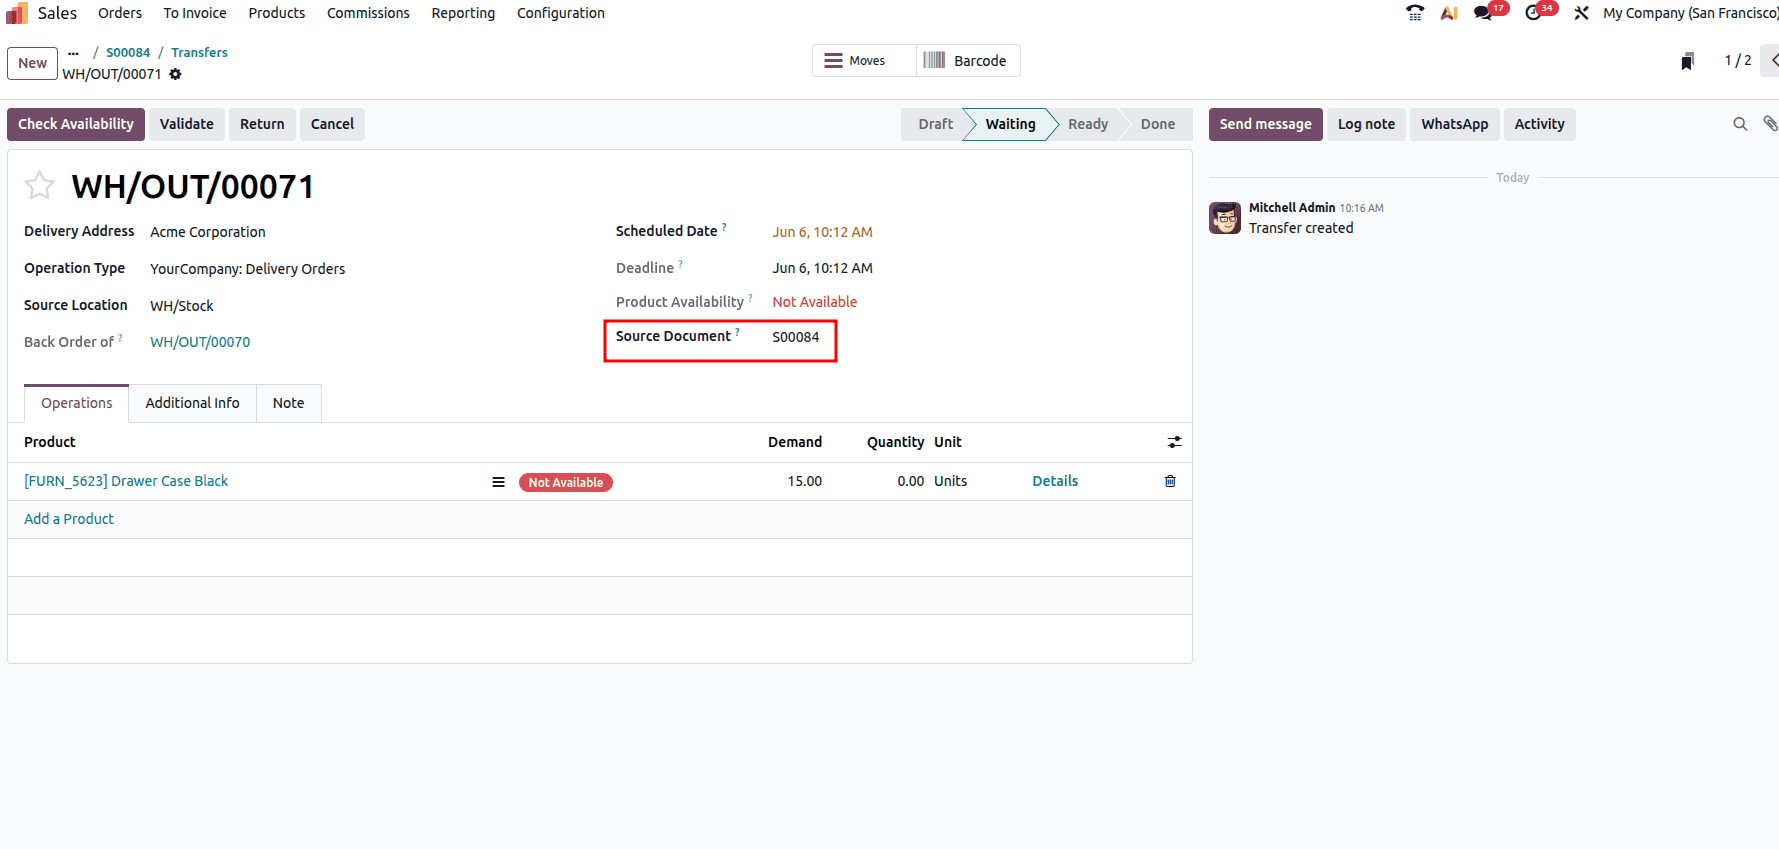
After creating the backorder, the sales order displays the Delivery Status as Partially Delivered under the Other Info tab. After updating the product inventory, the transfer status will change to “Ready”, as shown in the screenshot below.
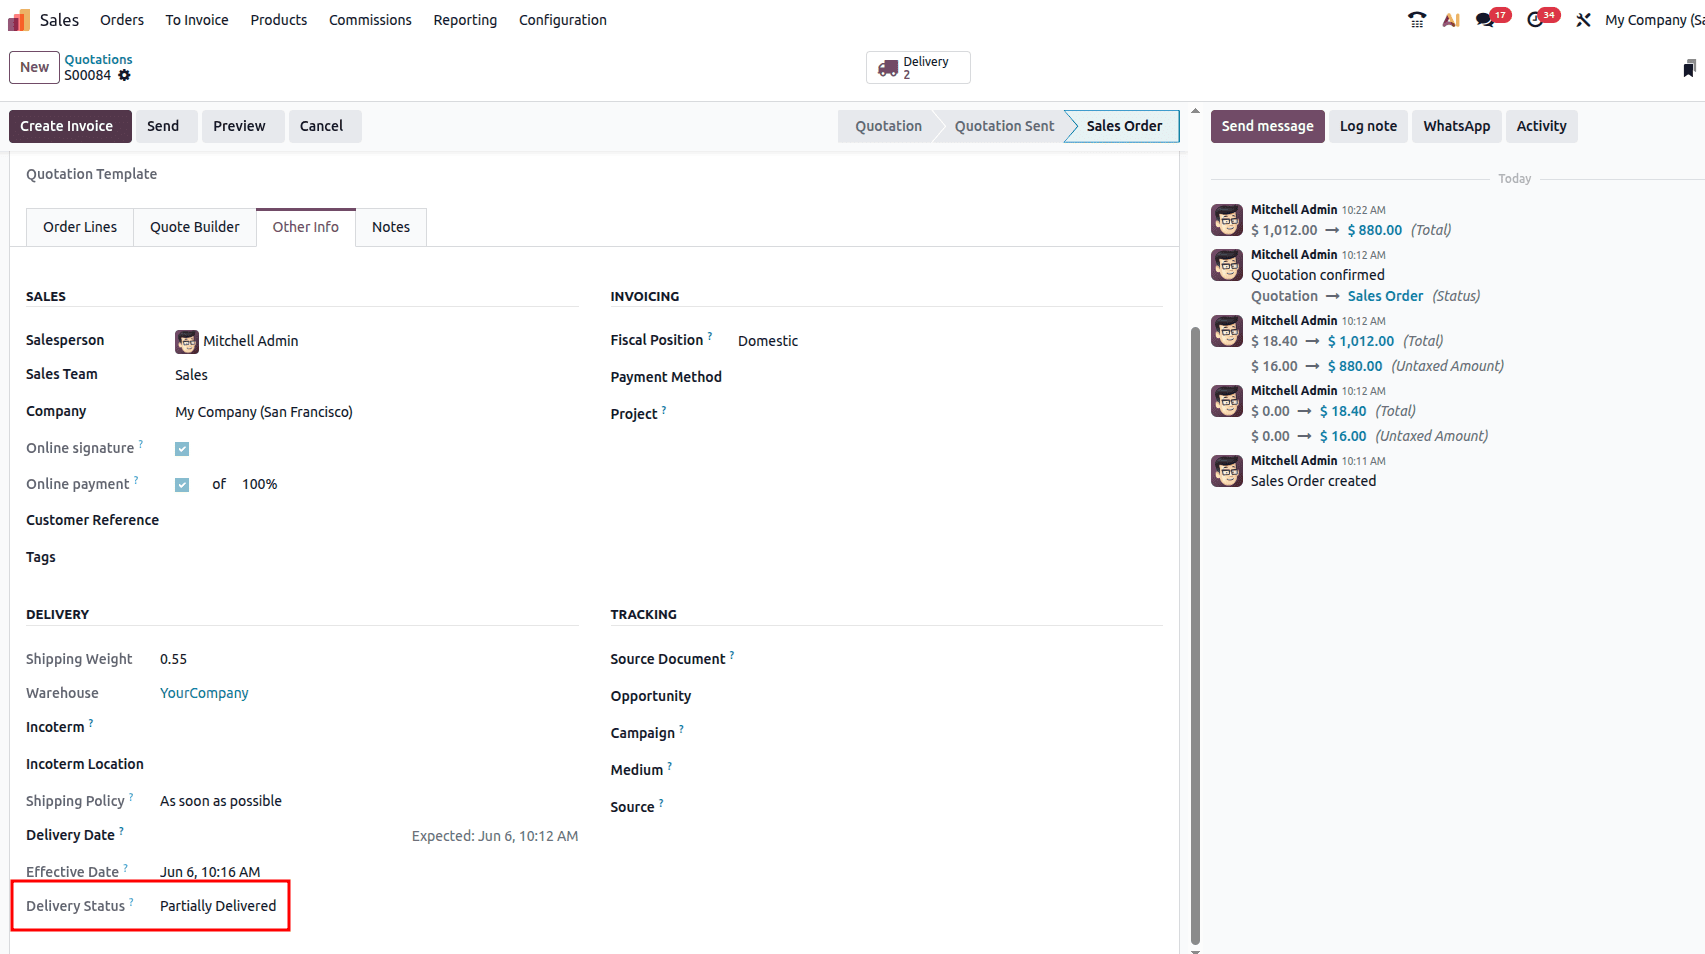
You can then complete the transfer and confirm the delivery.
Now let’s check how backorder is created when we choose the option ‘Always’.
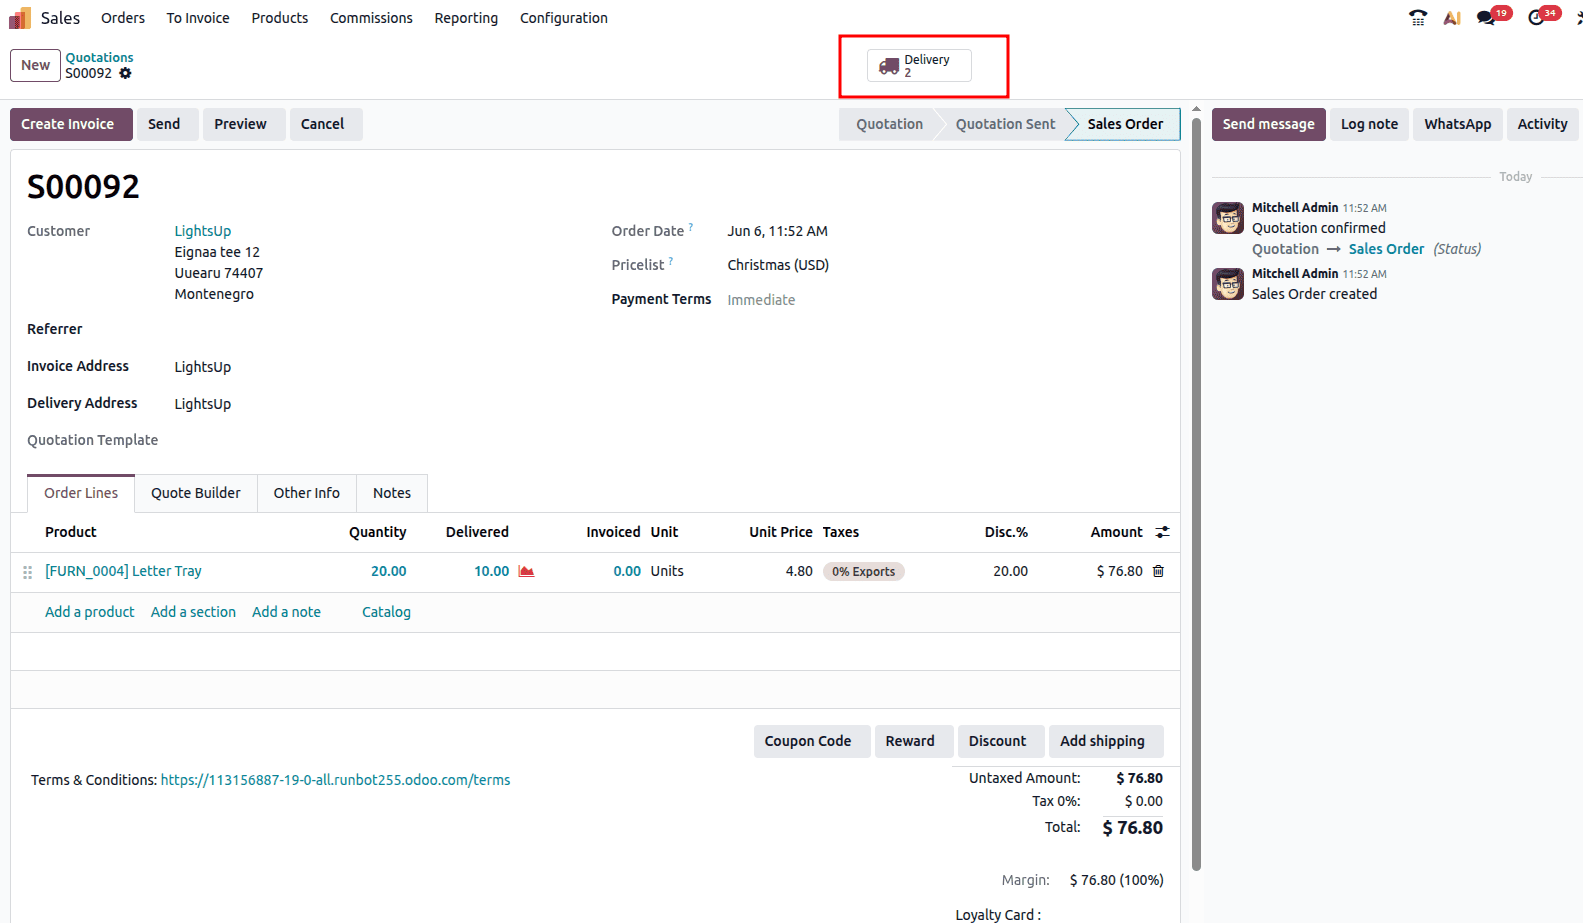
Then update the on-hand quantity of the product ‘Letter Tray’ to 10 units. Follow the same steps as above, like creating a new sale order with a quantity more than the on-hand. Confirm the order and open the delivery.

Here we have only 10 quantities on hand, and the demand is 20 units.
Once we click on the Validate button, Odoo will immediately create a backorder. No pop-up window will appear.
Now, when we check the sale order, two delivery orders will be created as in the previous example. You can validate the transfer and complete the process.
Now let’s examine the third option, ‘Never’.
Analyse the product ‘Magnetic Board’, which has an on-hand quantity of 10 units.
Follow the same steps as above.
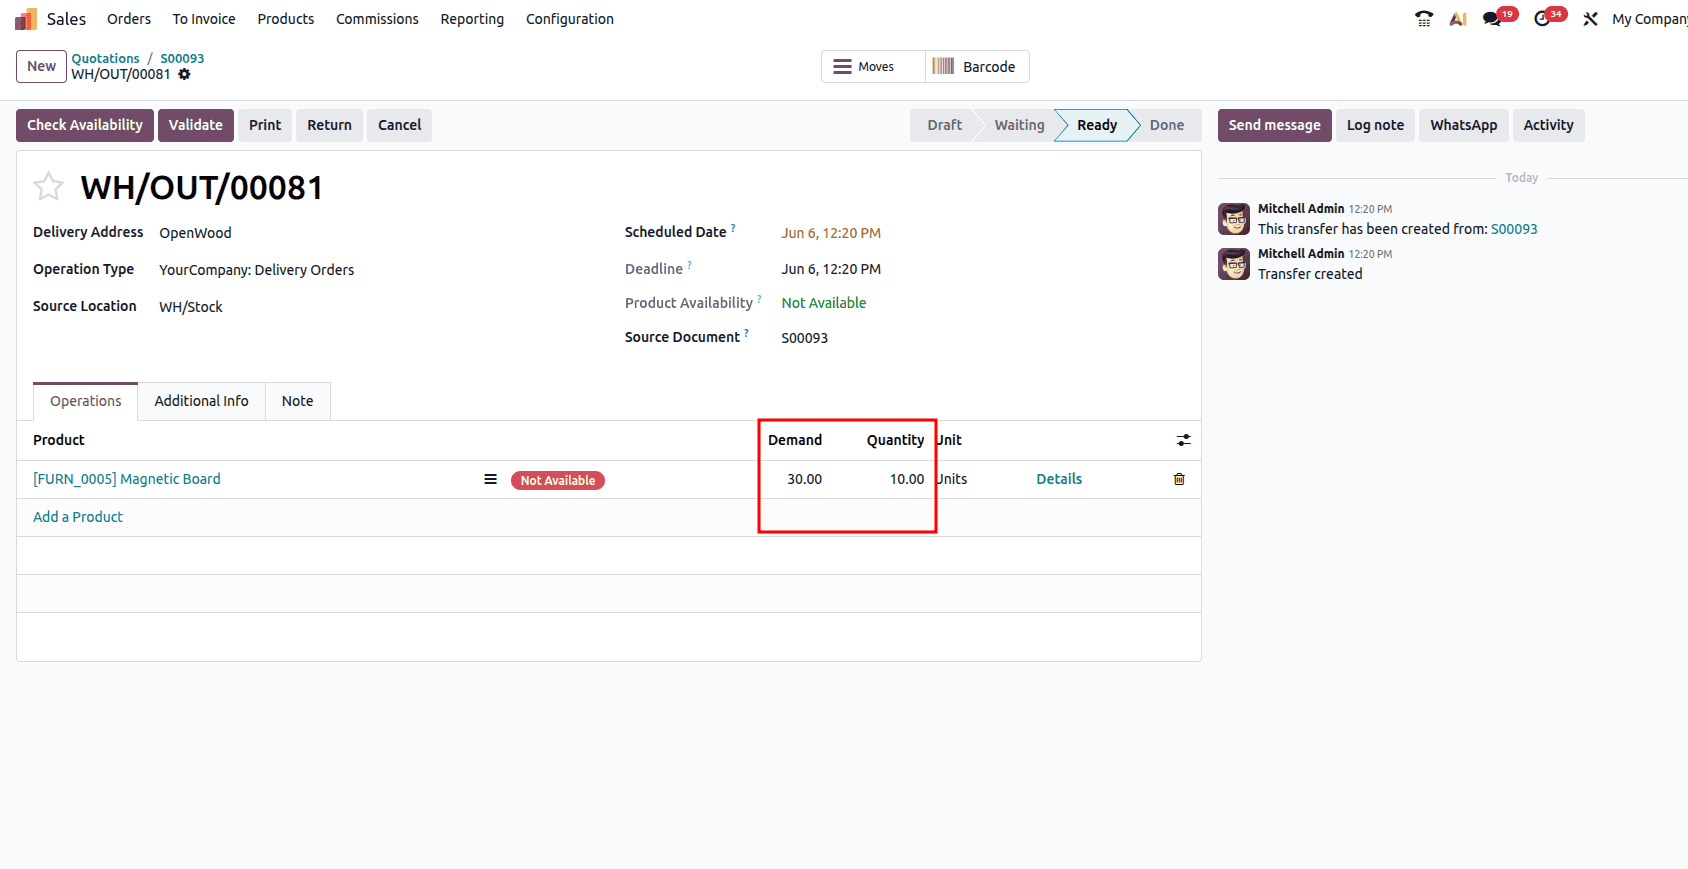
Now, when we click on the Validate button, no backorder will be created.
When you look into the sale order, you will be able to see that only one delivery is created; two deliveries won’t be created.
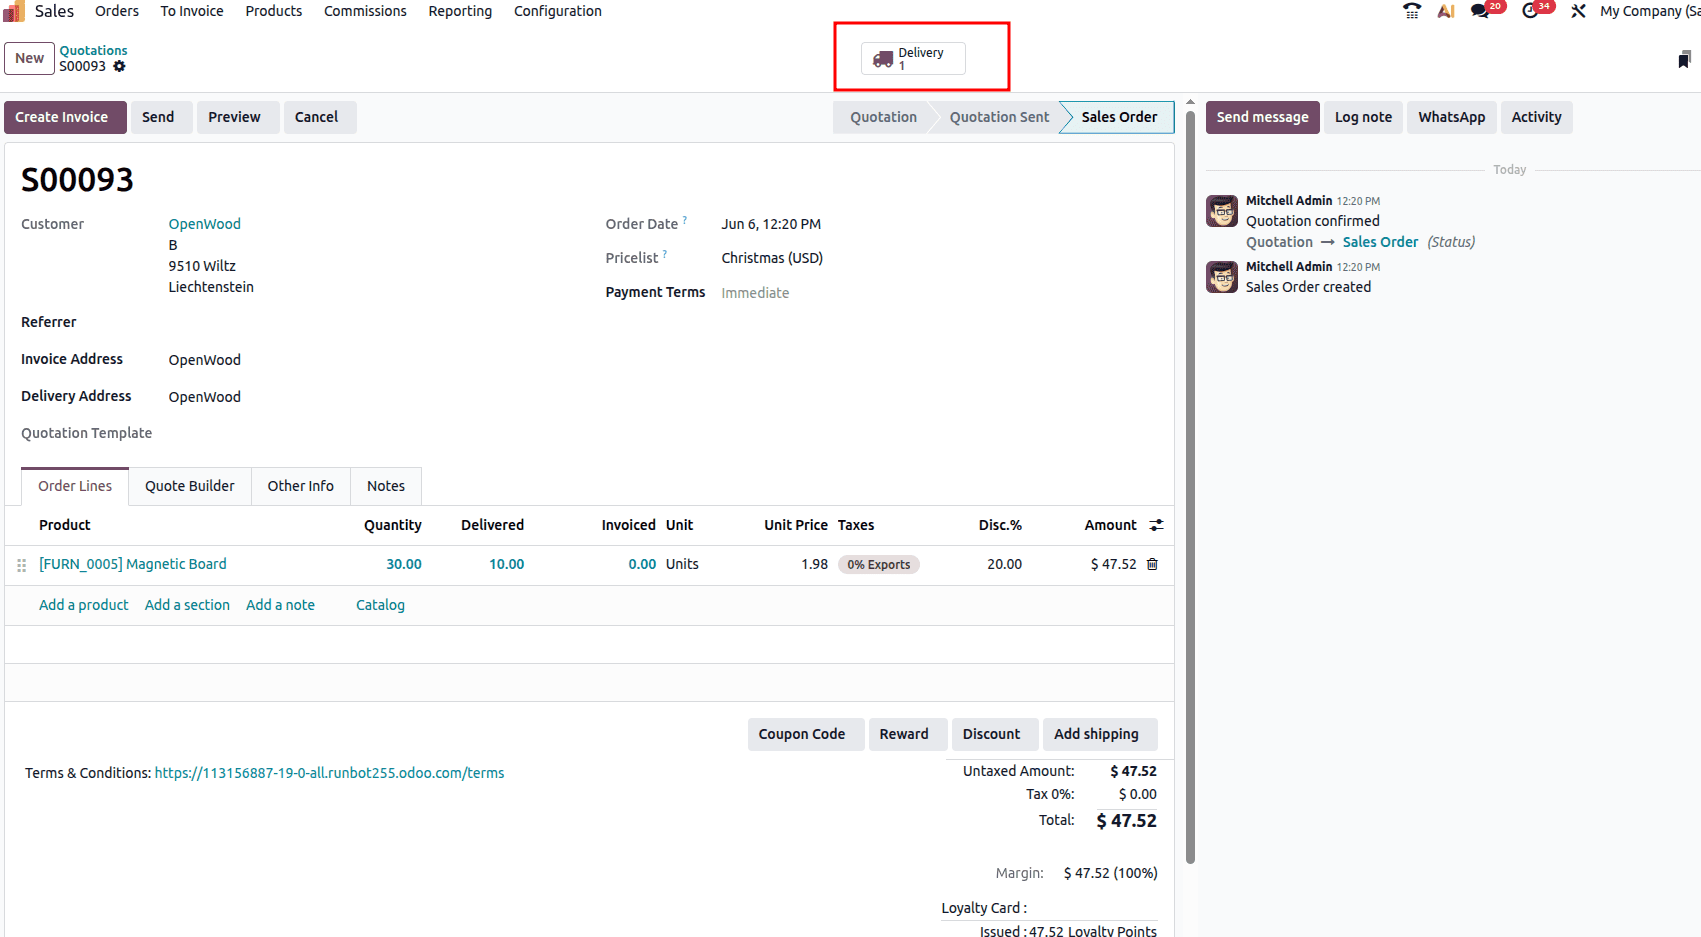
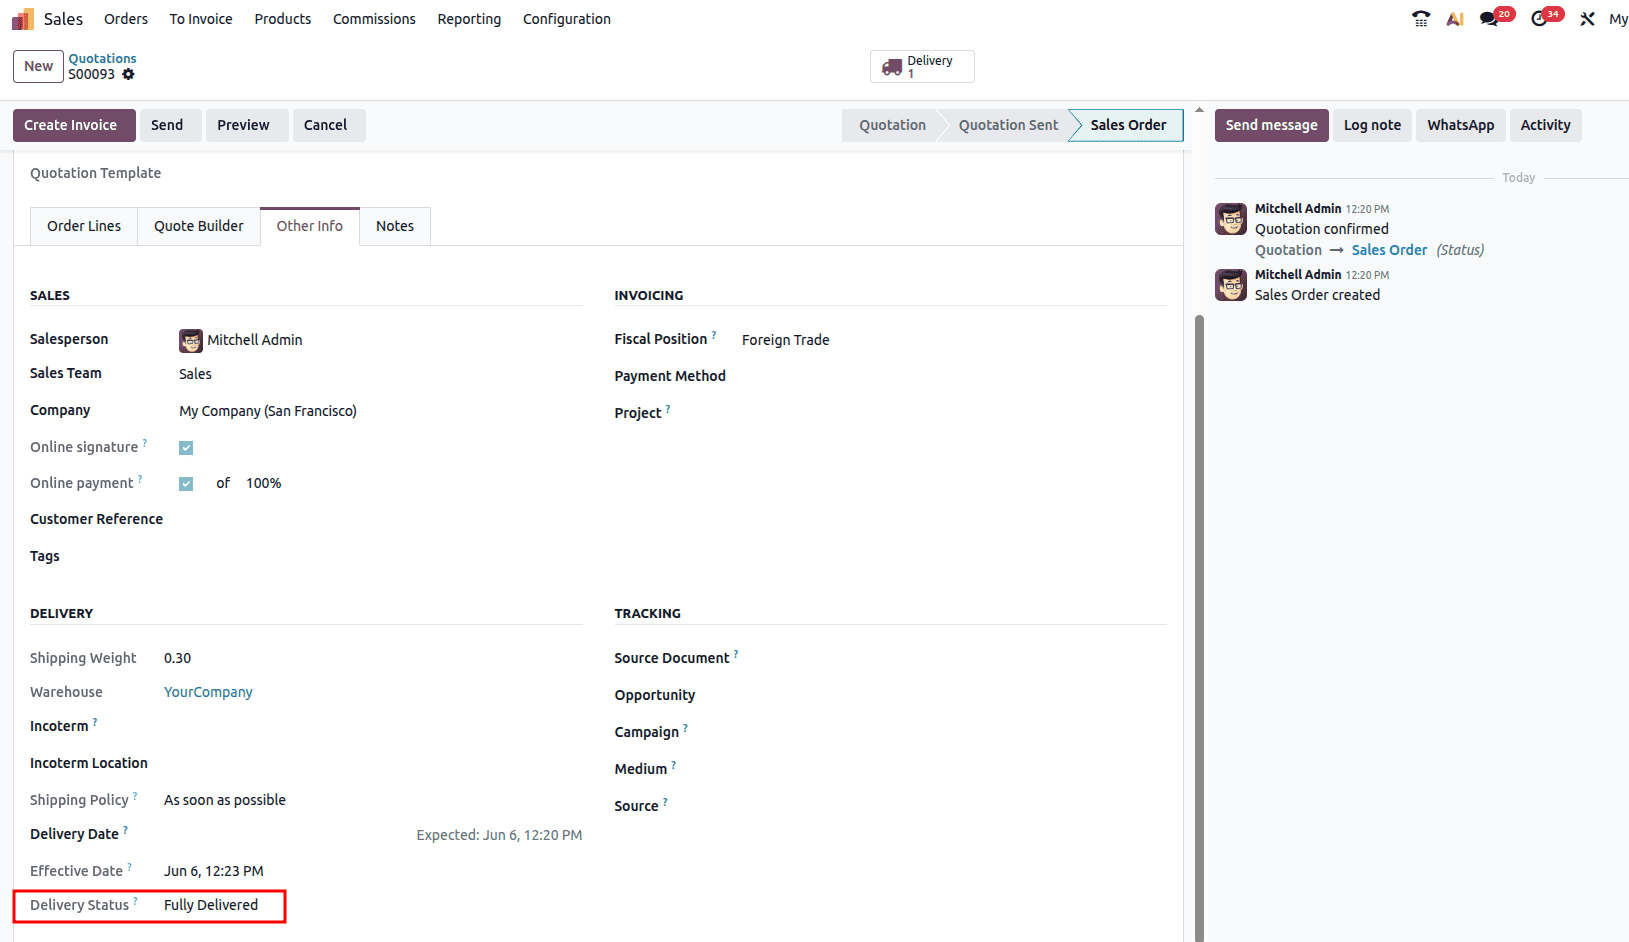
Also, when you check the delivery status from the sale order, you can see it as Fully Delivered.
This approach improves inventory accuracy, enhances customer satisfaction through transparent fulfillment tracking, and gives businesses better control over supply chain delays. With automated backorder creation and clear tracking across delivery documents, Odoo 19 helps companies reduce manual intervention, minimize errors, and ensure that outstanding quantities are fulfilled efficiently when stock becomes available.
To read more about How to Manage Backorder with Odoo 18, refer to our blog How to Manage Backorder with Odoo 18.