Field Service Management refers to the coordination of employees or contractors who perform tasks such as installation, maintenance, or repair work at client locations, away from the company’s main premises. Field service managers are responsible for monitoring these professionals, assigning jobs, and ensuring tasks are completed efficiently and on time.
Modern field service solutions like the one offered in Odoo 18 connect data from mobile devices, IoT systems, and asset management tools to improve field operations. These solutions help increase first-time fix rates, reduce operational costs, and boost customer satisfaction by providing technicians with the tools and information they need in real time.
With features such as mobile access and remote assistance, field staff can perform their duties safely, remain compliant with regulations, and troubleshoot issues on-site. The use of live data and analytics also enables businesses to respond quickly to unexpected changes, reduce delays, and make better resource decisions.
Odoo’s Field Service module in version 18 serves as a complete platform to schedule, assign, and manage tasks like repairs, installations, deliveries, and maintenance work. It supports service tracking, real-time updates, time logging, inventory usage, document signing, and invoicing—all from a single interface. By simplifying task scheduling and execution, Odoo helps businesses manage field operations with greater accuracy and efficiency.
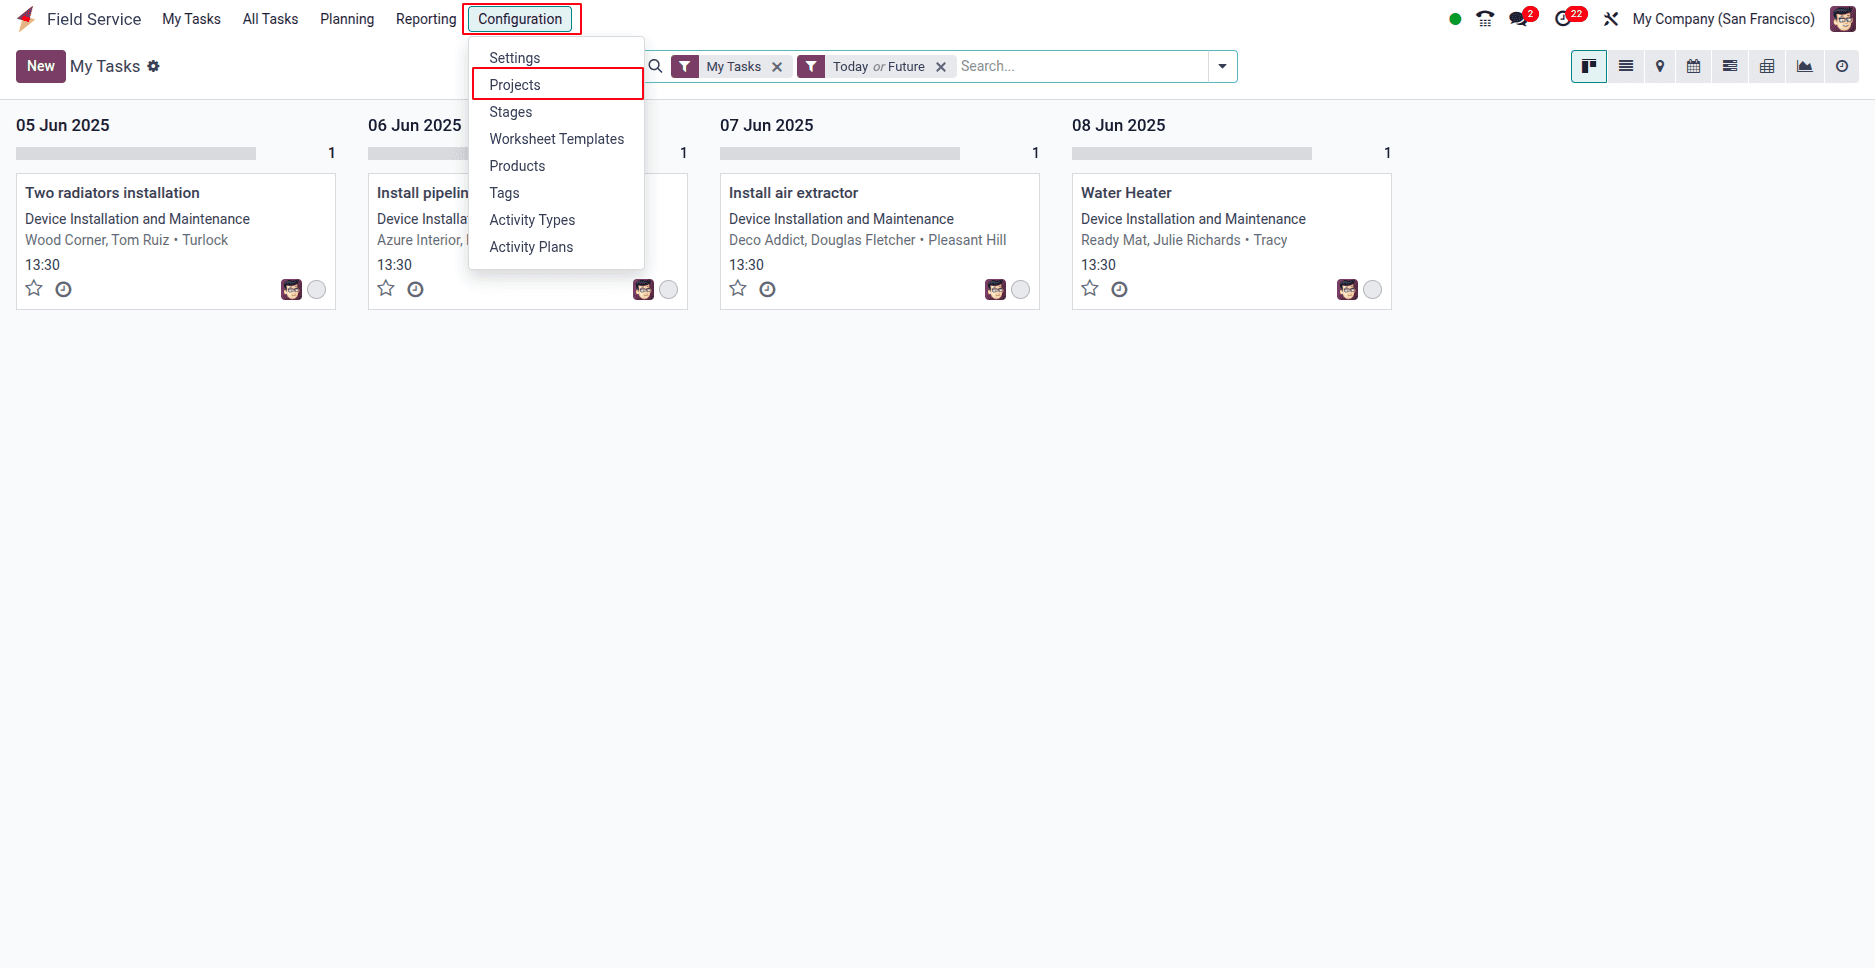
Configuration of Projects
To begin managing field service tasks, the first step is to create a new project that will act as the base for those tasks. Odoo 18 allows users to set up customized projects tailored to specific business needs. This can be done through the "Projects" option found under the "Configuration" menu within the Field Service module. Each project can be configured with its own settings, making it easier to categorize and manage various types of service operations.
When you open the "Projects" option, you’ll be directed to the Projects Dashboard. This view displays key details such as the project name, worksheet template, company, start and end dates, allocated hours, project manager, and current stage. To create a new project, simply click on the "New" button and begin configuring the project according to your requirements.
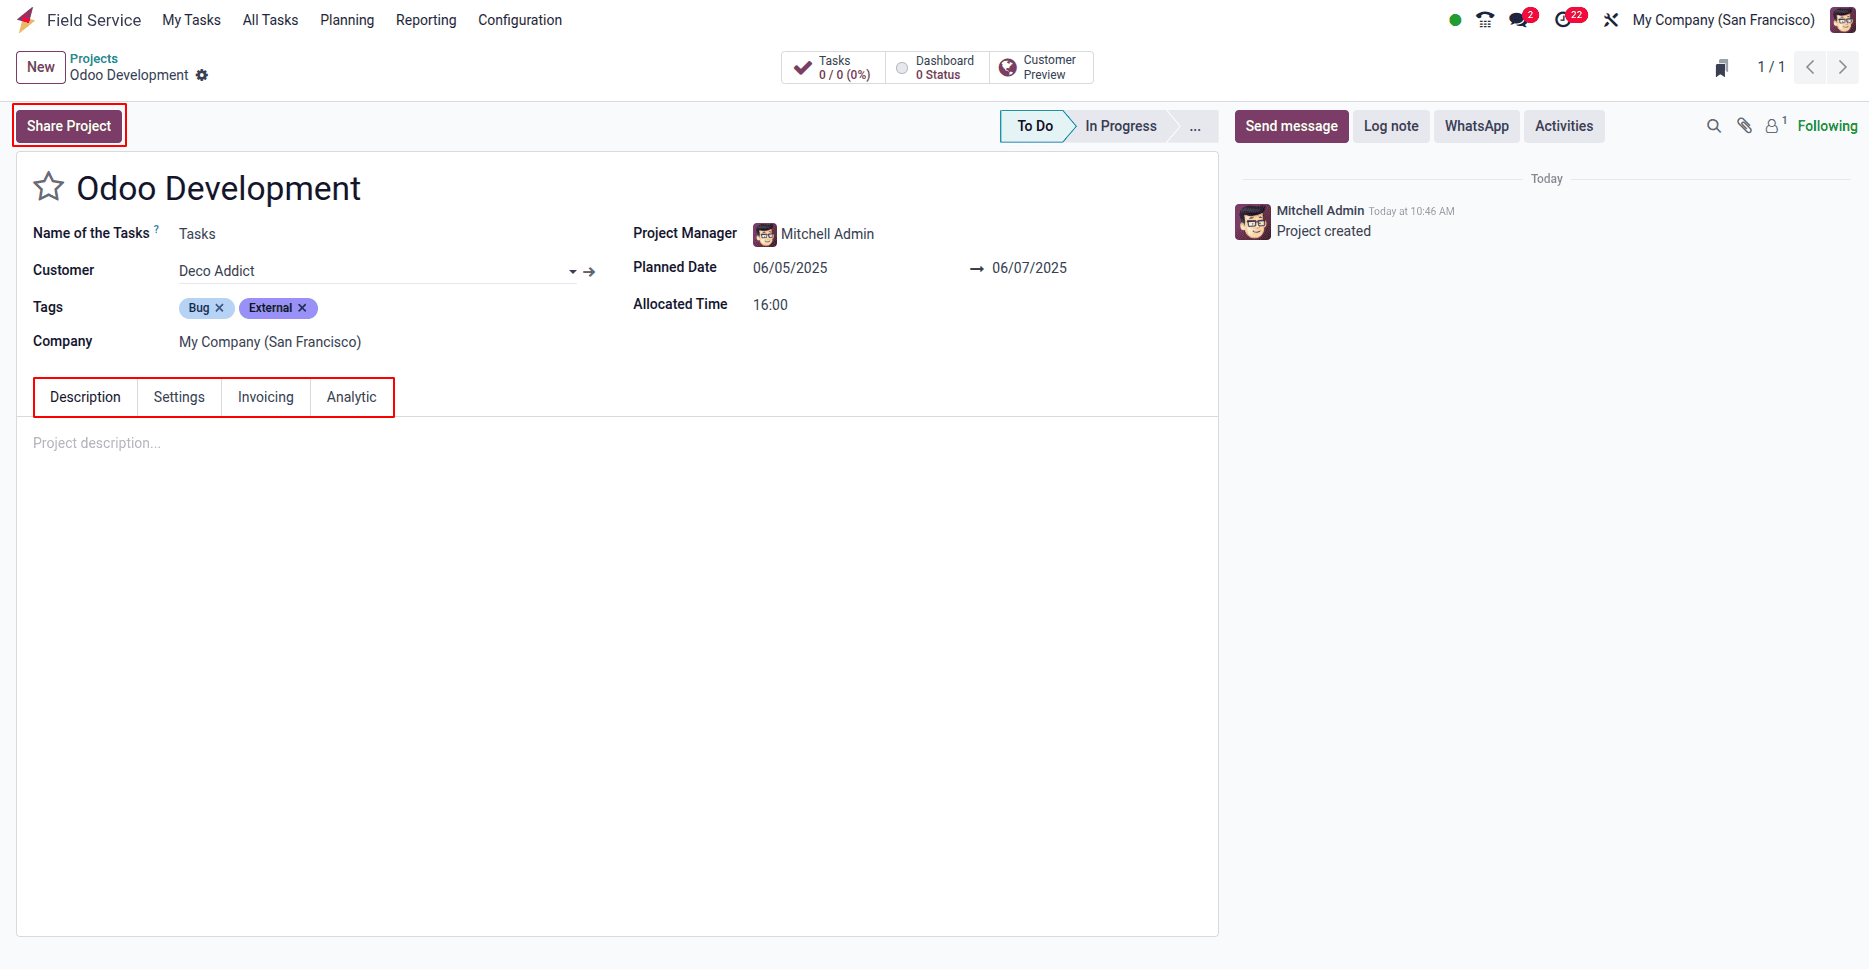
Enter the project name in the provided field—for example, you can name it “Installations.” Fill in the relevant details such as the Customer, Tags, and Company based on your organization's data. Assign a Project Manager by selecting the appropriate user in the designated field. You can set the Planned Date by choosing a date from the calendar picker, and specify the Allocated Hours according to the estimated time needed for the tasks.
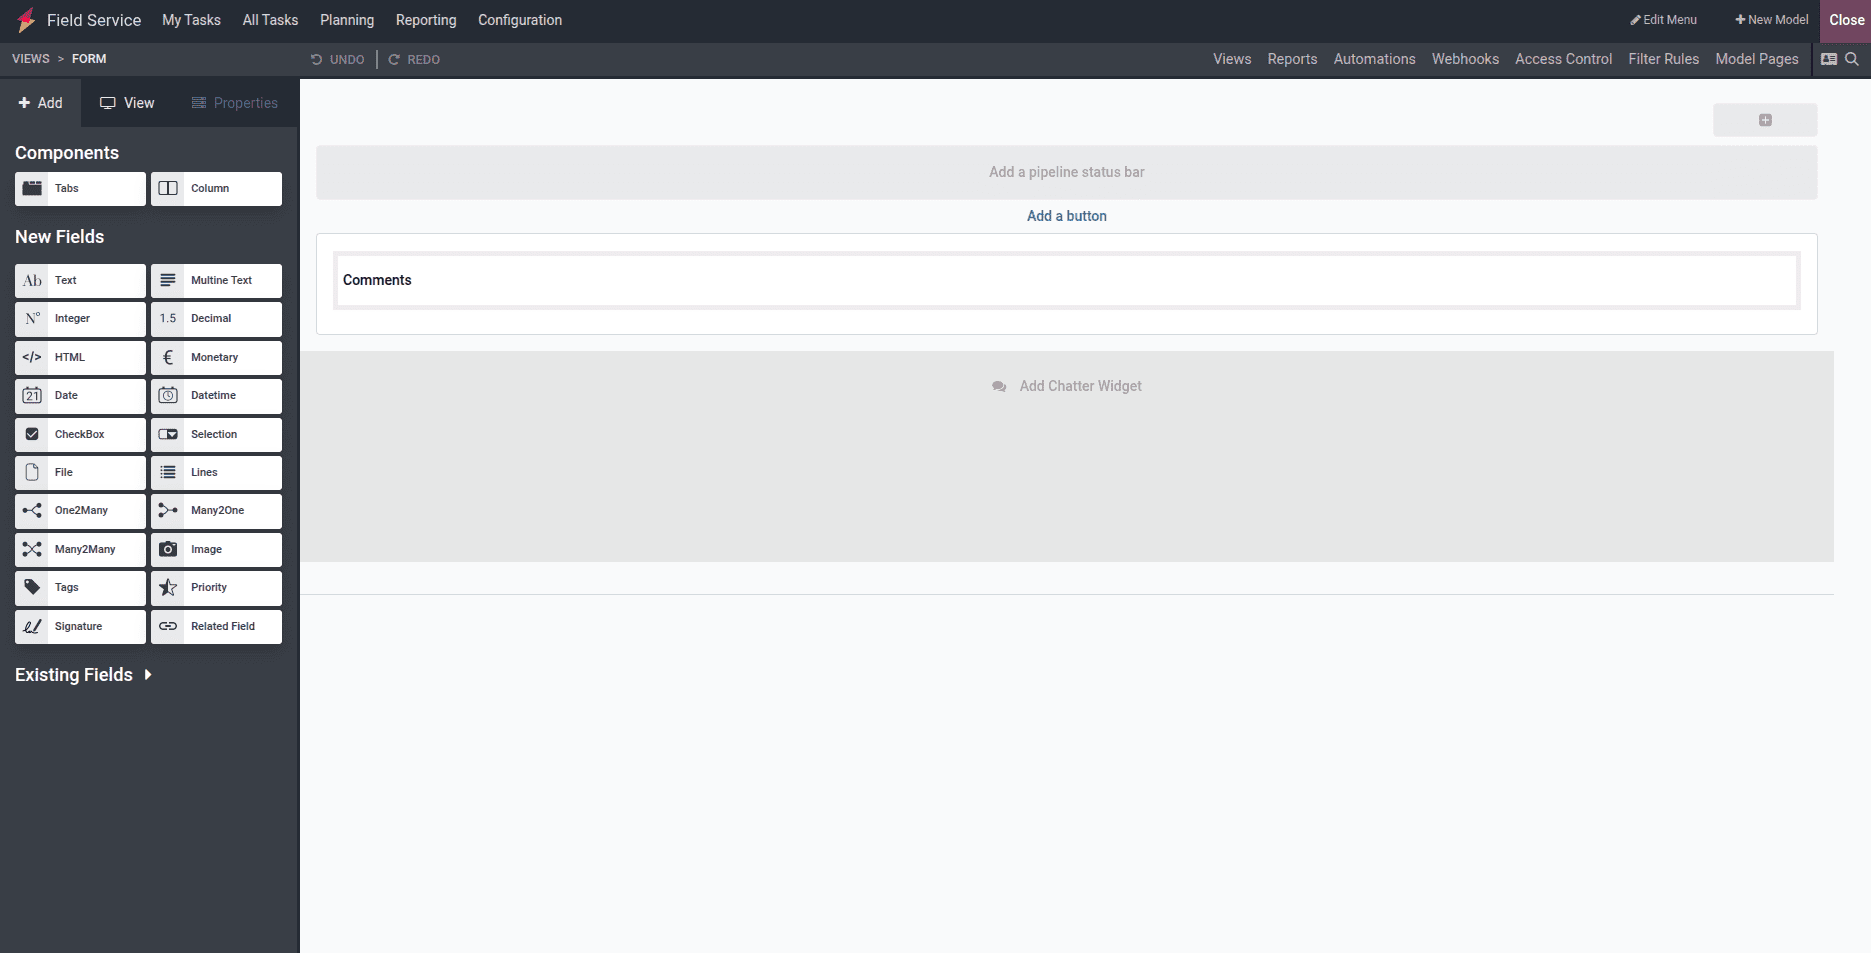
The project creation form also includes three main tabs: Description, Settings, and Invoicing, each allowing you to configure specific aspects of the project.
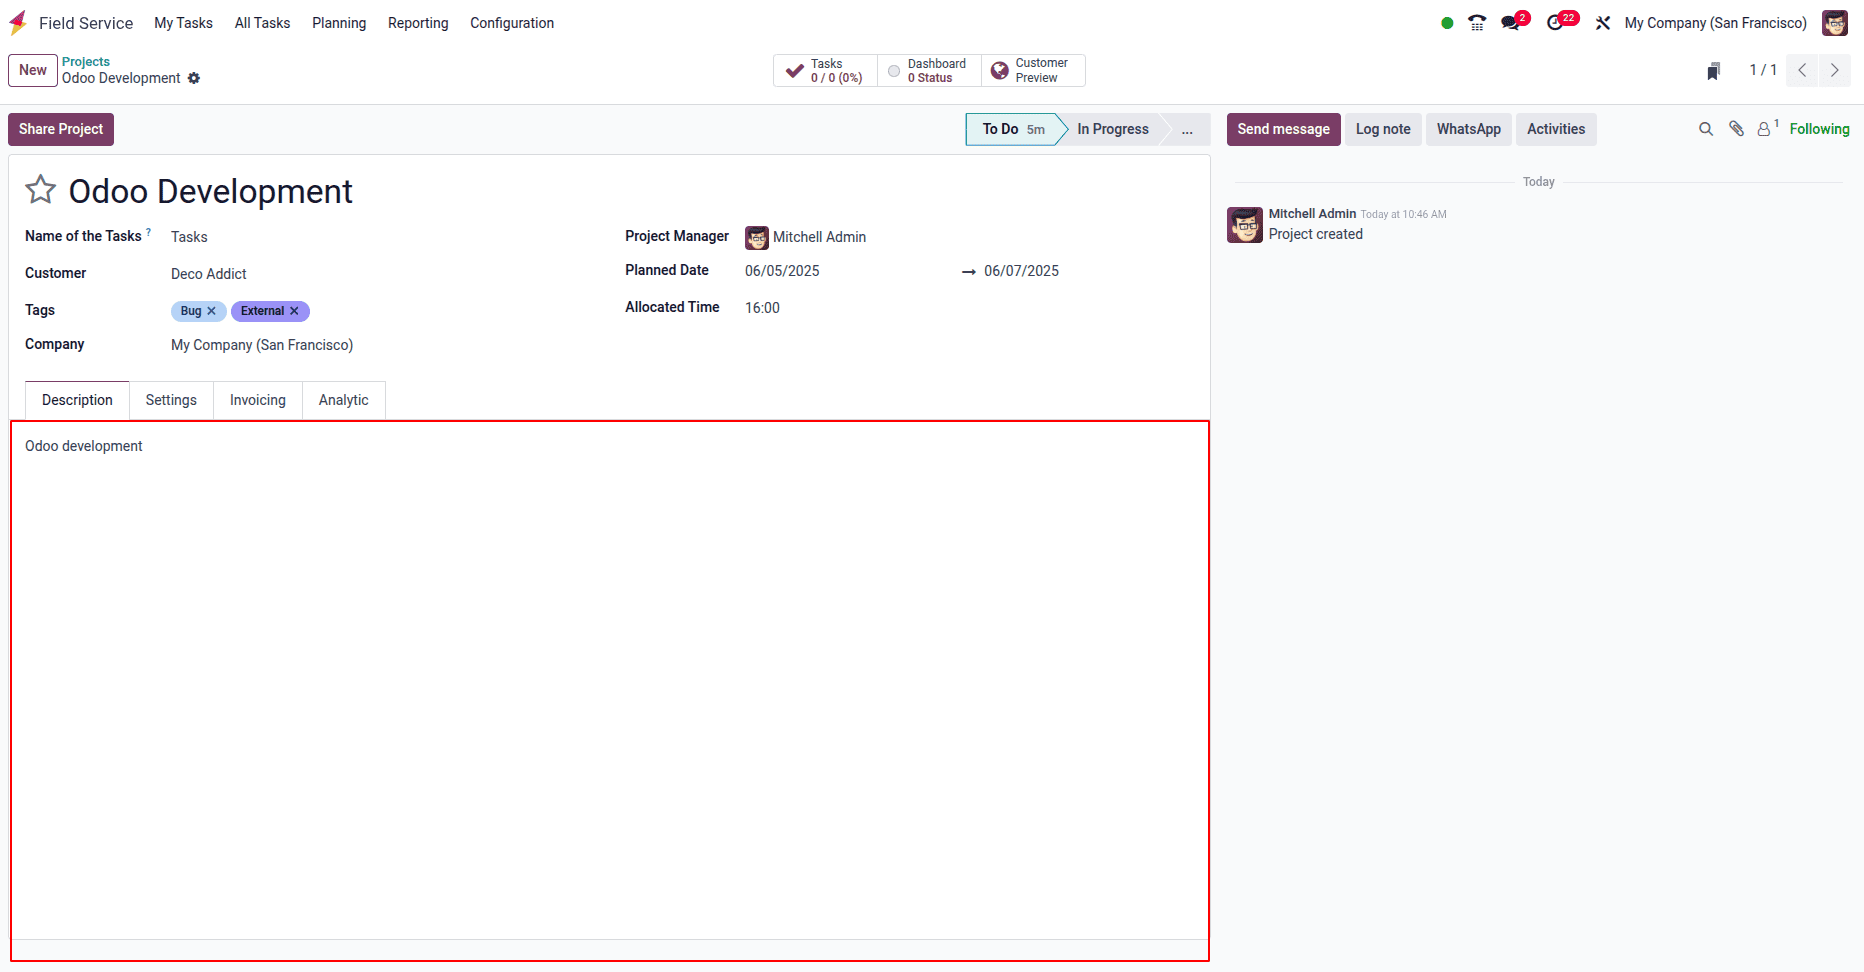
Description Tab
You can add any relevant descriptions or notes related to the project in the "Description" tab. This section is useful for documenting important details or special instructions about the project.
Settings Tab
In the "Settings" tab, you can link tasks and timesheets to the project by assigning an Analytic Account. This helps in monitoring both the costs and revenues associated with the project. You can also configure the Visibility of the project by selecting from options such as Invited Internal Users, All Internal Users, Invited Portal Users, and All Internal Users. This setting controls who can view and participate in the project.
To break down the work into smaller, manageable parts, you can enable the "Sub-tasks" option under the Task Management section. If your tasks need to be repeated periodically, you can activate the "Recurring Tasks" feature to automate the task generation at scheduled intervals.
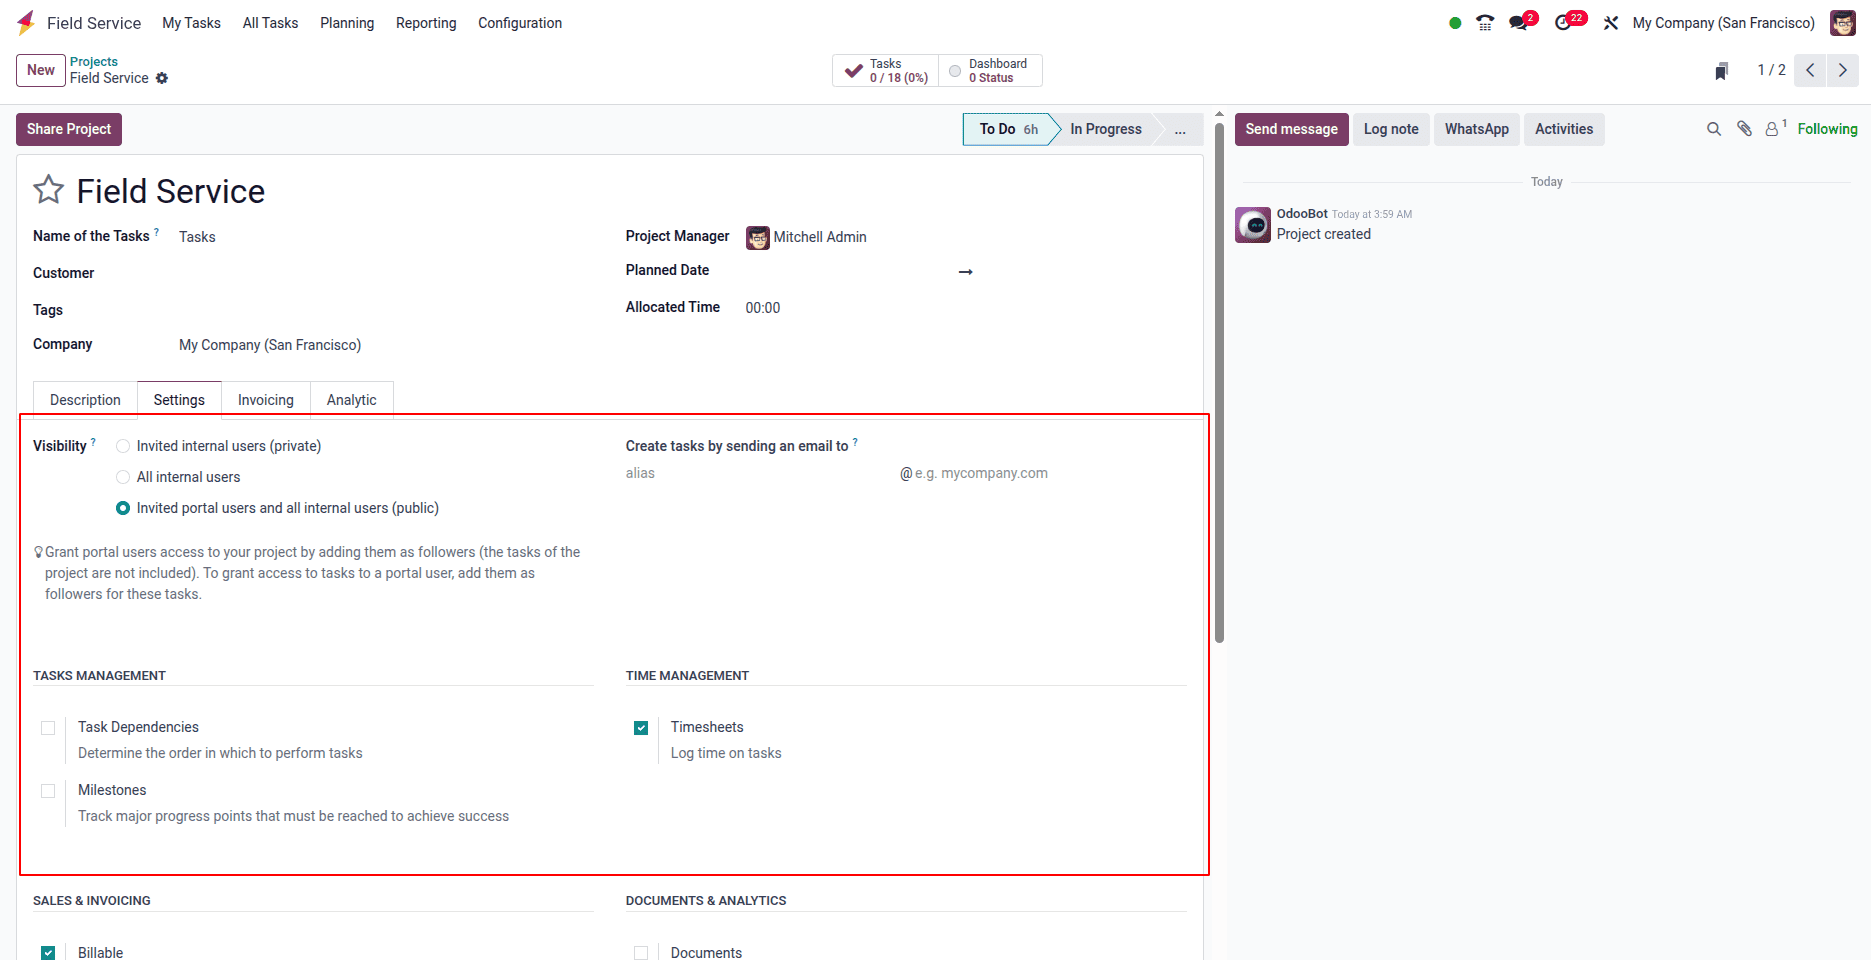
You can manage the order in which tasks are performed by enabling the "Task Dependencies" option. To track key progress points essential for project success, make use of the "Milestones" feature. Activating the "Timesheets" option allows you to log the time spent on each task and maintain accurate time tracking. Additionally, to plan and allocate resources efficiently for the project, enable the "Planning" option.
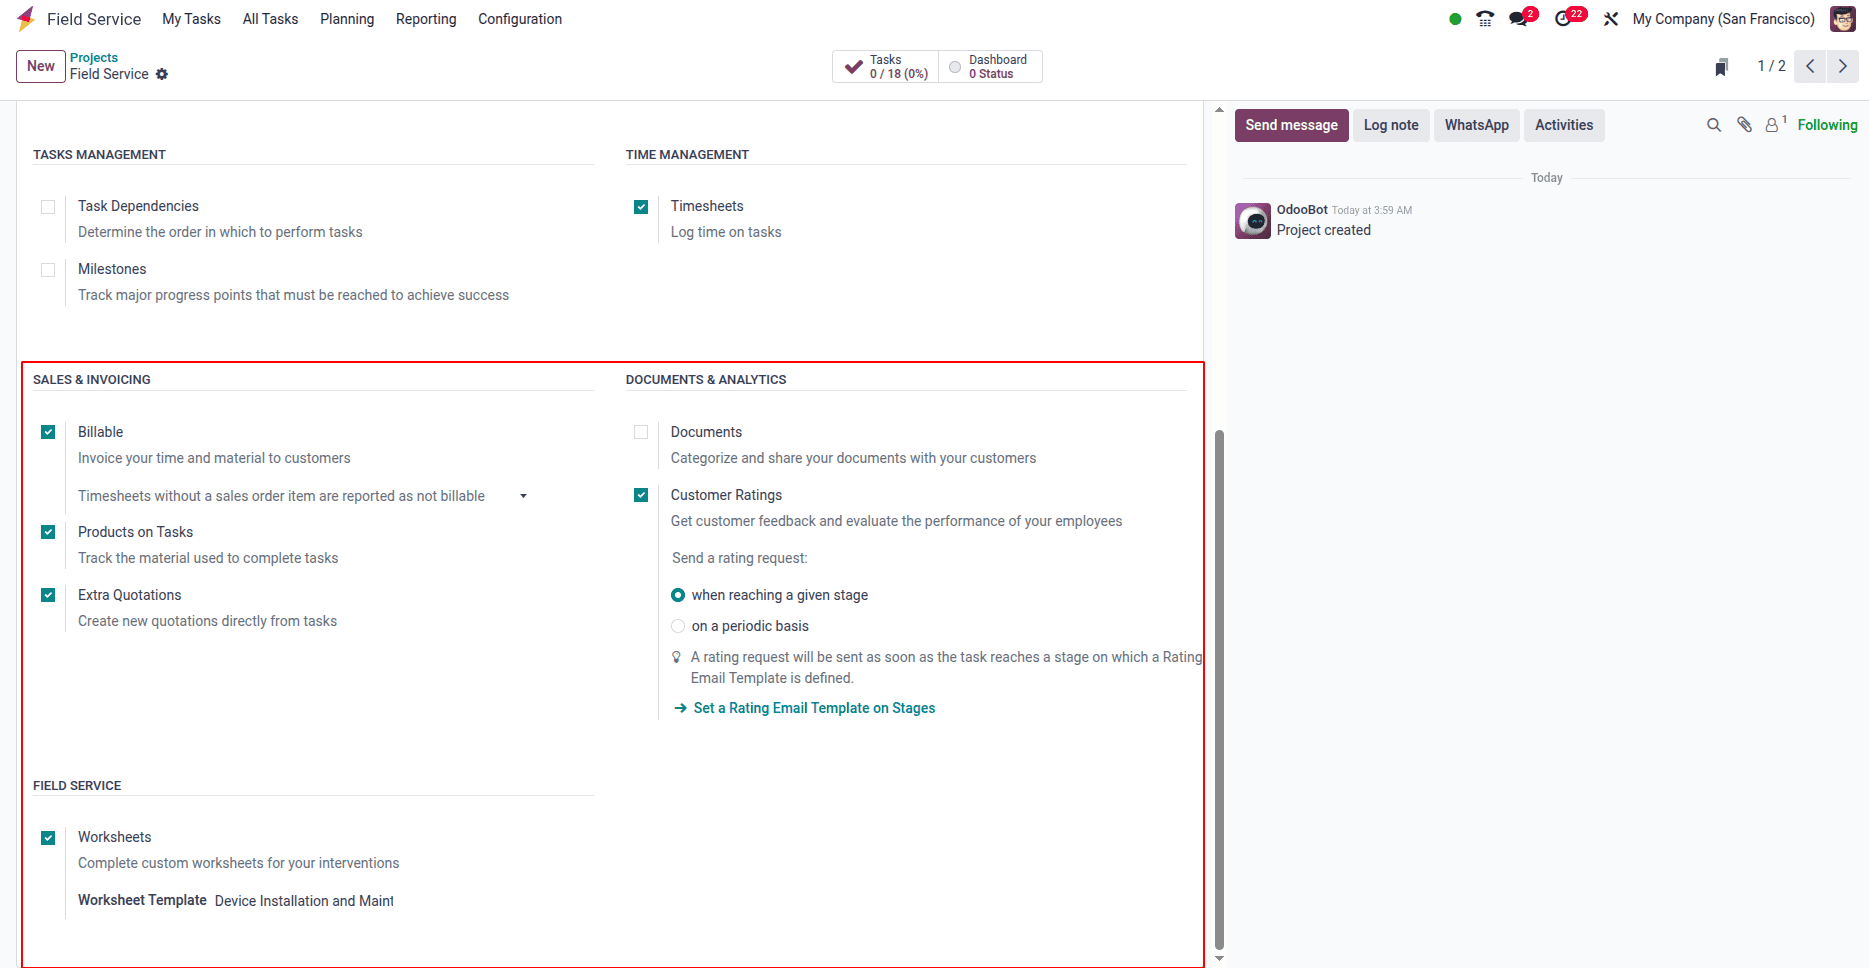
By enabling the "Billable" option, you can invoice the customer based on the time and materials used for the project. Activating the "Products on Tasks" feature allows you to track the materials or products needed to complete each task. The "Documents" option helps you manage and share important files related to the project with the client. To generate task-specific worksheet reports that require client approval, you can enable the "Worksheets" option under the Field Service section.
Invoicing Tab
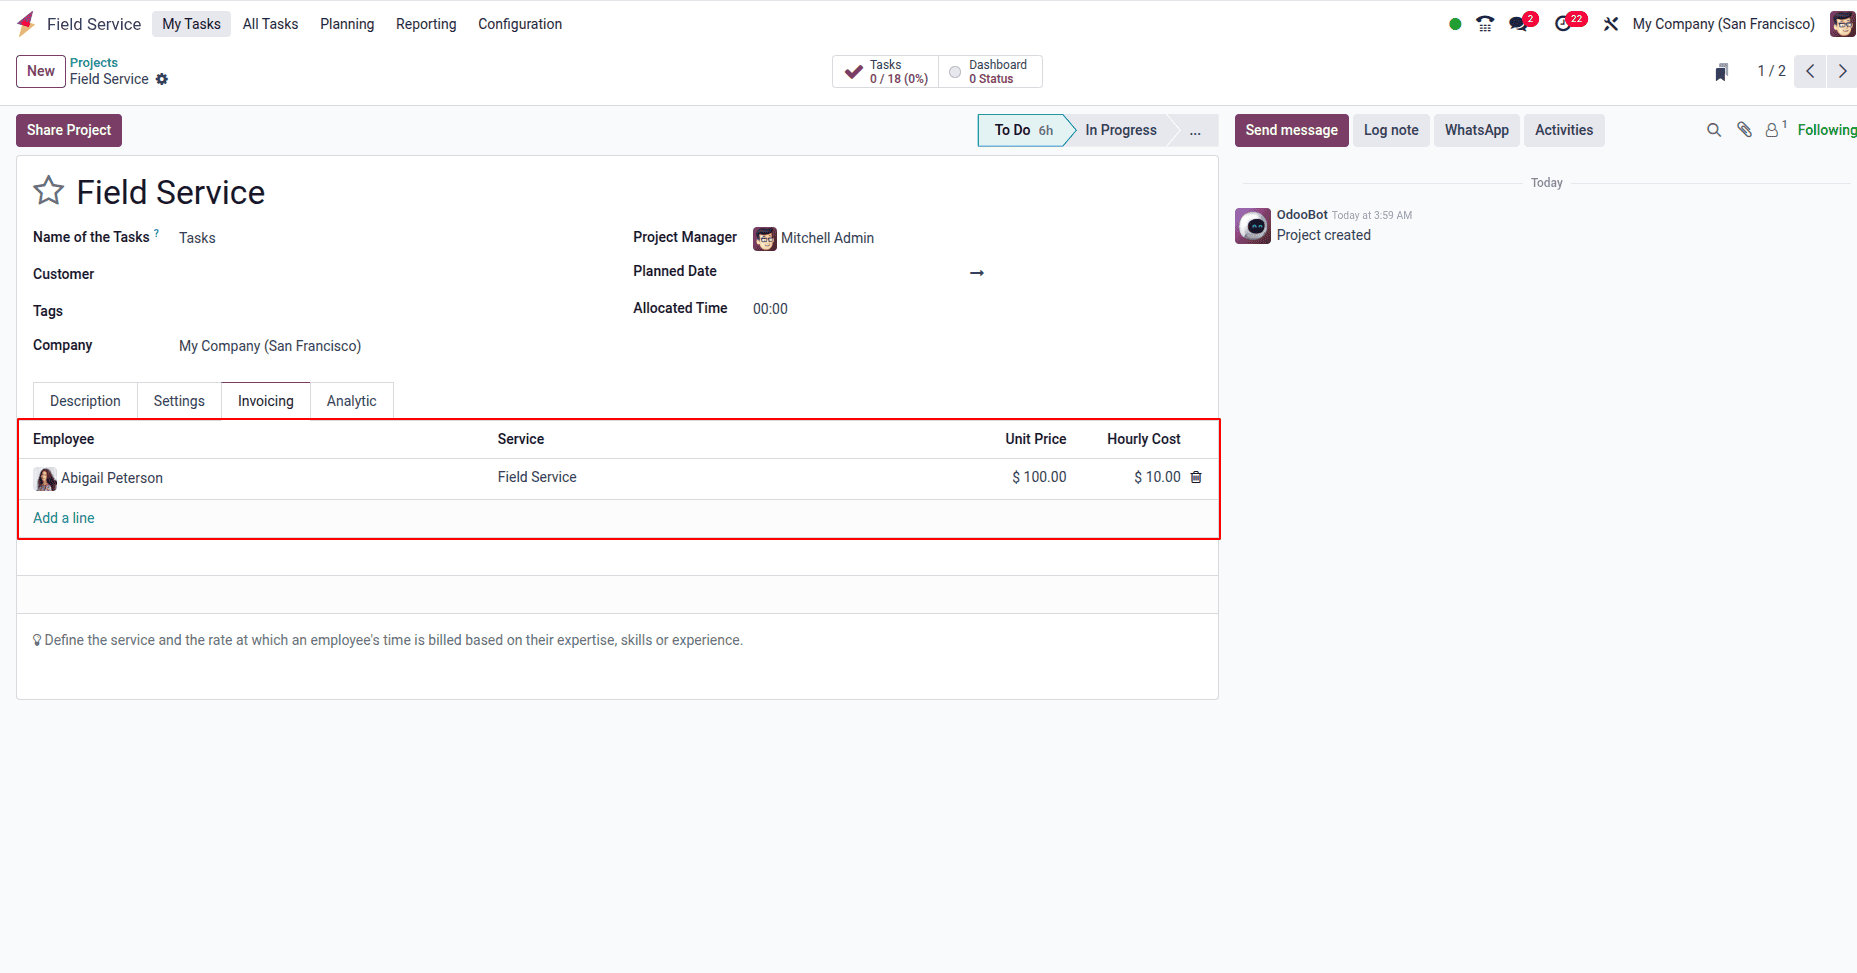
Under the Invoicing tab, you can set a Default Service to specify which service will be automatically applied when billing for time spent on a task. While this default can be customized, you also have the option to modify the sales order line for each individual job. Additionally, you can add details such as Employee, Service, Unit Price, and Hourly Cost by using the “Add a Line” button to accurately reflect the billing information.
Once you’ve completed entering all the project details, save your changes and return to the project dashboard.
Stages
Stages in field service represent the different steps a task goes through from start to finish. They help organize work, track progress, prioritize jobs, and improve communication between teams. Using stages makes it easier to monitor task status, manage workflows, and generate reports for better service management.
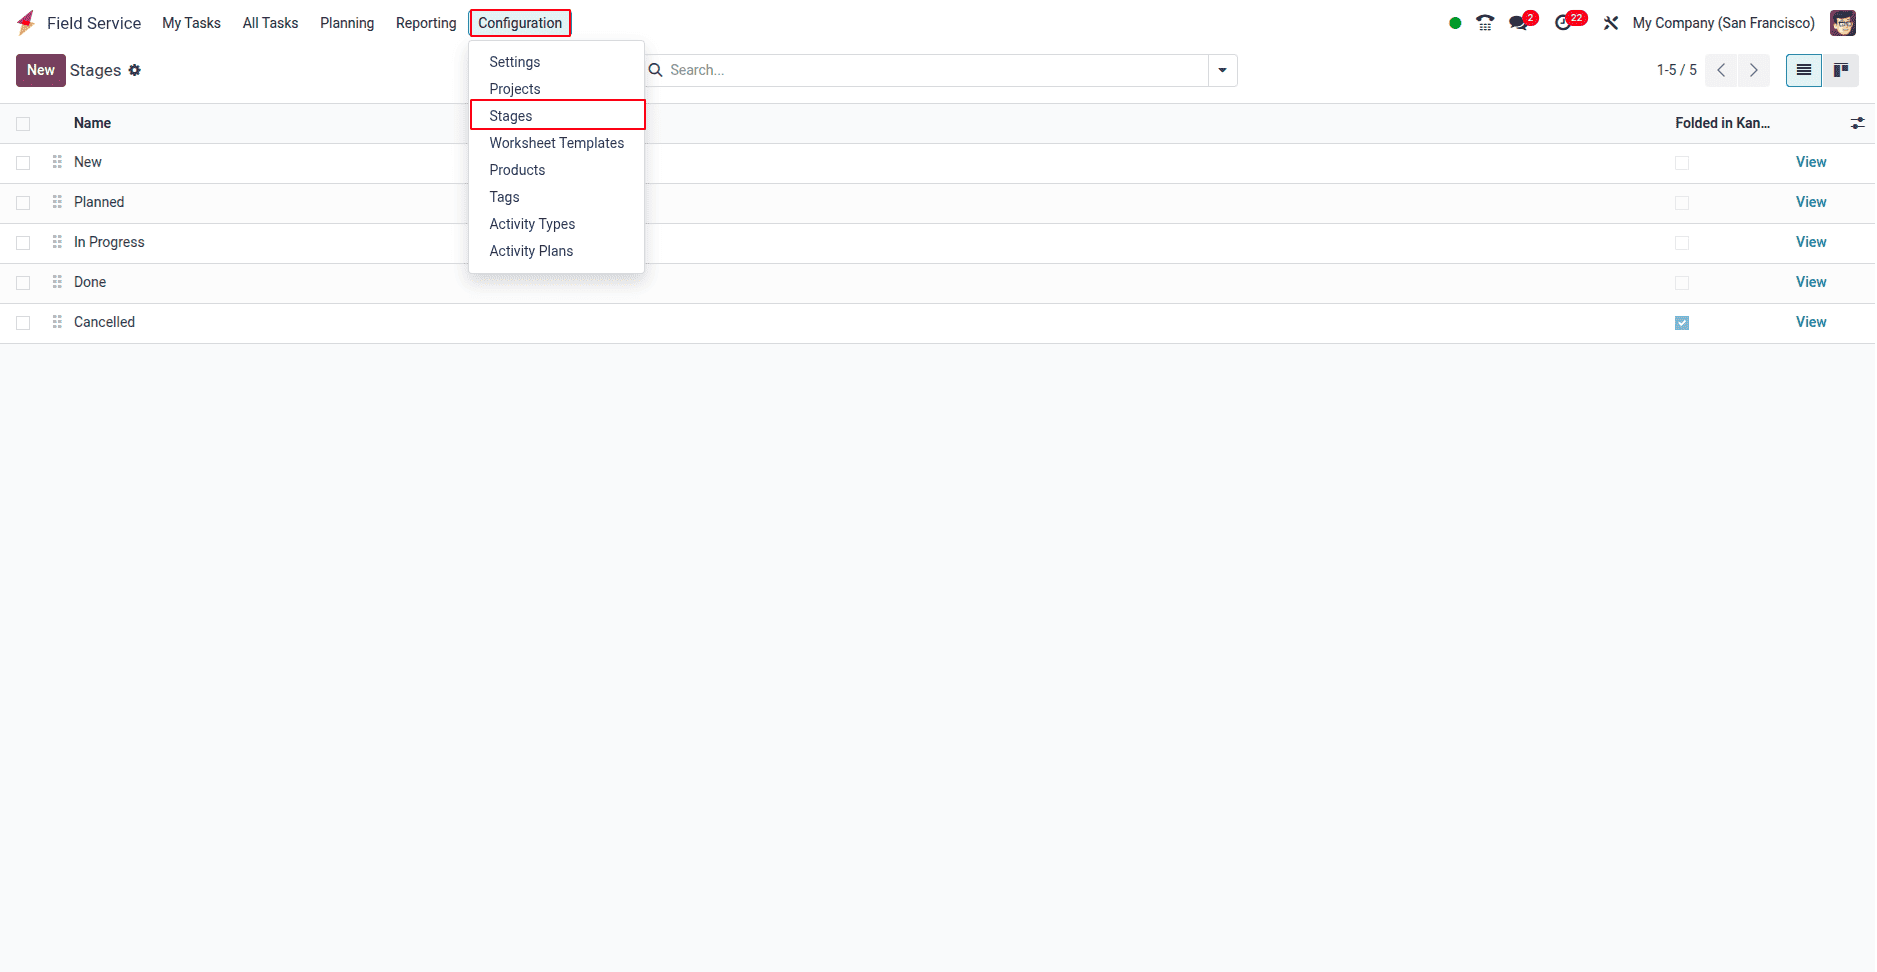
Stages help organize and manage tasks by clearly showing their current status (e.g., New, In Progress, Completed). This makes it easier for managers and technicians to track progress, prioritize work, and ensure timely completion. Stages also improve communication and reporting, providing a clear overview of the service workflow.
Worksheet Template
In Odoo, worksheet templates for tasks within the Field Service module can be conveniently set up. These templates are accessible through the Configuration menu under the Worksheet Template section.

On this platform, you can view existing worksheet templates. To add a new template, simply click the New button.

Enter the template’s name and select the associated companies in the designated fields. You can also choose an appropriate color for the template. Once saved, the template will display Design Template and Analysis buttons, as shown in the image below.
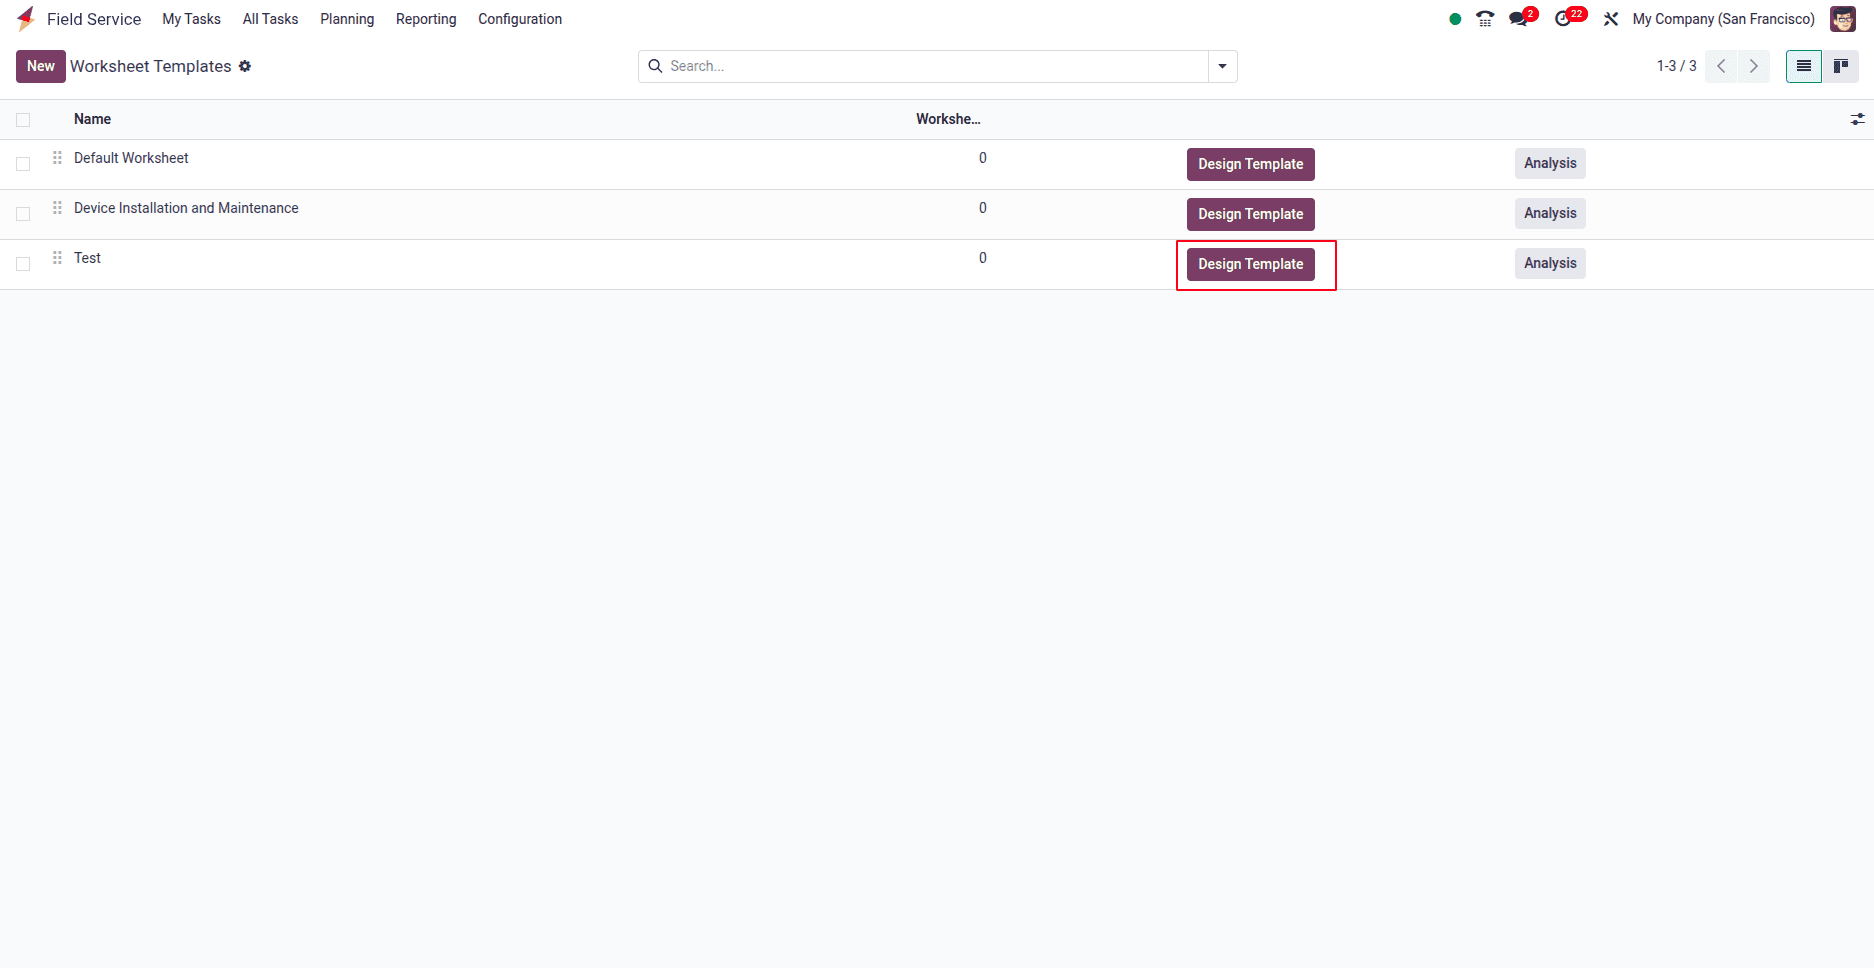
Clicking on Design Template will open a new window in Odoo where you can create and customize your worksheet template.
The Analysis button allows you to generate reports based on the configured worksheet templates.
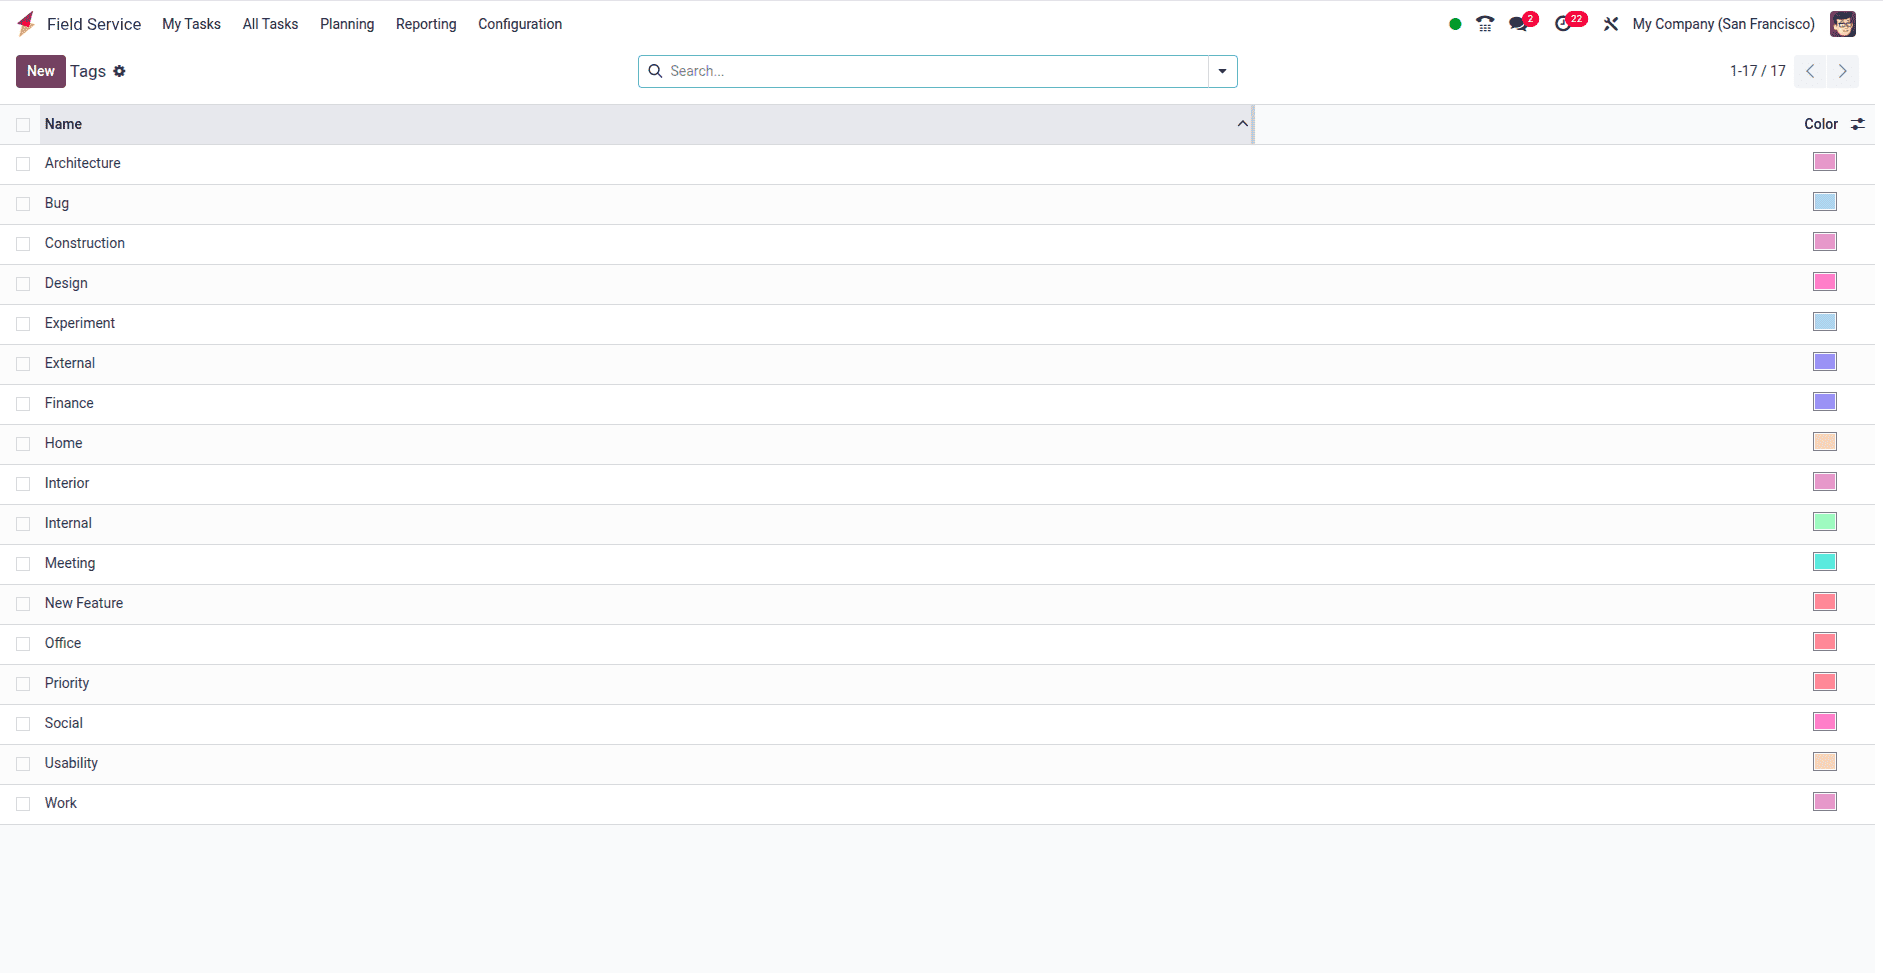
Tags
Tags are labels that help categorize and organize projects, tasks, and service requests within the Field Service module. By assigning tags, you can easily filter, search, and group related records, making it simpler to manage large volumes of work. Tags also improve reporting and help teams quickly identify task types, priorities, or specific service categories, enhancing overall workflow efficiency.
Activity Types and Plans
In Odoo 18 Sales, the Schedule Activity feature helps businesses maintain consistent customer engagement by planning and managing various activities. This feature is integrated across sales and customer-related modules, allowing for timely follow-ups and smooth interactions. Users can schedule calls, meetings, reminders, or document uploads to ensure all customer-related actions are well-coordinated and on time.
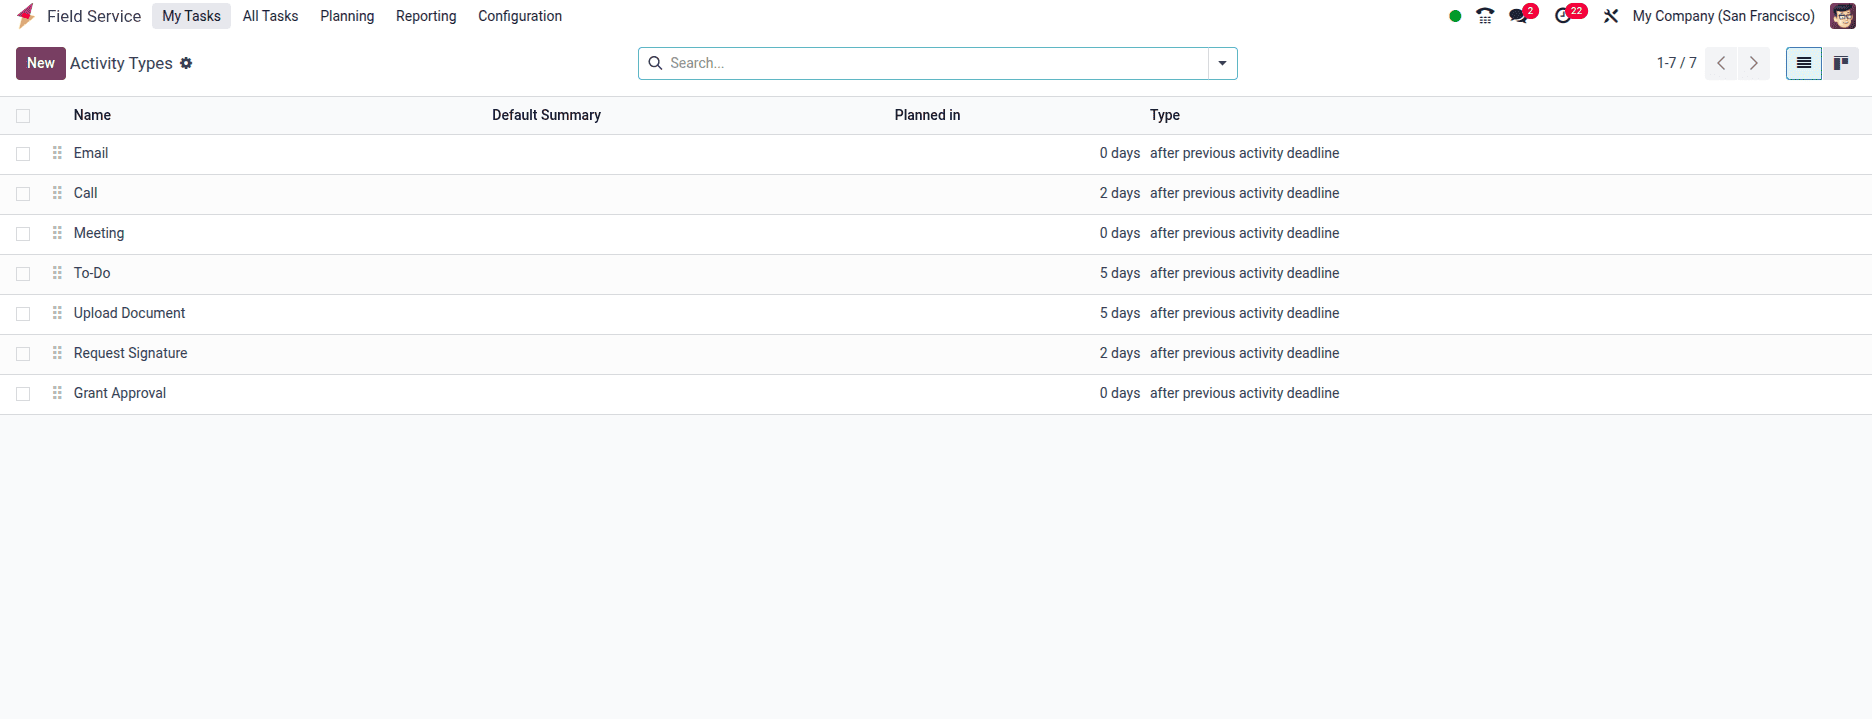
To set up activity types in Odoo 18, go to the Configuration menu and select Activity Types. This section displays a list of existing activity types, including details like the activity name, default summary, planned duration, type, model, and icon. To create a new activity type, click the New button. In the creation form, begin by entering the name of the activity in the appropriate field.
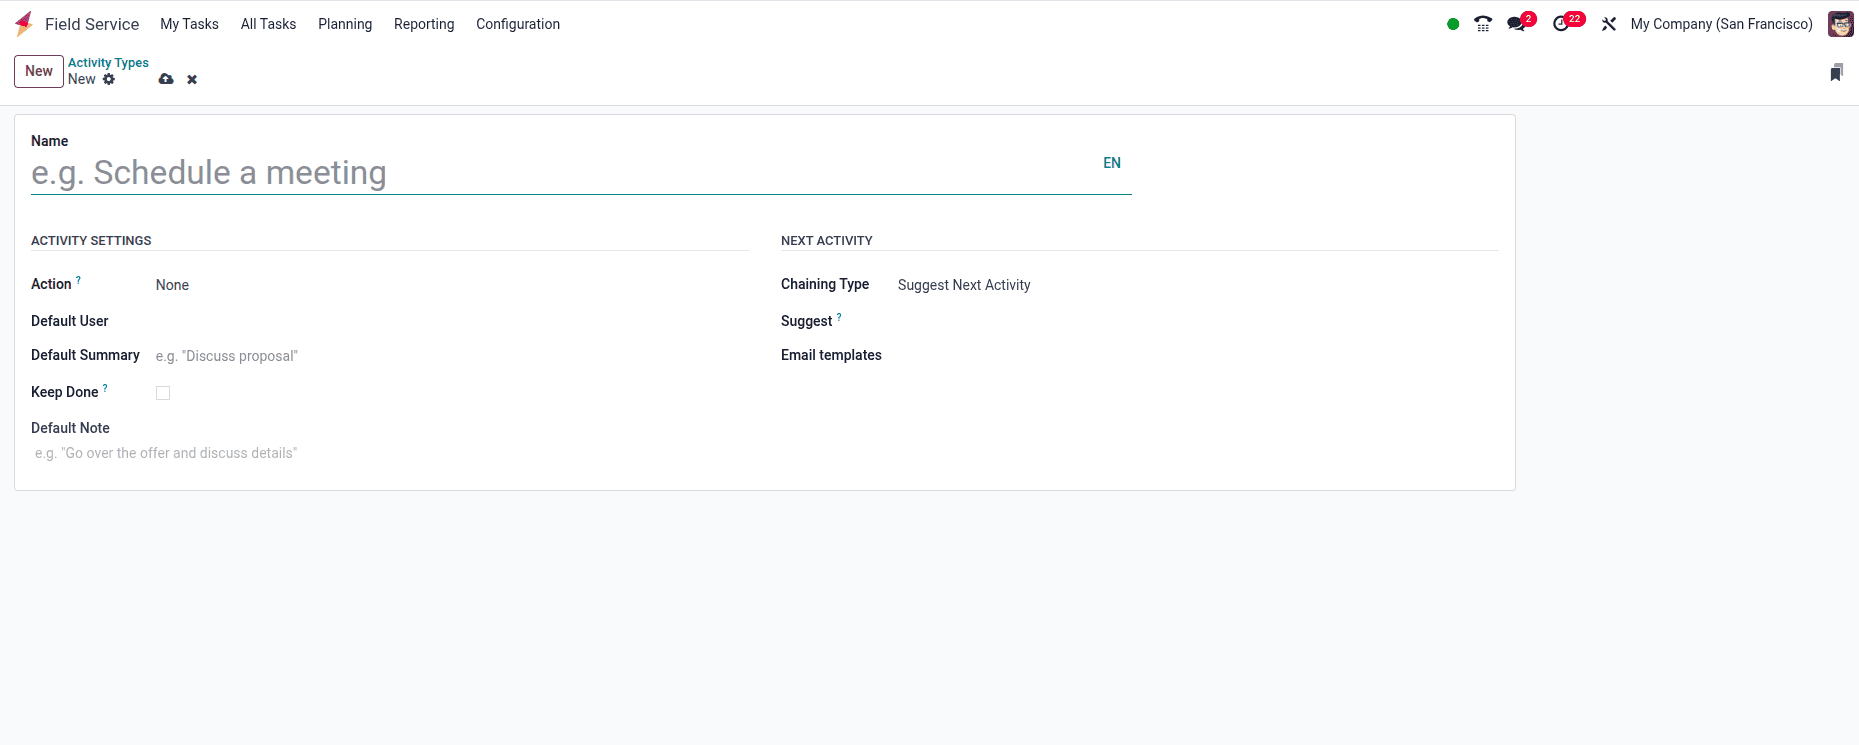
Once you've named the activity, you can select an appropriate Action from options like Upload Document, Phone Call, Meeting, or None. This action defines how the activity behaves—for example, opening the calendar for meetings or automatically marking it as complete when a document is uploaded. You can assign a Default User to be responsible for this activity and link it to a specific Model, limiting its use to that model only. A brief Default Summary can also be added to describe the activity, and you can personalize it further by choosing an Icon, Decoration Type, and Default Note.
Odoo also supports chaining activities for a smooth workflow. Under the Next Activity tab, you can choose the Chaining Type:
* Suggest Next Activity offers a follow-up suggestion once the current task is completed.
* Trigger Next Activity automatically schedules the next task when the current one is finished.
You may also assign an Email Template to send automated emails when the activity is scheduled. Additionally, use the Schedule field to define a deadline by setting the number of days, weeks, or months before the activity occurs.
Odoo 18’s Field Service module empowers businesses to streamline project planning, optimize resource use, and deliver outstanding service. By unifying field operations with powerful project management tools, it enables organizations to improve efficiency, boost customer satisfaction, and drive long-term growth. Whether for routine tasks or complex service projects, Odoo 18 provides the tools to manage with confidence and agility.
To read more about How to Invoice Time & Material Used in a Field Service in Odoo 17, refer to our blog How to Invoice Time & Material Used in a Field Service in Odoo 17.