In this blog, let's explore the configuration of the DocuSign Odoo Connector app (Technical Name: docusign_odoo_connector) available on the Odoo Apps Store. This module is designed for the Odoo Community Edition, enabling users to create, send, and manage DocuSign signature requests directly from Odoo, bringing electronic signature functionality to Community users without requiring Odoo Enterprise's Sign application.
DocuSign is a cloud-based digital signature platform that enables users to securely send, sign, and manage documents electronically. It streamlines agreement workflows, reduces paperwork, and accelerates business processes.
To access DocuSign through. Firstly, we need a Developer Account in DocuSign. If you already have one, log in to your DocuSign Developer account; otherwise, sign up for a new Account.
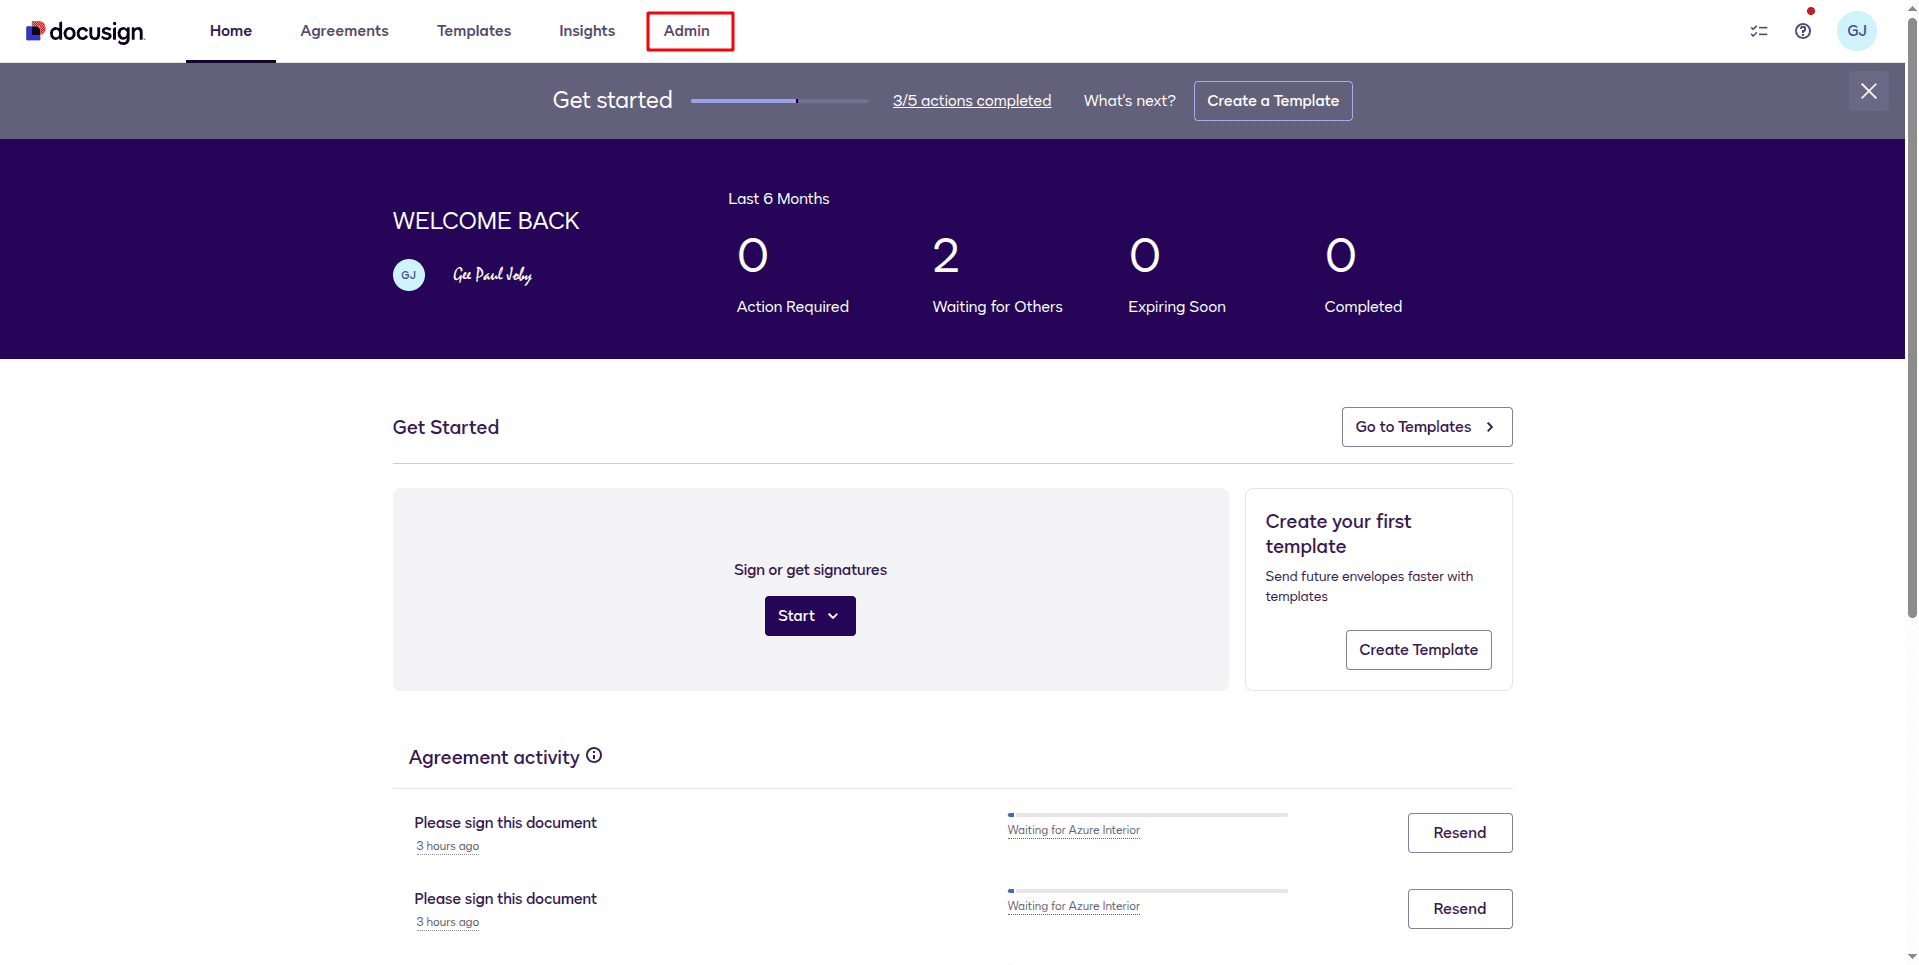
Next, we need to create an app in DocuSign for the Odoo integration. For that, select the Admin Menu.
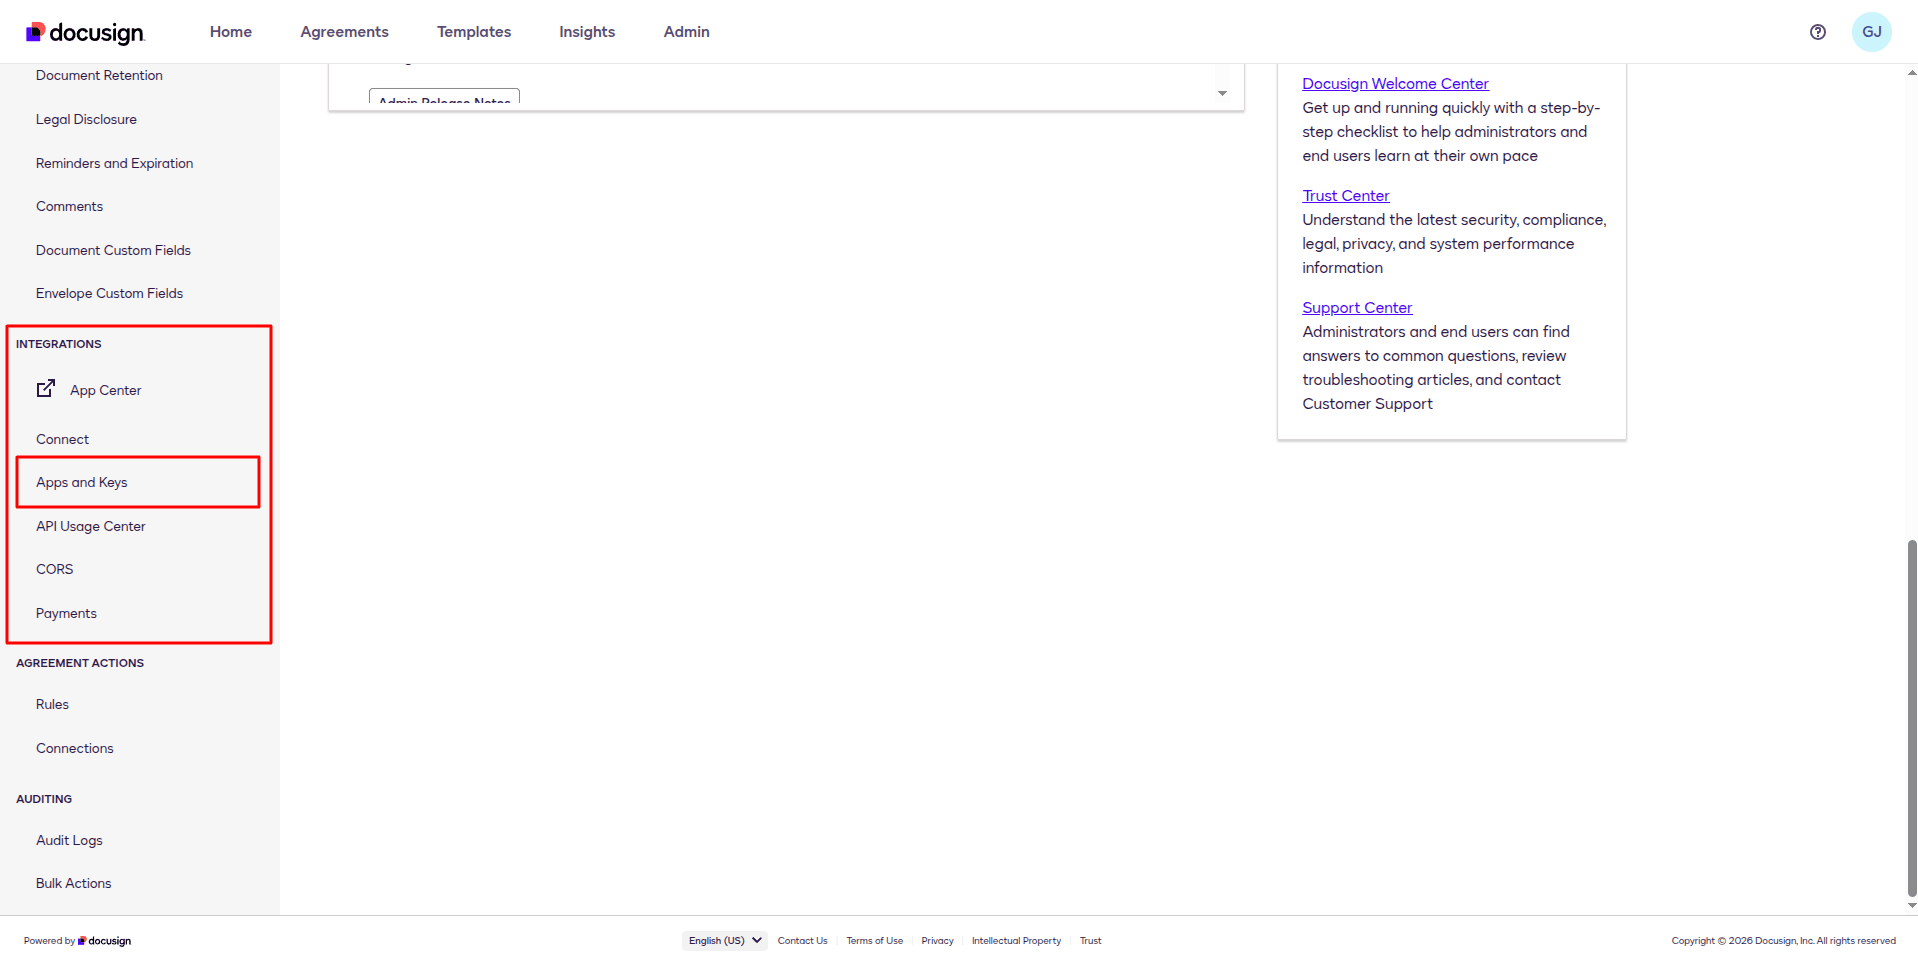
Then click Apps and Keys from the Left panel's Integration Section.
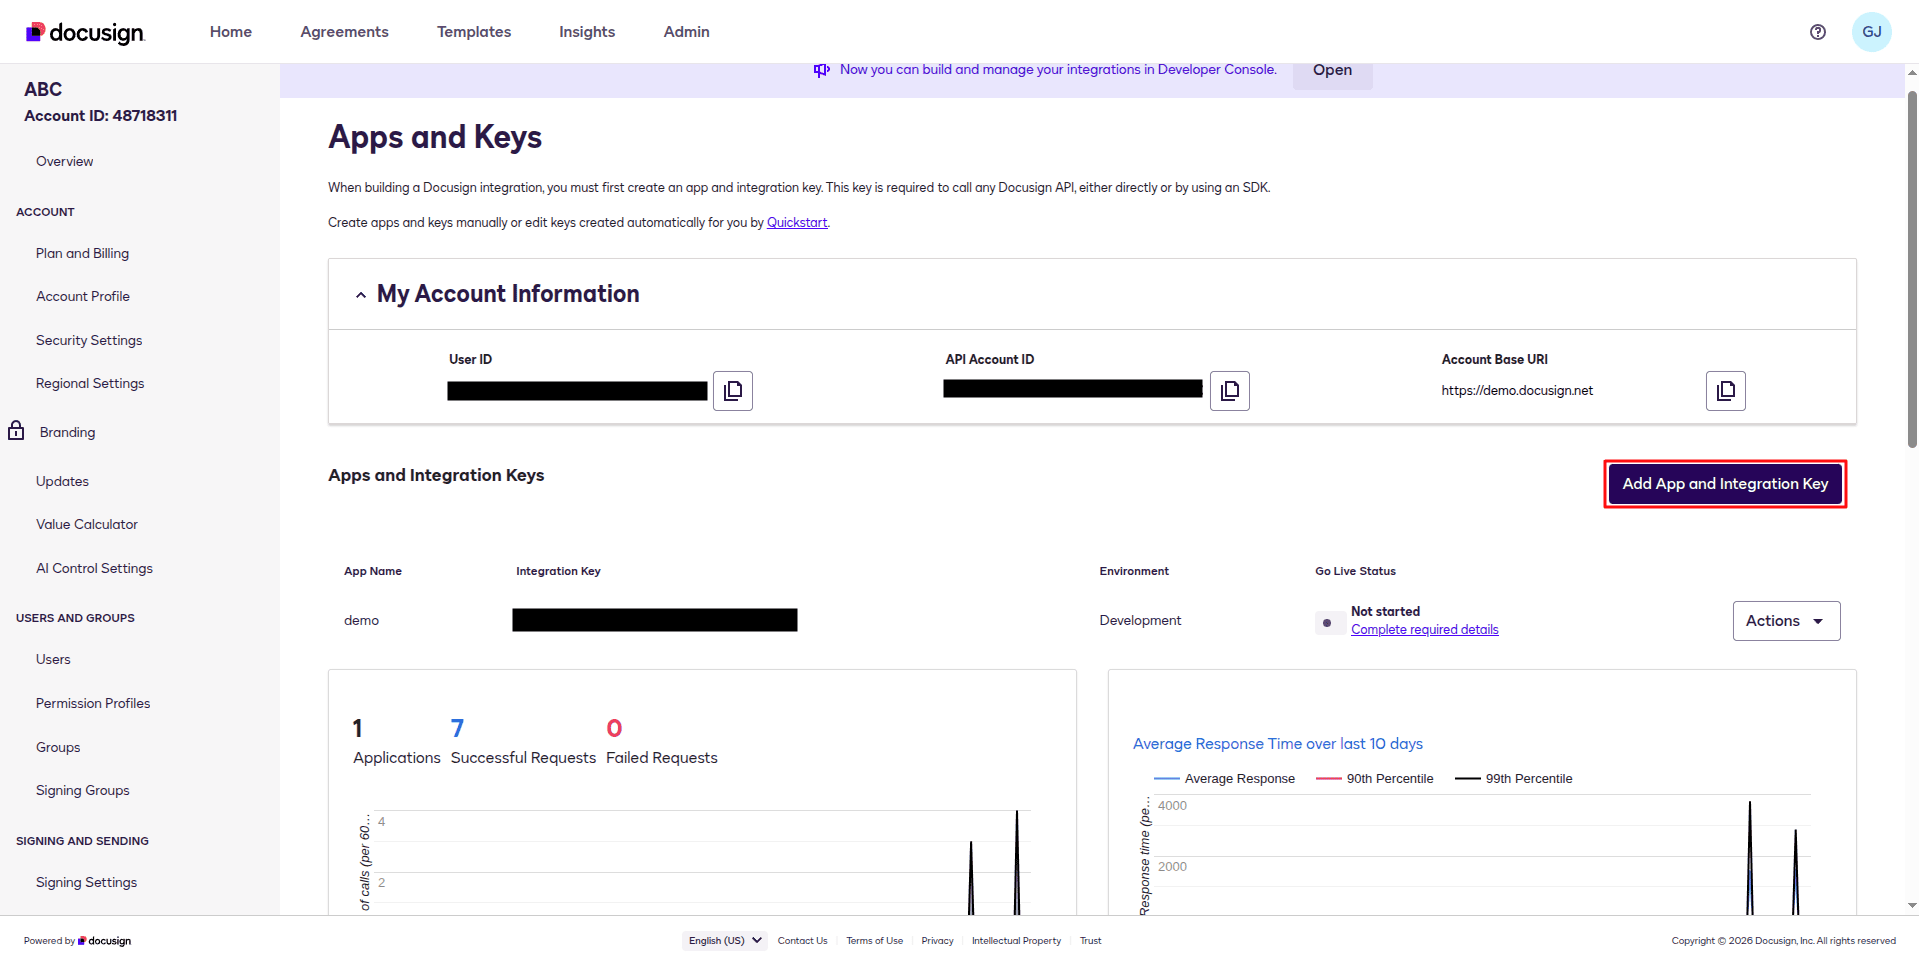
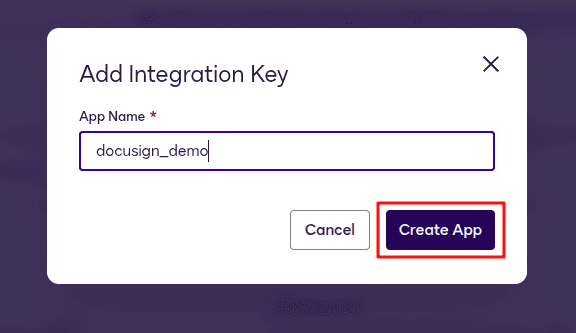
To create a new Developer App, click on Add App and Integration Key.
Then, add the App Name and click the Create App button.
When creating the app, you can find a service integration section, and we need to generate an RSA.

It will open up a pop-up like this; it is important to keep the public and private keys in a text file, and later, this is needed at the time of configuration.
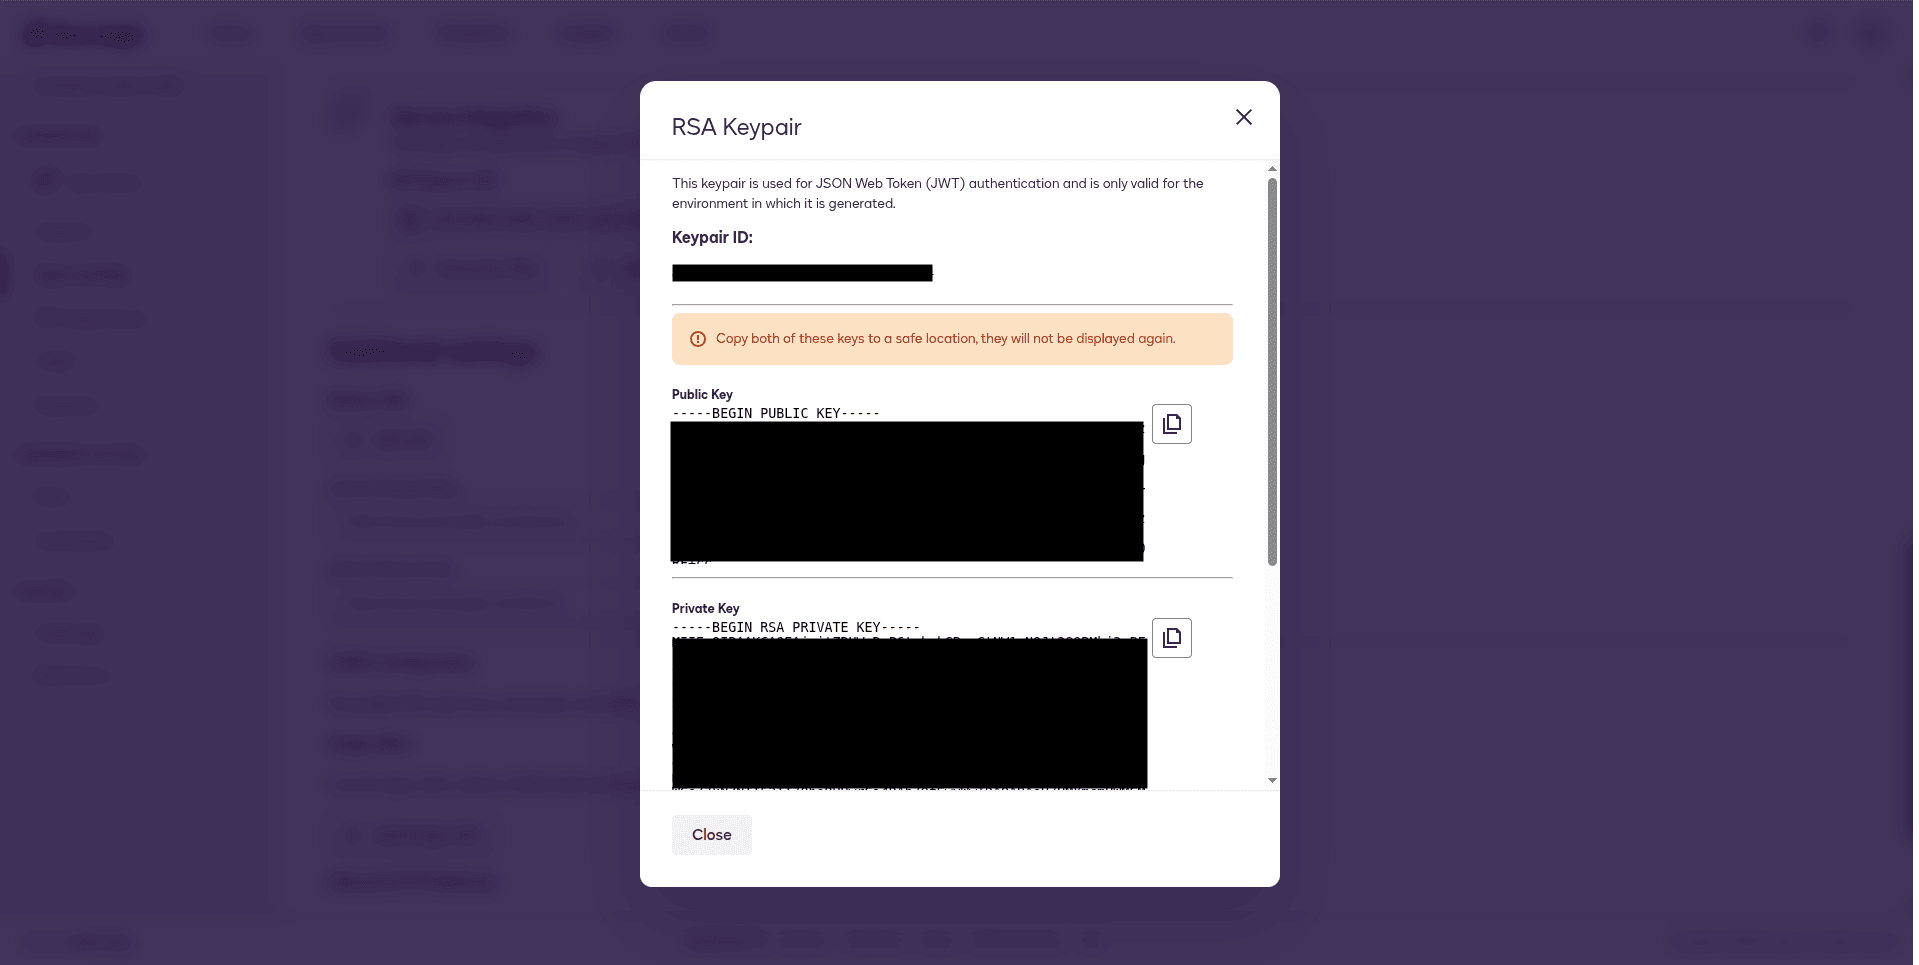
The Text file should be like this.

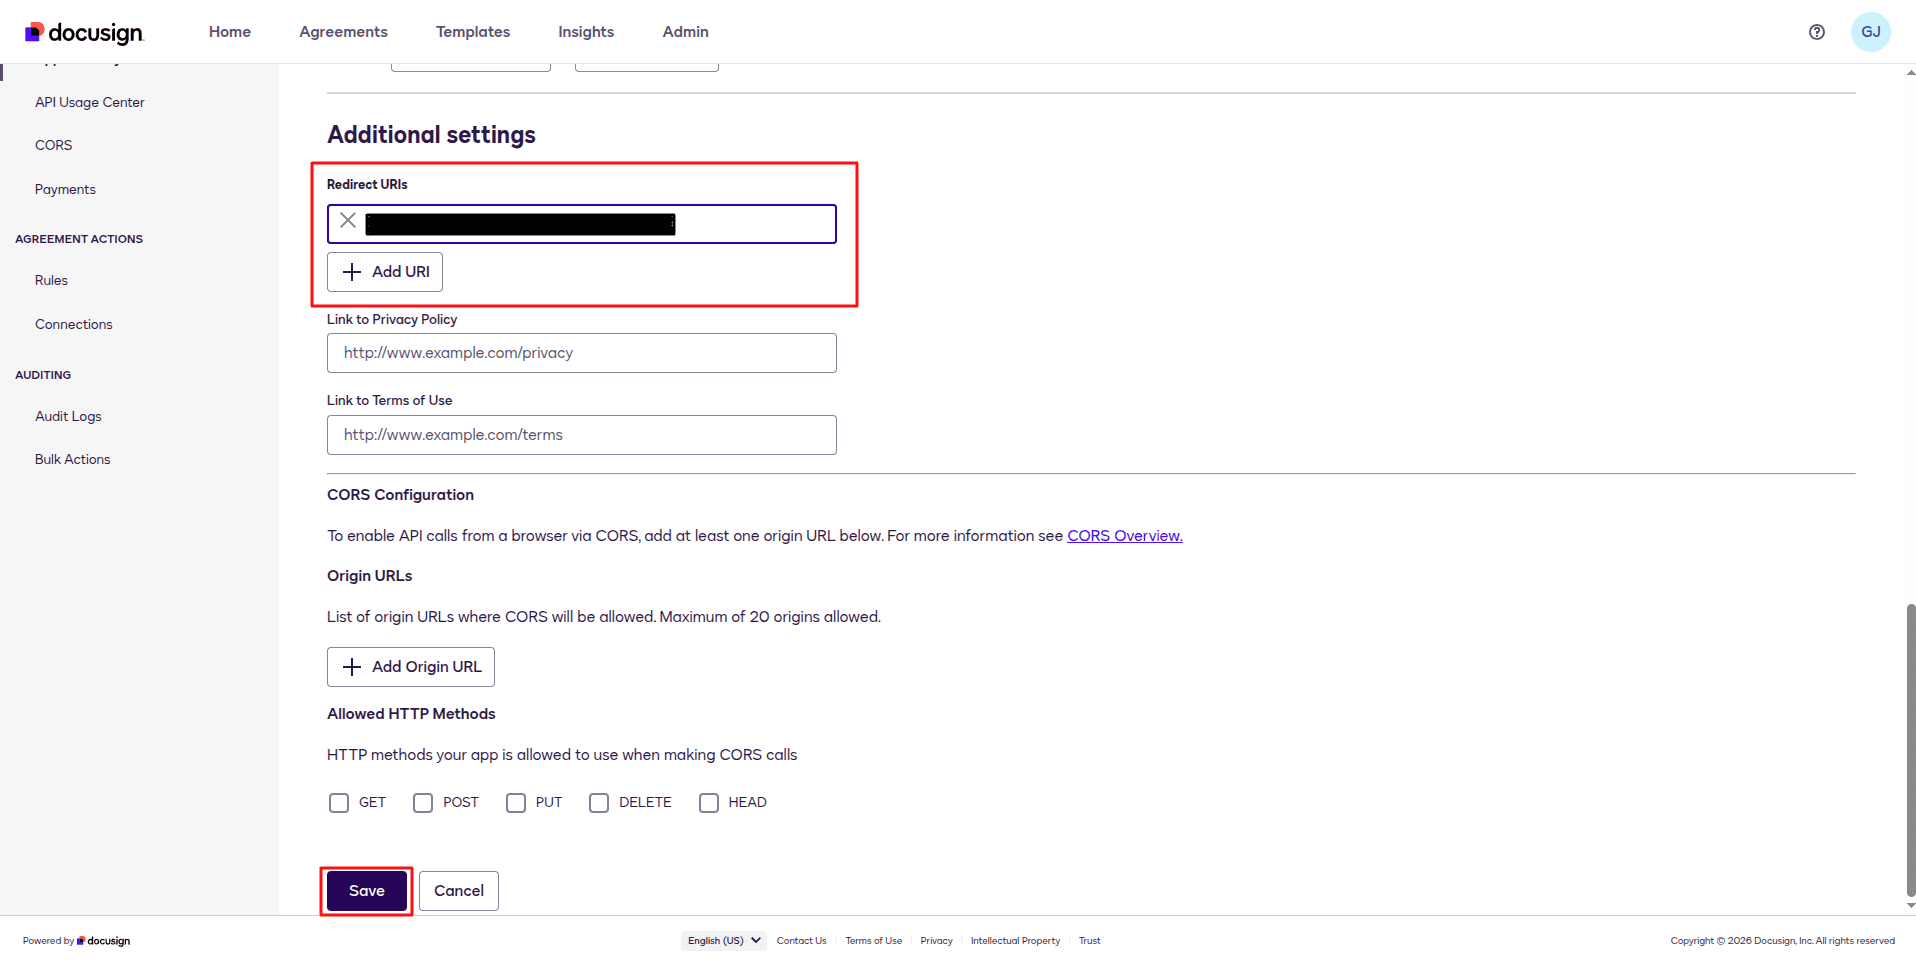
Add the Server Address as the redirect URI and save the app.
Now we are going to install the module in Odoo. Before installing the module, one should verify that the external Python dependencies are installed. If not, you can install using the command below.
pip install docusign-esign
Then install the module.
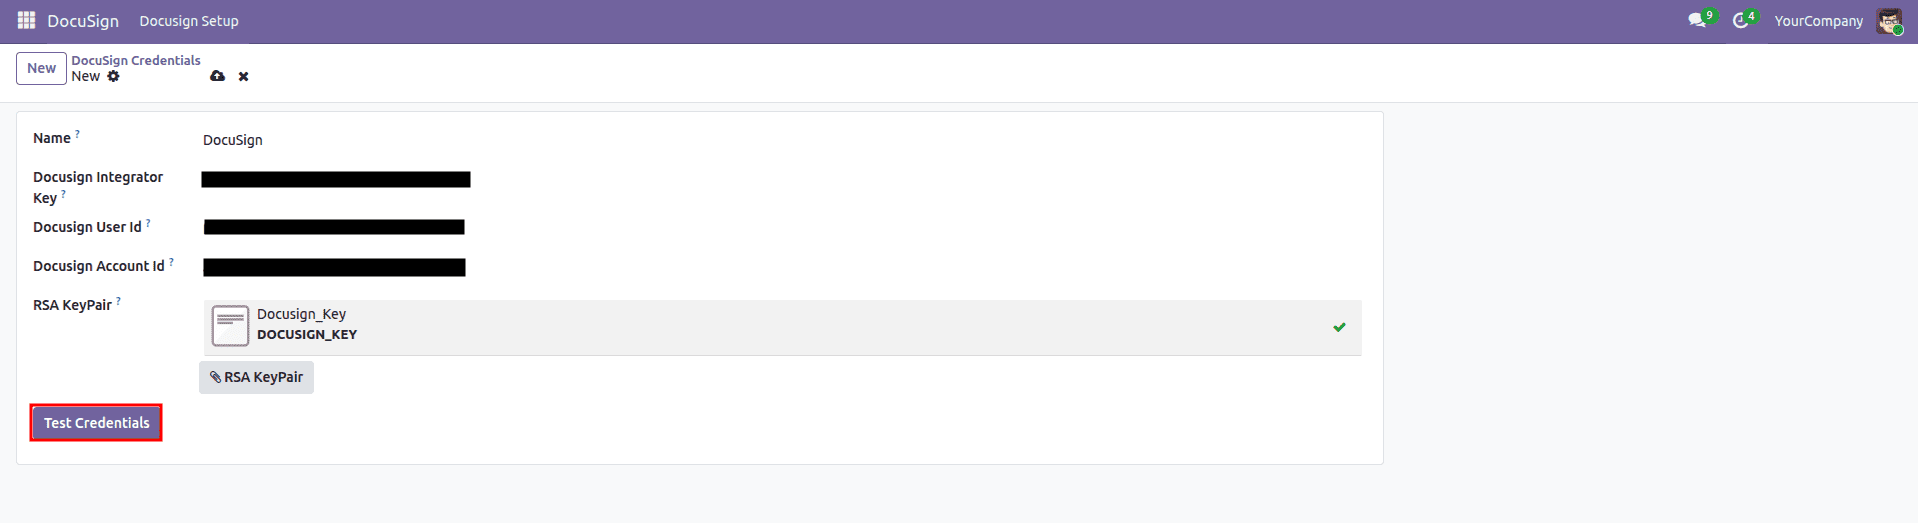
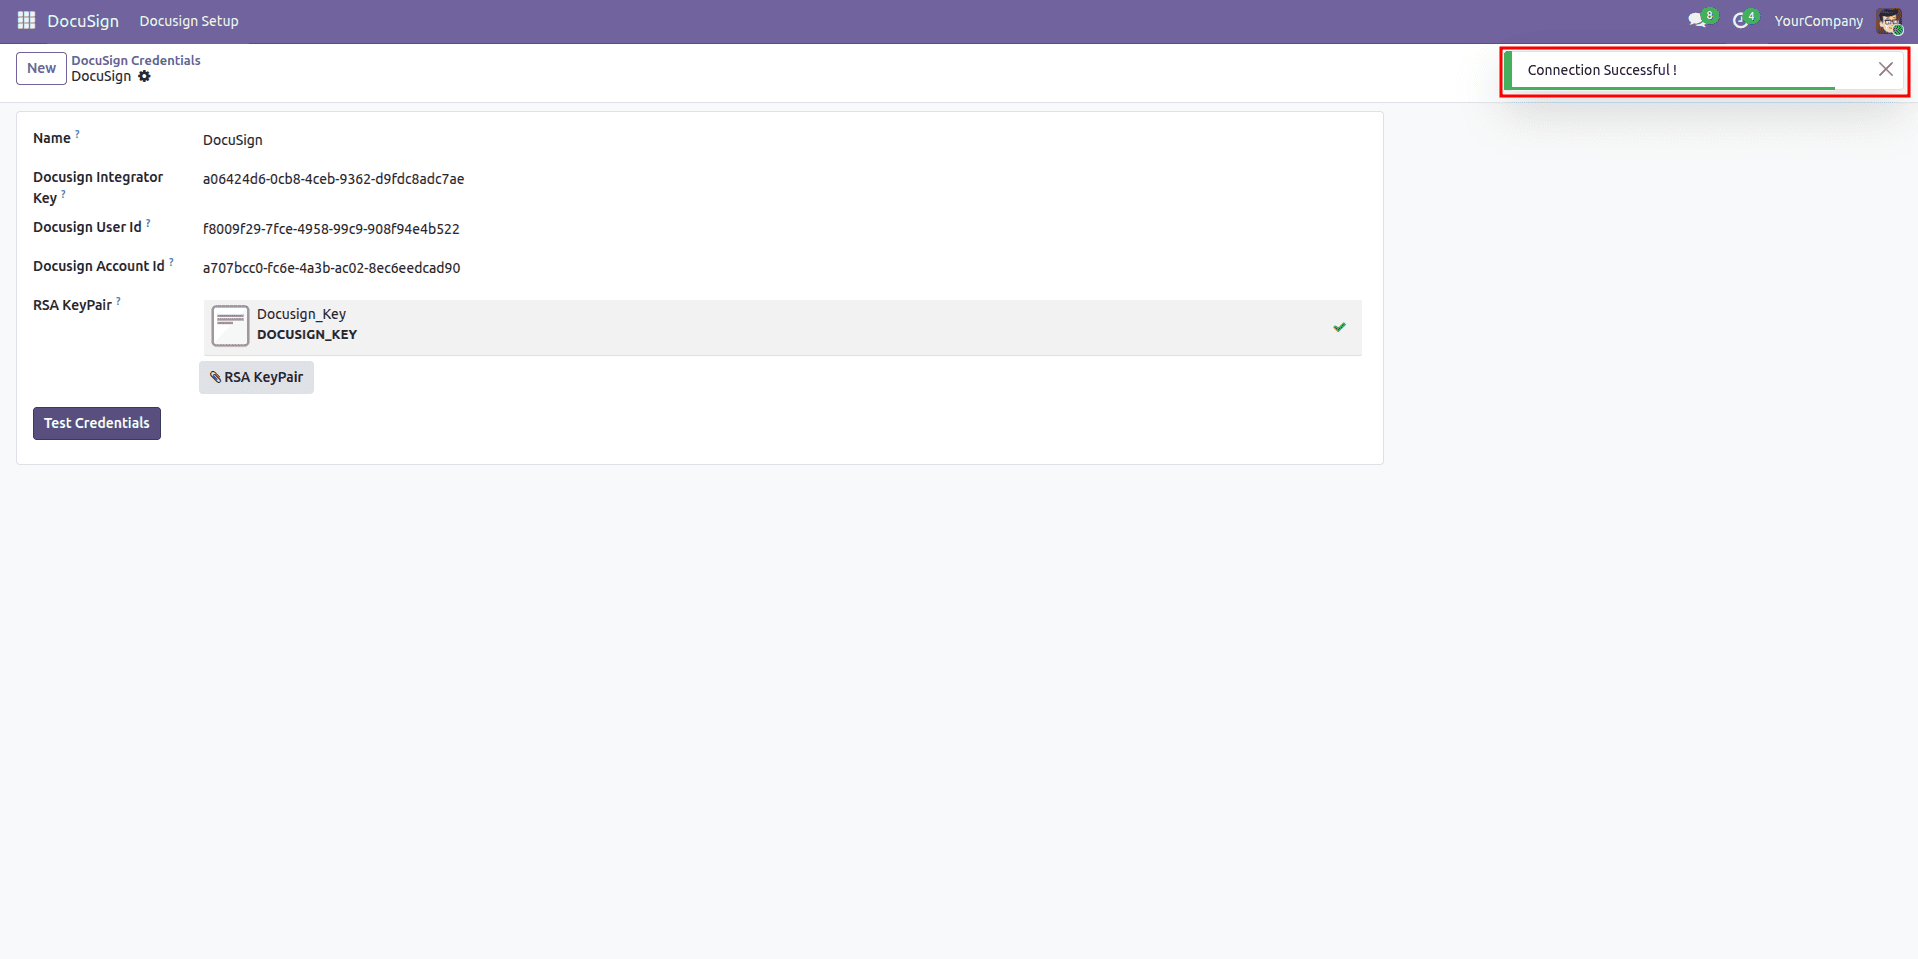
Add a name. Enter the correct DocuSign integration key, user ID, and account ID from the page Apps and Keys. Then upload the Test document we created with the public and private keys, and click on the button Test Credentials.
If you are configuring the app for the first time, there is a chance of getting an Invalid Operation message when testing the Credentials. To fix this, you need to Allow Access to the Redirect URI. For that, redirect to the URL given below by replacing YOUR_INTEGRATION_KEY and YOUR_REDIRECT_URI with your own Integration Key and Redirect URI.
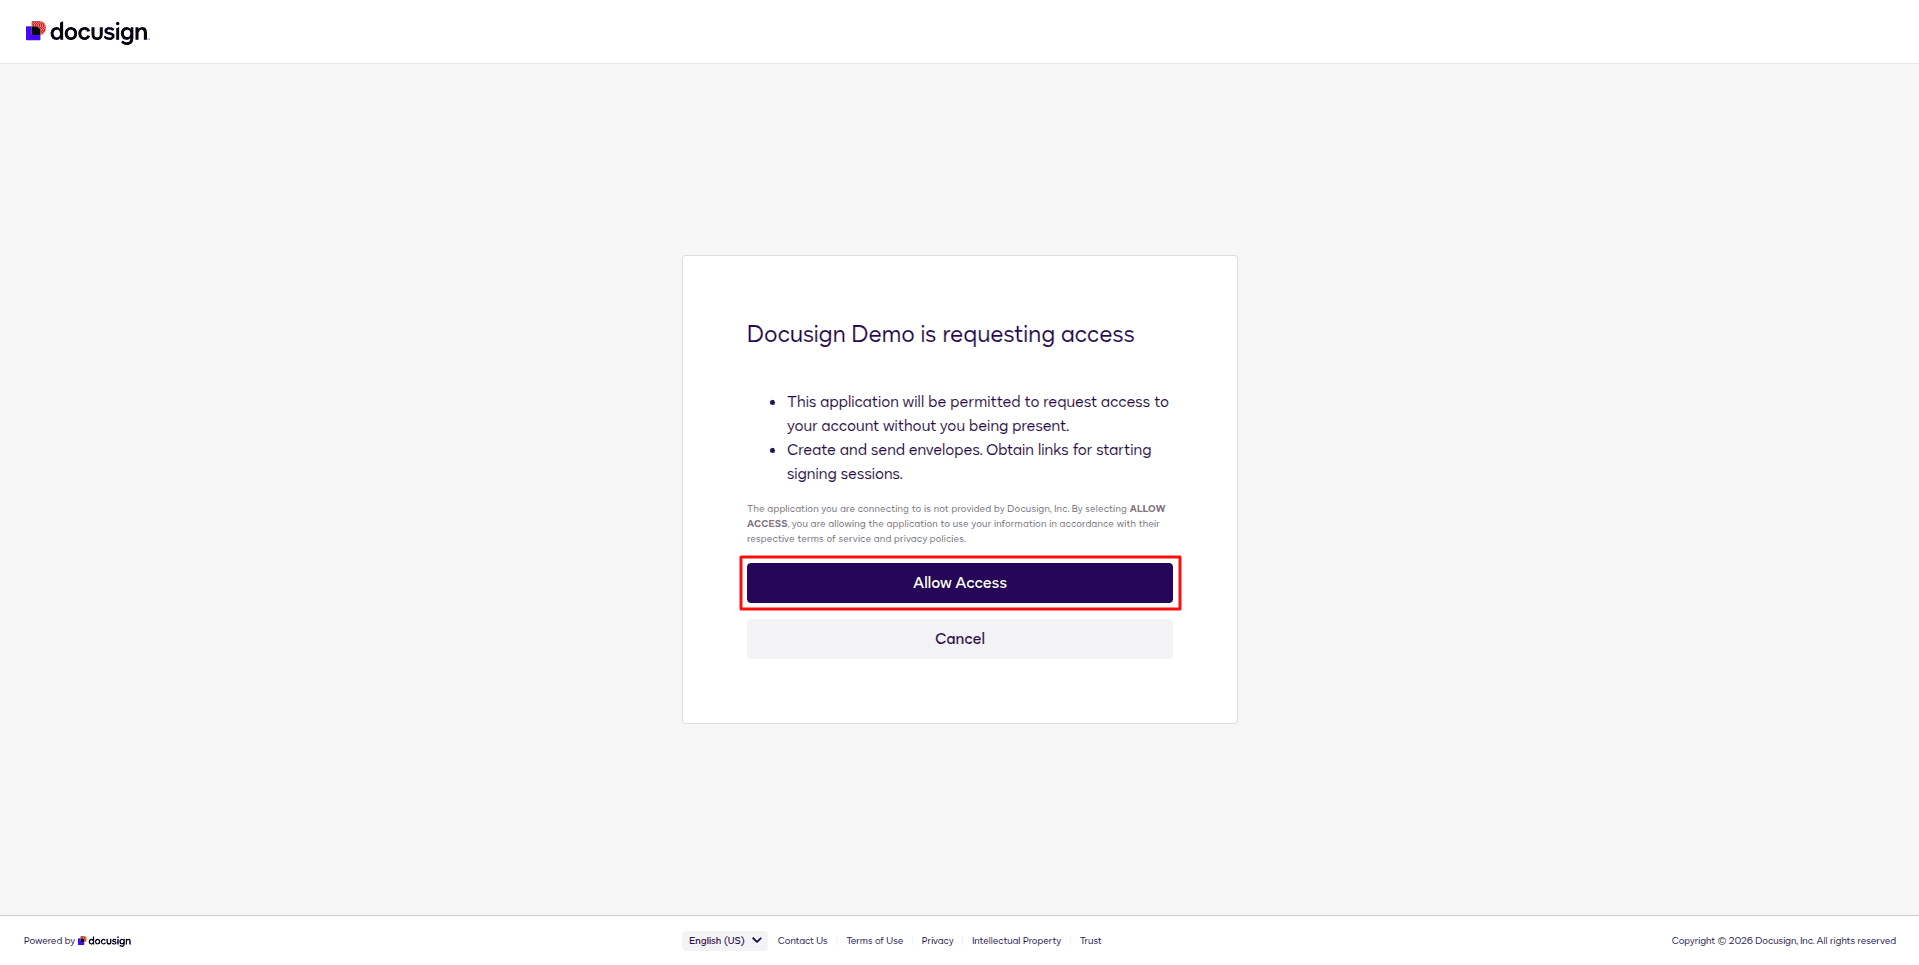
After allowing access, try testing the credentials again. Then it will work.
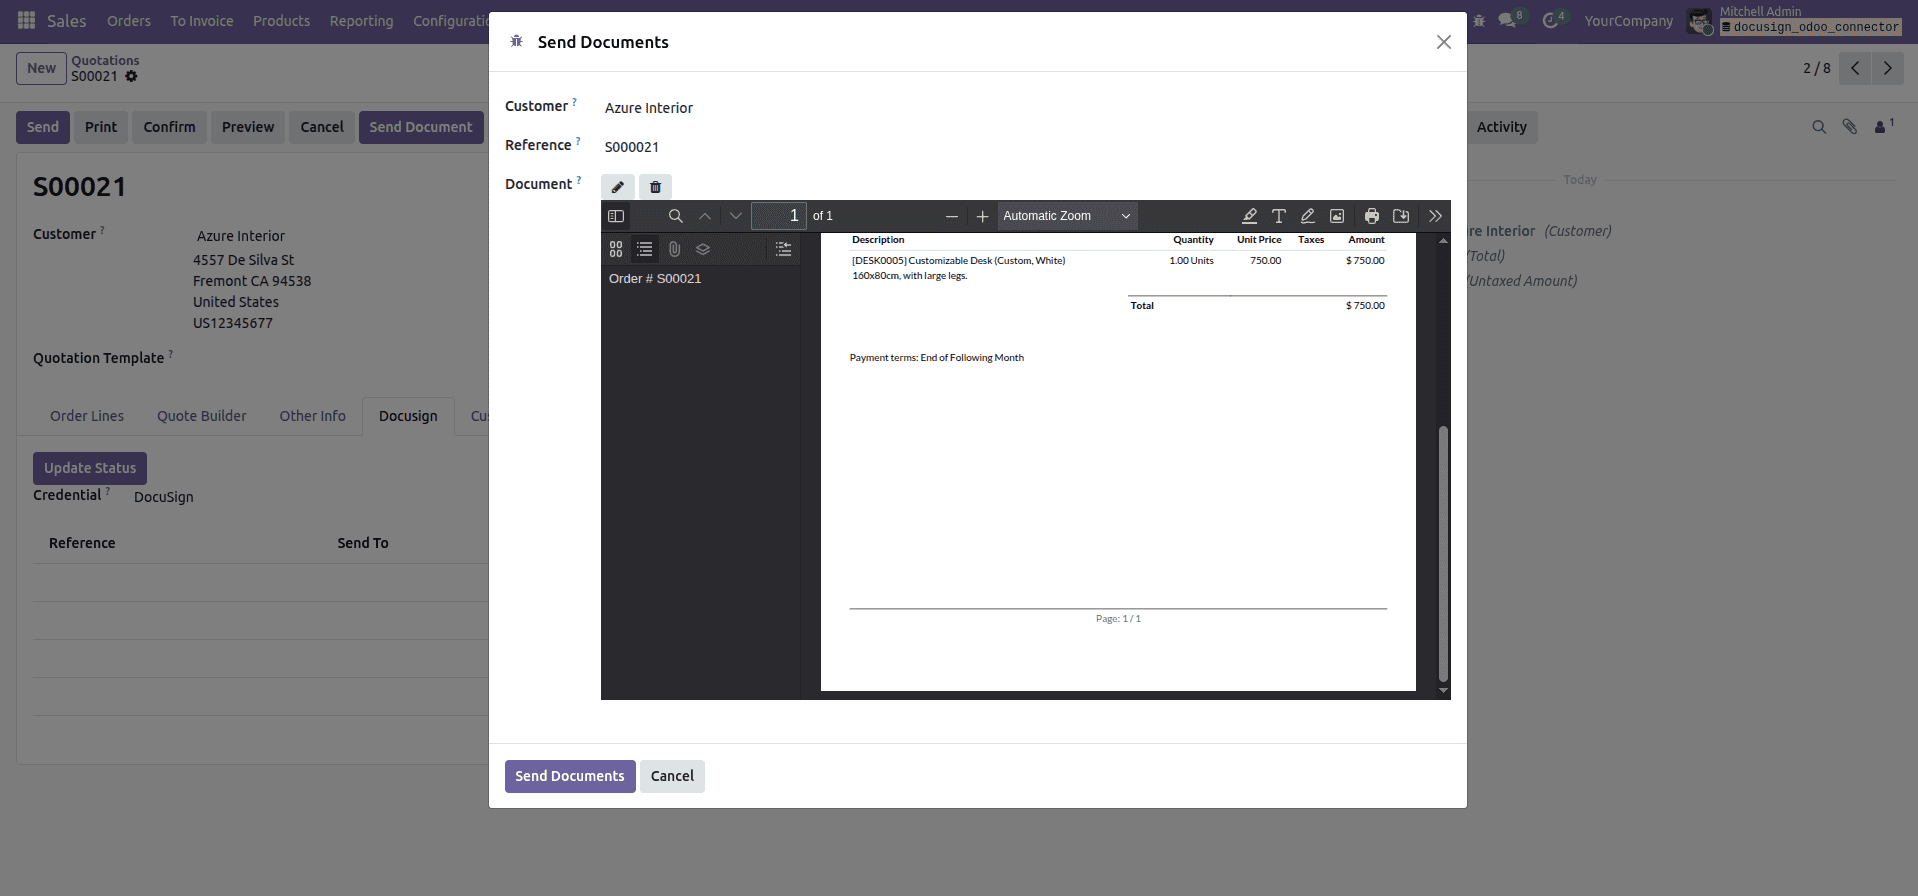
Then open one of the Quotations / Sales Orders and select the page Docusign.
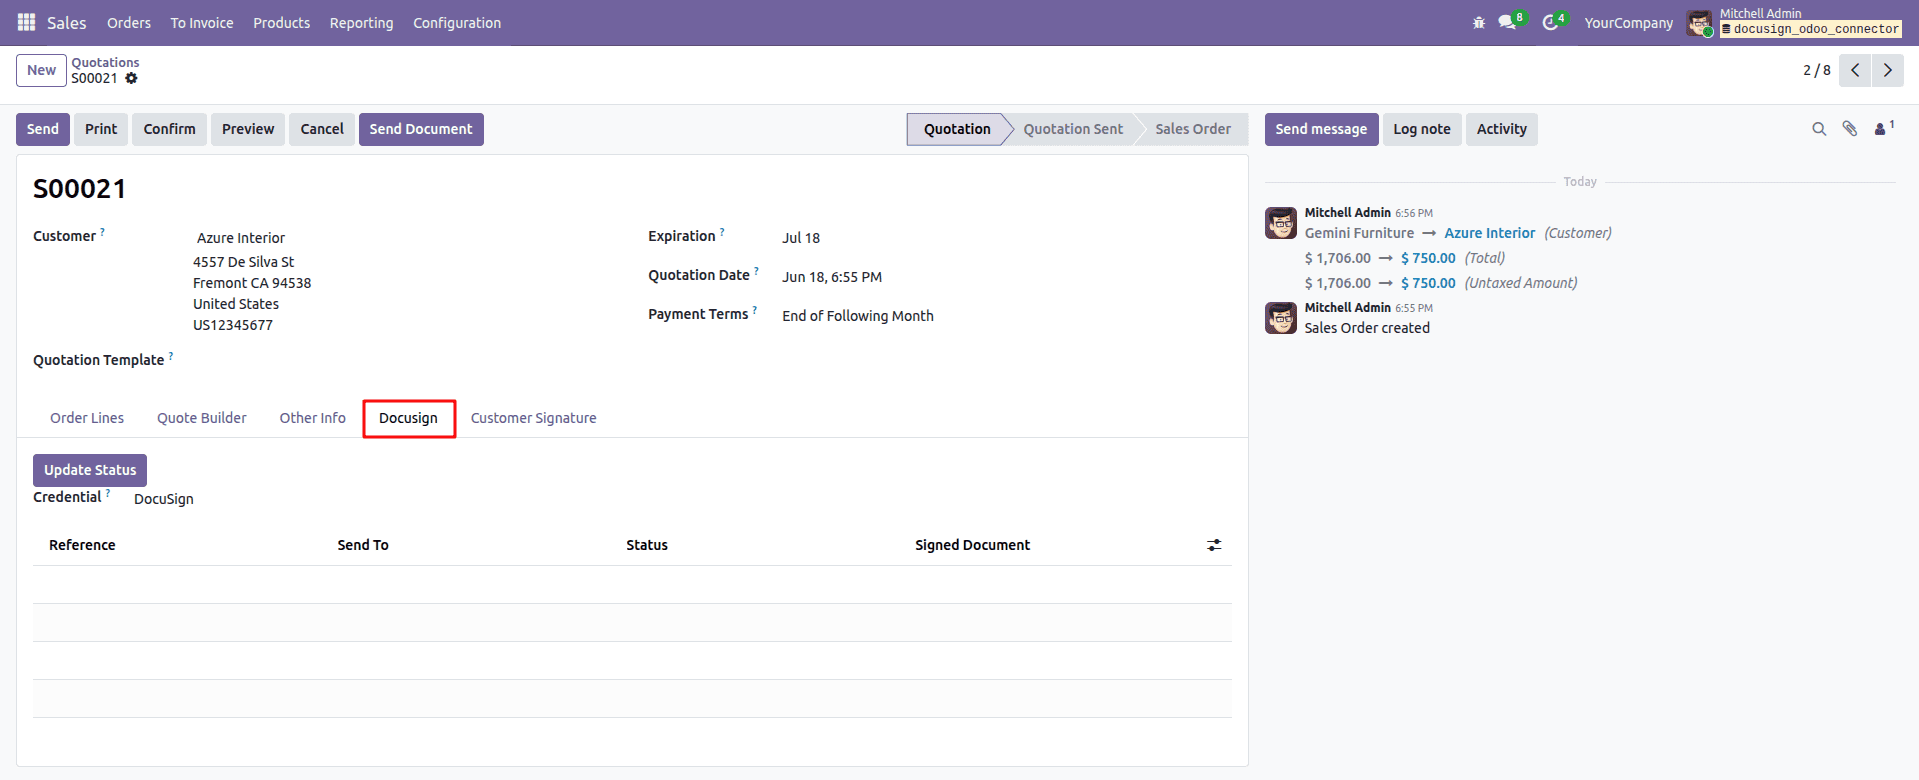
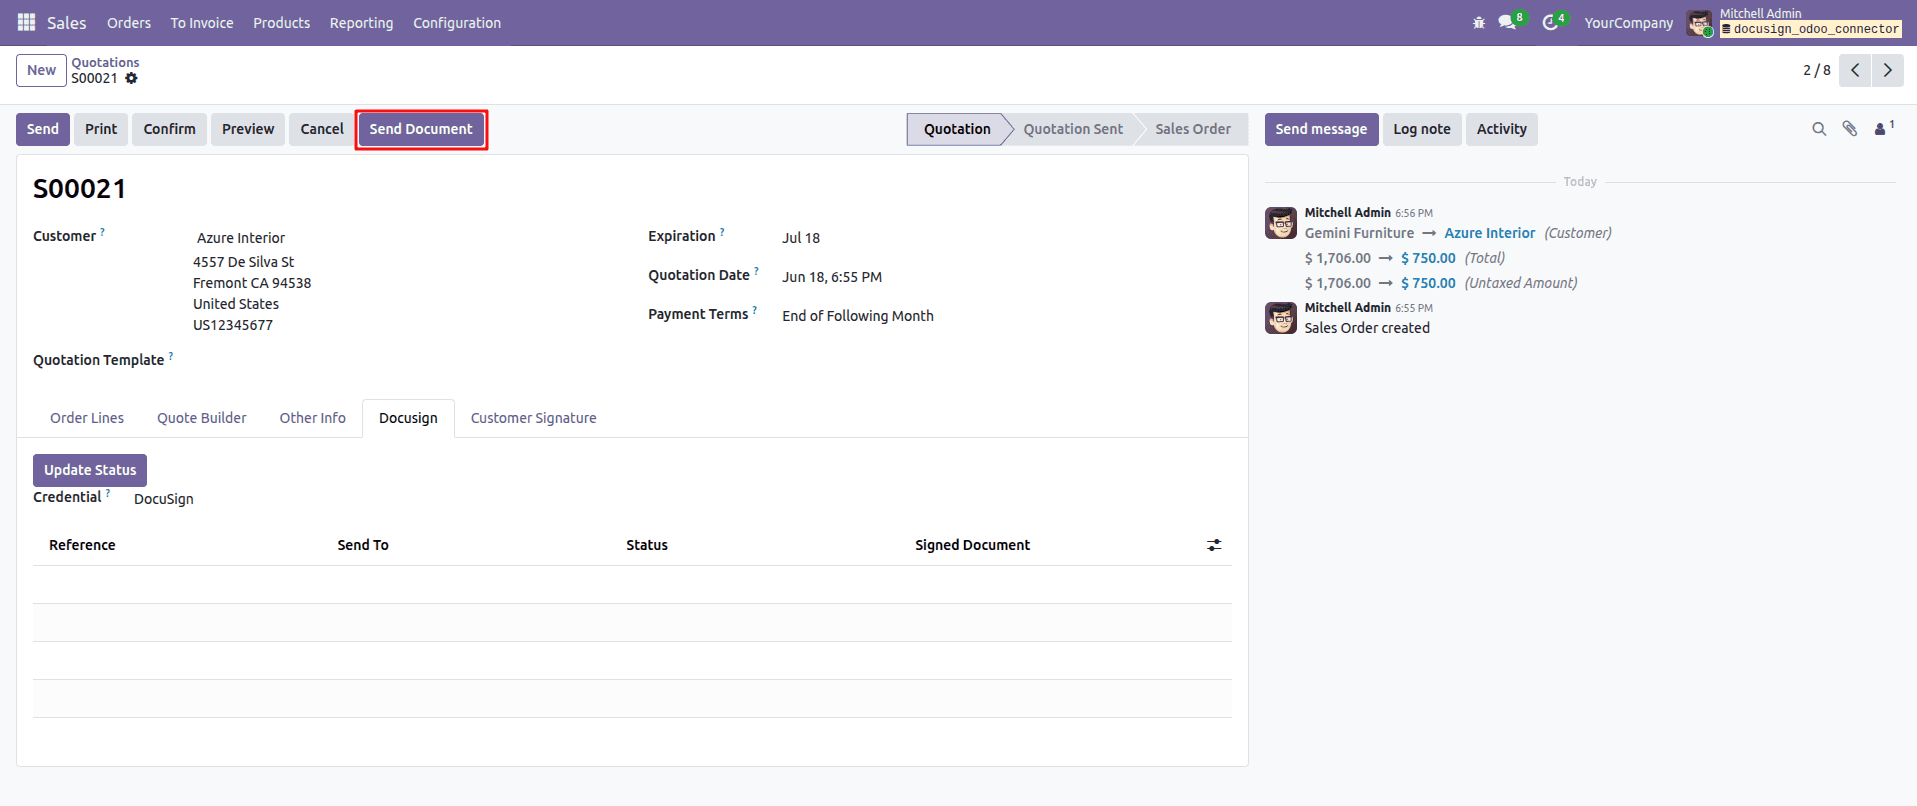
Then select the Credential and click on the Send Document button.
On the pop-up wizard, add a reference and upload the document you want to send to the customer.
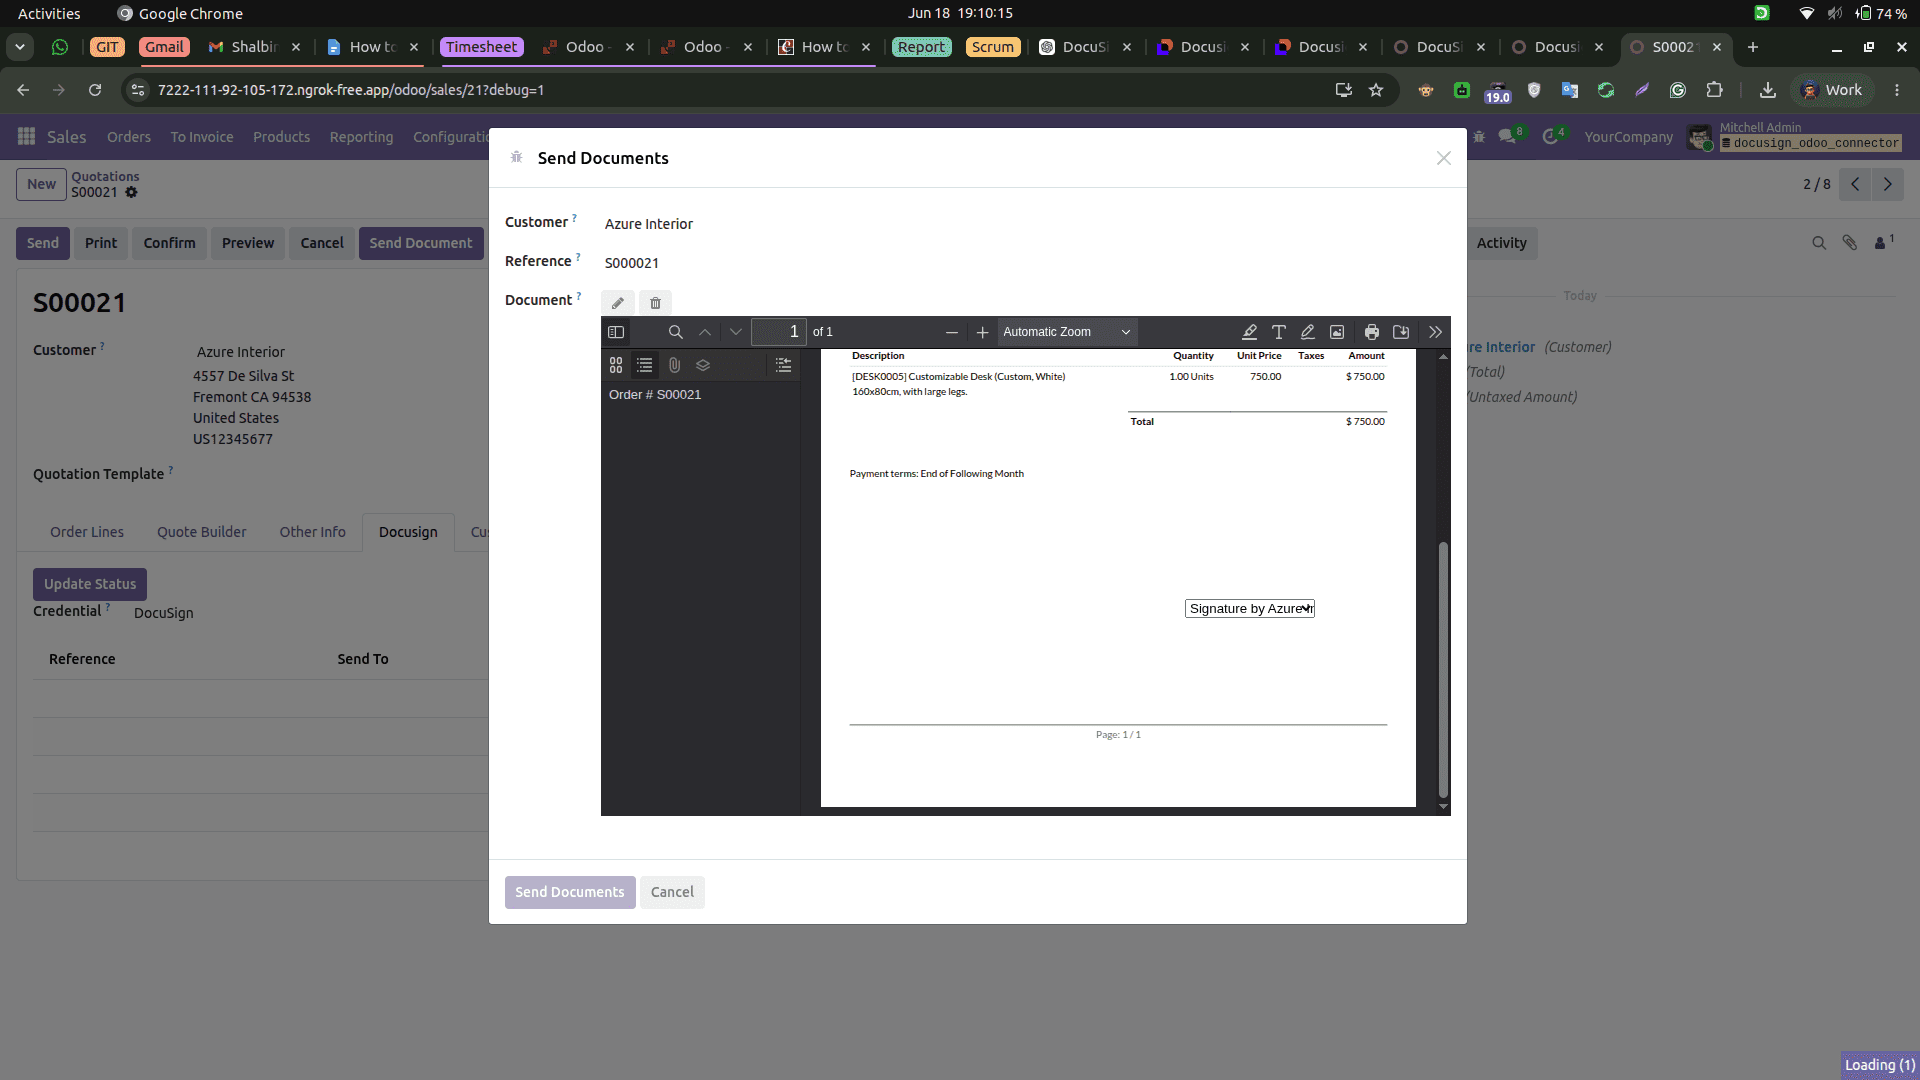
Double click anywhere on the document to add custom fields like Full name, Email, Company, Signature, text, or Date.
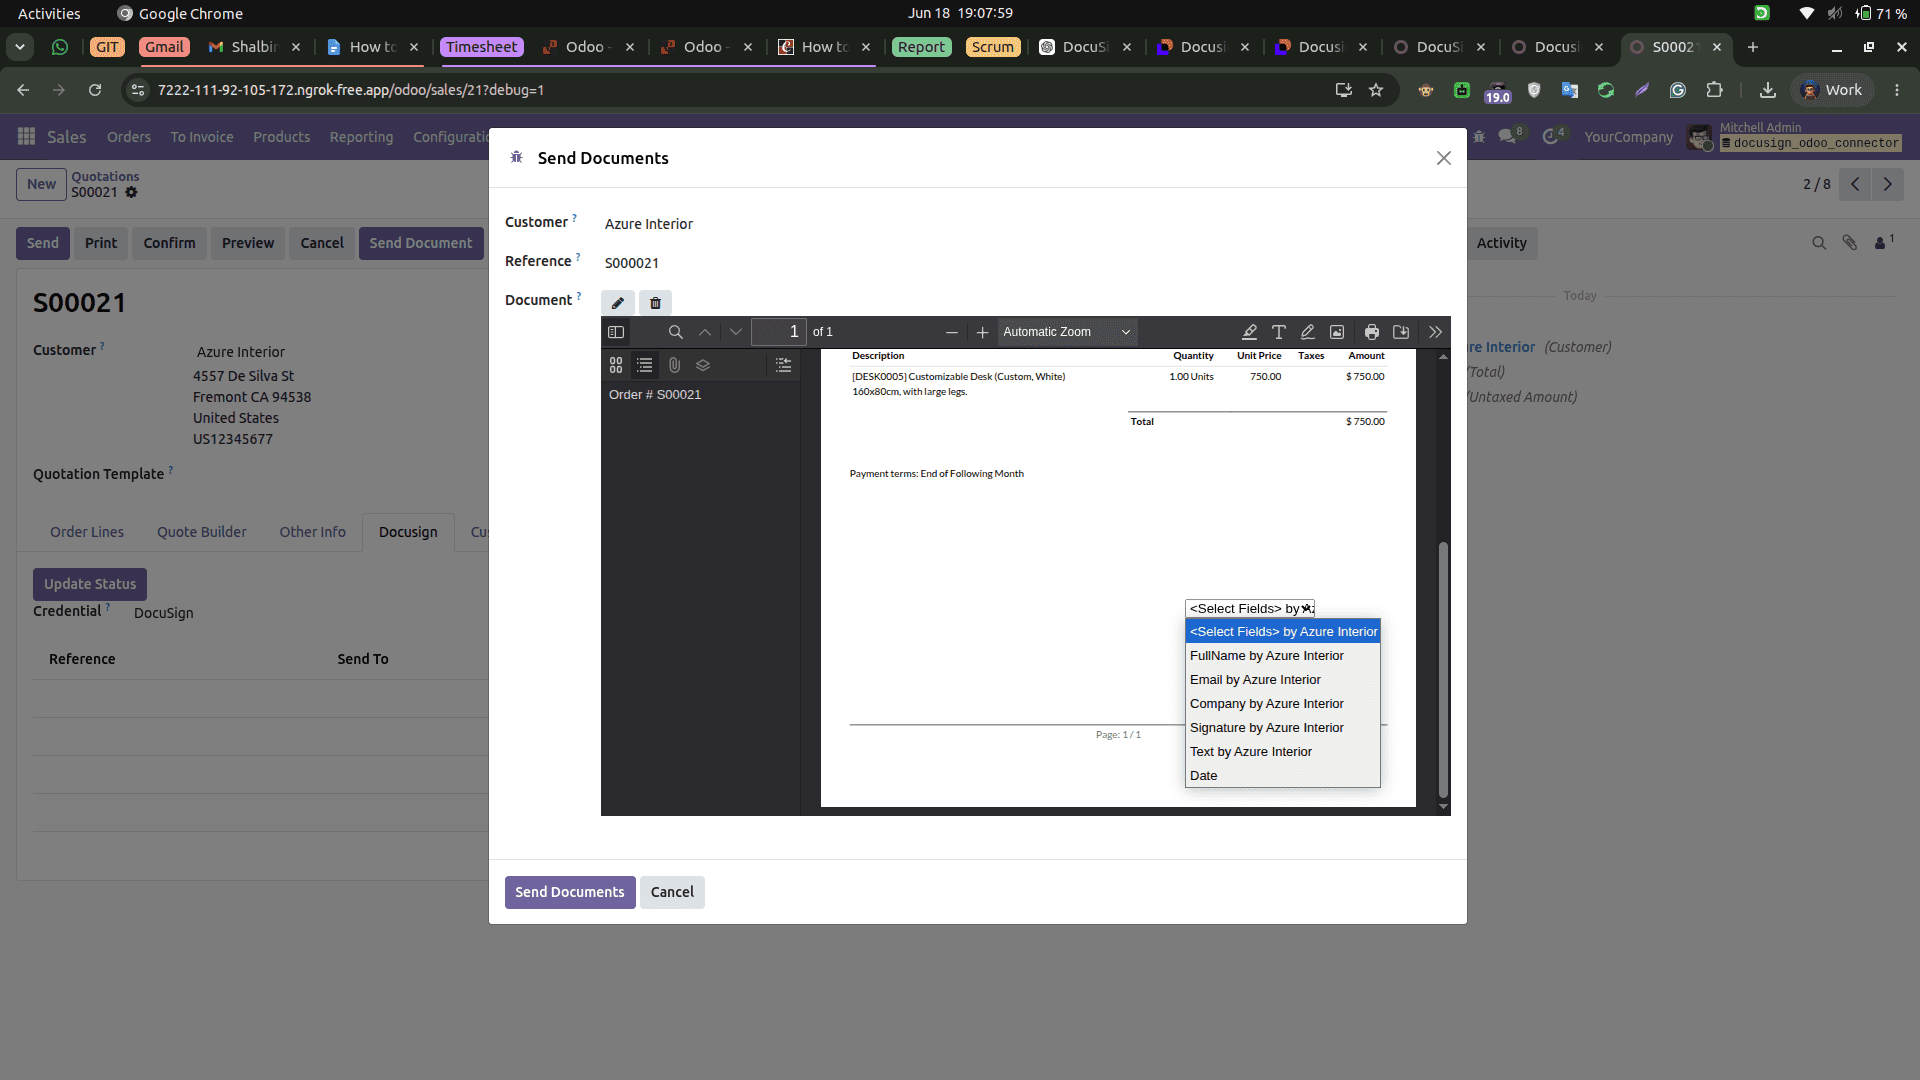
Add the necessary fields and then click on the Send button.
After sending the document, you can see that it has been added to the lines.
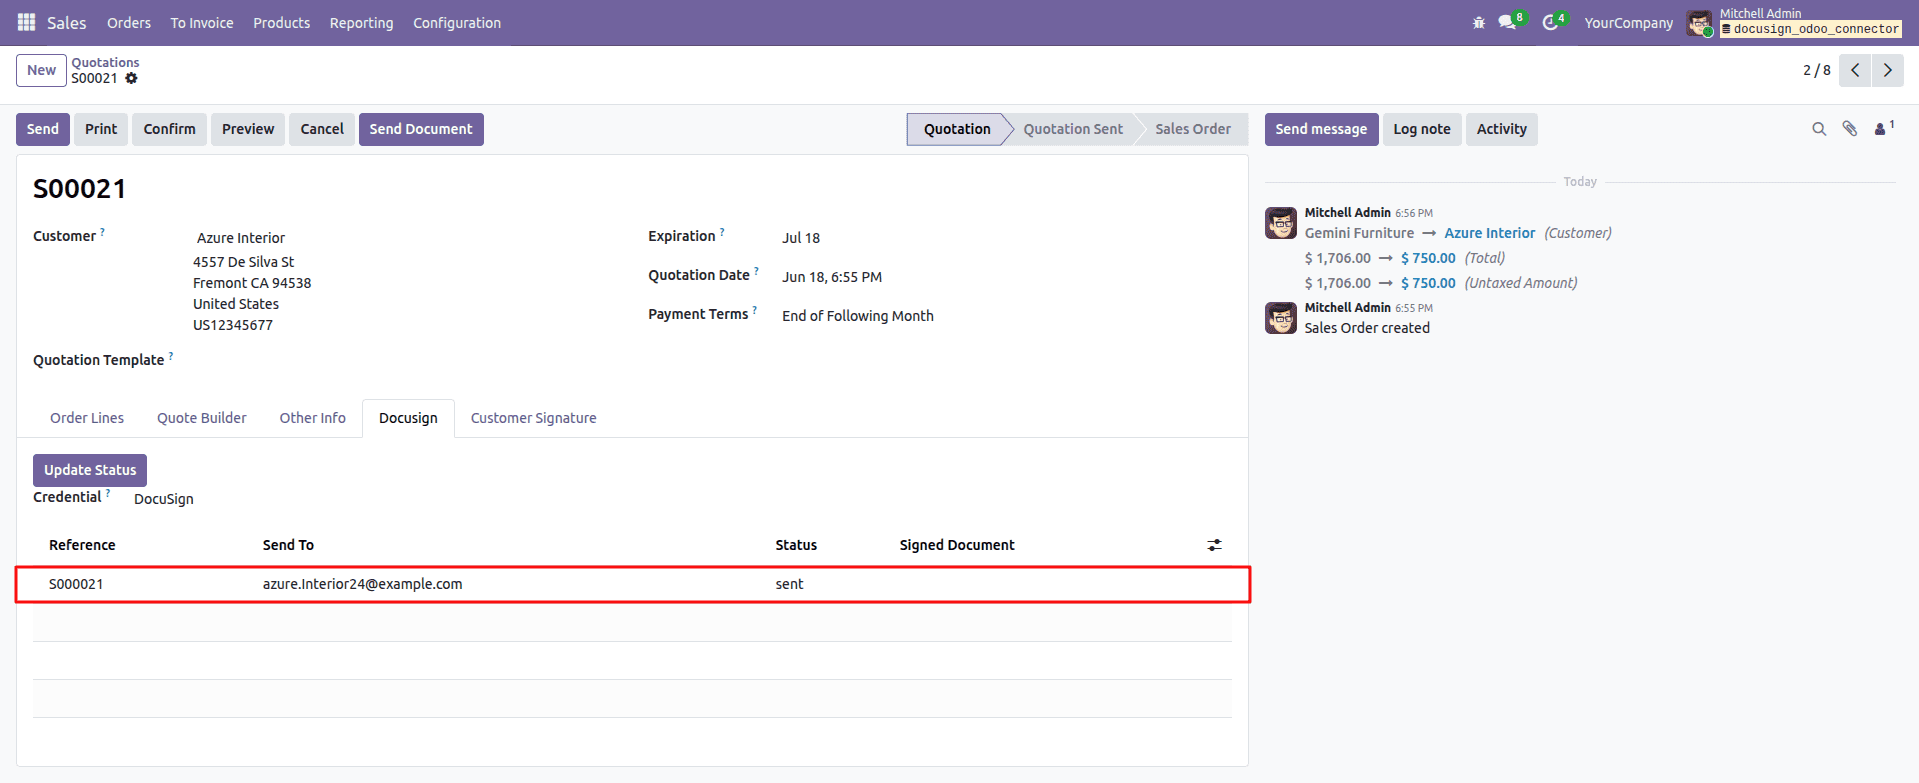
At the same time, the customer receives an email. Like this:
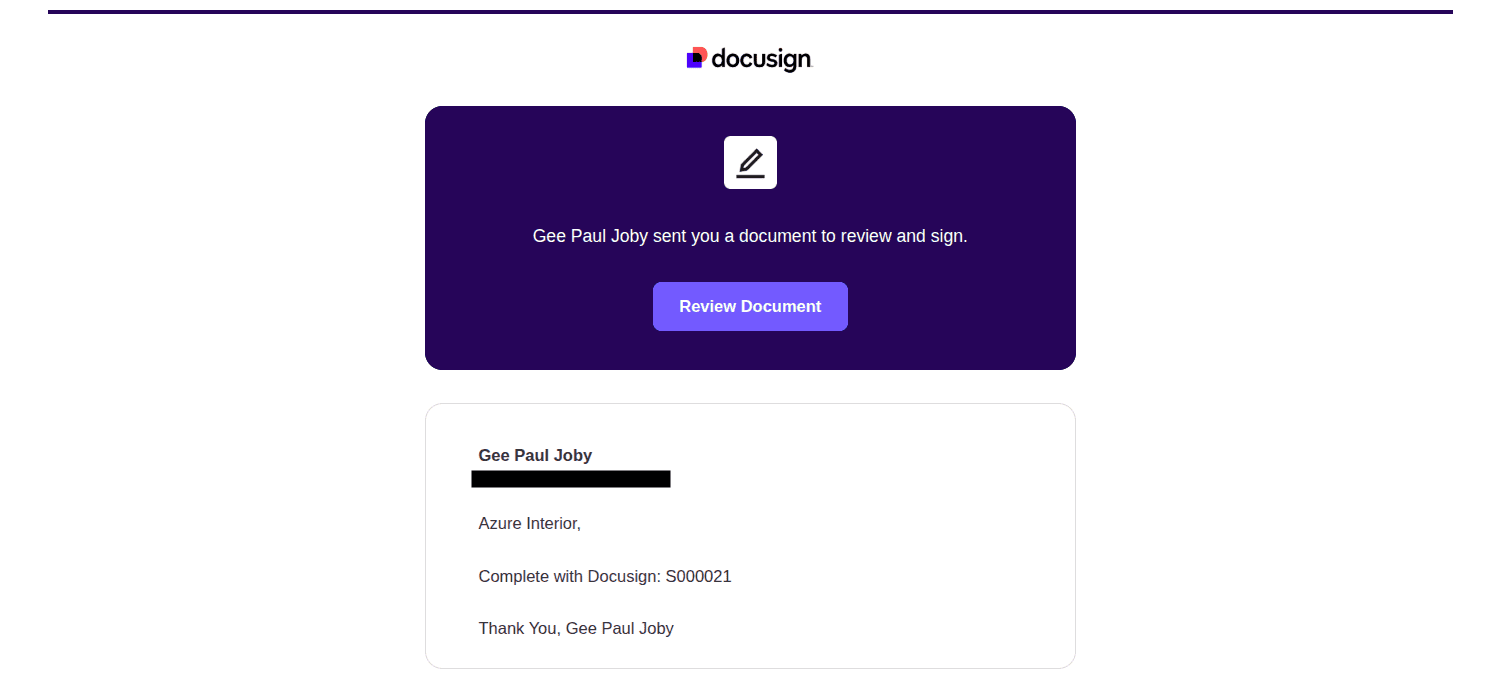
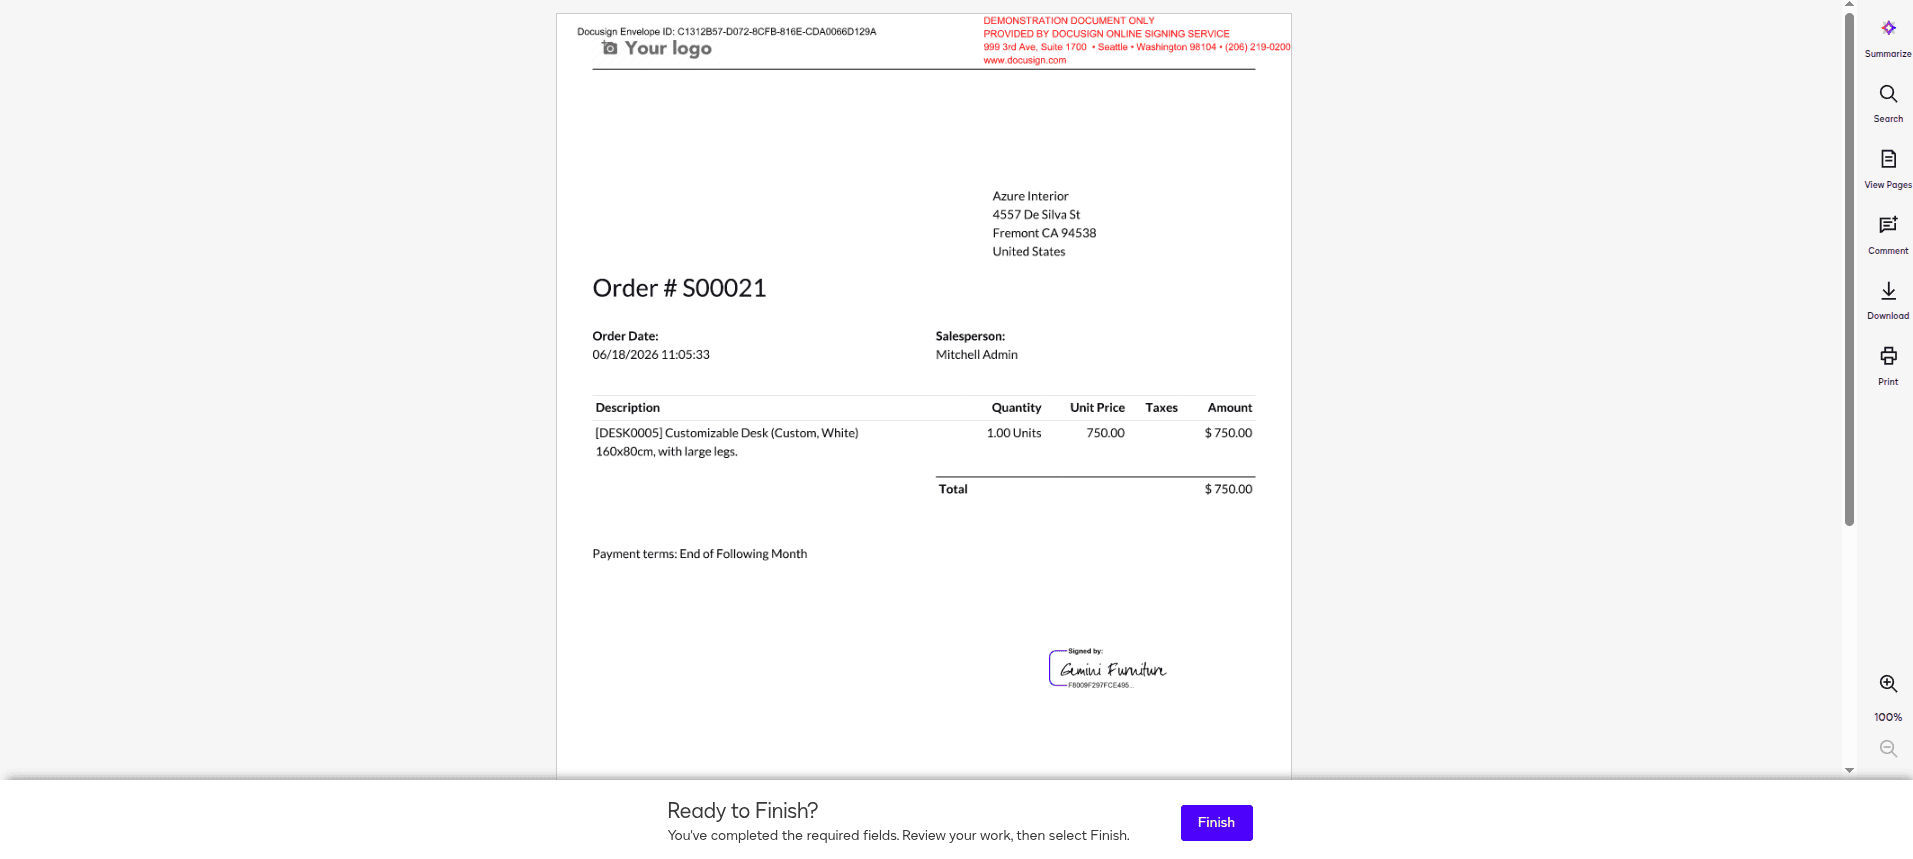
Then the customer can review and sign the document. And click on the Finish button.
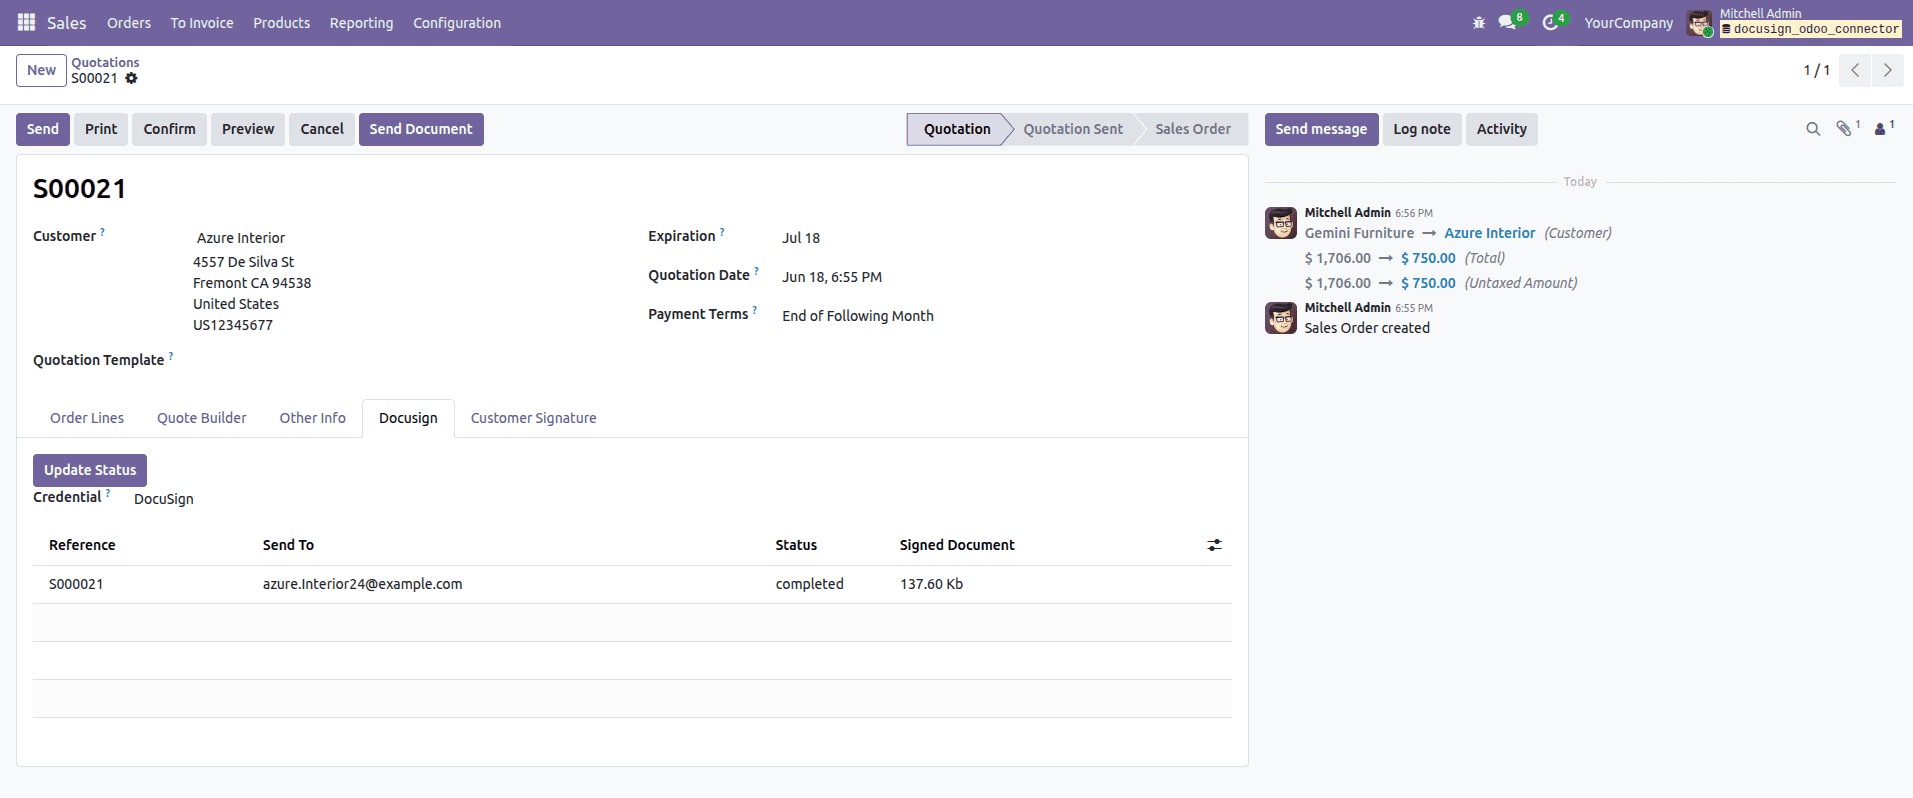
The user can check the document status by clicking on the Update status button. If the customer signed the document, it will show the status as completed, and you can find the signed document as an attachment.
The DocuSign Odoo Connector helps to make e-signatures on Odoo Community Edition, thus making improvements for businesses to create, send, track, and sign documents. DocuSign is a better replacement for the sign module in the Odoo enterprise edition. It will also help the organization to collect the signed documents very easily.
To read more about An Overview of Odoo 19 Sign Module, refer to our blog An Overview of Odoo 19 Sign Module.