Dynamic snippets in Odoo 19 let you add website blocks that automatically update based on real data, without manual changes each time. They help you create flexible, smart content that adjusts itself as your backend records change, making your website easier to manage and quicker to update. This gives teams a simple, efficient way to keep pages fresh and relevant with minimal effort.
Steps to Create a Dynamic Snippet
1. Define the Snippet View in XML
This snippet registration block operationalizes your custom Category Highlight component inside the Odoo 19 website editor. The first template defines the placeholder layout users see when they drag the snippet onto a page. The second template extends the core website.snippets registry, enabling the snippet to surface both in the general snippet groups and within the structure section. It assigns a thumbnail for visual identification and wires the snippet so it becomes selectable and deployable from the editor. In short, this XML activates the snippet, exposes it in the builder, and configures how it appears when added to a webpage.
<?xml version="1.0" encoding="UTF-8" ?>
<odoo>
   <template id="category_template_highlight" name="Category Highlight">
       <section class="categories_section">
           <div class="container">
               <div class="alert alert-info">
                   <h4>Your Category Highlight Tab snippet will be displayed here...
                       Please save to view the snippet
                   </h4>
               </div>
           </div>
       </section>
   </template>
   <template id="category_highlight_snippet" inherit_id="website.snippets"
             name="Category Highlight Snippet">
       <xpath expr="//snippets[@id='snippet_groups']" position="inside">
           <t t-snippet="dynamic_snippet.category_template_highlight"
              t-thumbnail="/dynamic_snippet/static/src/images.jpeg"/>
       </xpath>
       <xpath expr="//snippets[@id='snippet_structure']" position="inside">
           <t t-snippet="dynamic_snippet.category_template_highlight"/>
       </xpath>
   </template>
</odoo>
2. Create a Python Controller to Fetch Data
The python controller acts as the data service layer for your dynamic snippet. When the frontend calls the /get_product_categories route, the method fetches all top-level website categories from product.public.category, reads key fields like name, image, and ID, and packages them into a JSON response. By exposing the route with auth="public" and website=True, the endpoint becomes accessible to website visitors without requiring login. In effect, this controller delivers the live category dataset the snippet needs to render dynamic content on the webpage.
# -*- coding: utf-8 -*-
from odoo import http
from odoo.http import request
class WebsiteProduct(http.Controller):
   @http.route('/get_product_categories', auth="public", type='jsonrpc',
               website=True)
   def get_product_category(self):
       """Get the website categories for the snippet."""
       public_categs = request.env[
           'product.public.category'].sudo().search_read(
           [('parent_id', '=', False)], fields=['name', 'image_1920', 'id']
       )
       values = {
           'categories': public_categs,
       }
       return values
3. Define the OWL Template for Rendering
This OWL template drives the front-end rendering for your dynamic snippet. Once the controller returns category data, this template iterates through result.categories and builds the visual layout for each category. It structures the section header, wraps all category items, and conditionally displays either the category’s actual image or a default fallback. For each entry, it outputs the image, applies styling, and prints the category name in a bold, larger font. In short, this template transforms the raw JSON payload into the final UI that appears on the website, delivering a fully dynamic, data-driven category showcase.
<?xml version="1.0" encoding="UTF-8" ?>
<!--Product Category tab content template-->
<templates xml:space="preserve">
   <t t-name="dynamic_snippet.category_data">
       <section class="categories_section">
           <div class="container">
               <h3 class="section_heading">Shop by Categories</h3>
               <div class="categories_wrapper">
                   <t t-foreach="result.categories" t-as="category" t-key="category.id">
                       <div class="categories">
                           <div class="img_wrapper">
                               <t t-if="category.image_1920">
                                   <img t-att-src="'data:image/png;base64,' + category.image_1920"
                                        class="img img-fluid rotate-center"
                                        t-att-alt="category.name or 'Category Image'"
                                        loading="lazy"/>
                               </t>
                               <t t-else="">
                                   <img src="/theme_og_store/static/src/img/default_category.svg"
                                        class="img img-fluid rotate-center"
                                        alt="Default Category Image"
                                        loading="lazy"/>
                               </t>
                           </div>
                           <div class="type" style="font-weight: 700; font-size: 20px;">
                               <t t-esc="category.name"/>
                           </div>
                       </div>
                   </t>
               </div>
           </div>
       </section>
   </t>
</templates>
4. Add JavaScript to Load and Render Data (OWL)
This JavaScript widget operationalizes the dynamic behavior of the snippet. It targets any element matching .categories_section and, during the widget’s startup phase, executes an RPC call to the /get_product_categories endpoint. When the backend returns data, the script clears the placeholder content and renders the OWL template dynamic_snippet.category_data with the returned payload. This ensures the snippet shifts from a static placeholder to a fully populated, data-driven UI the moment the page loads.
/** @odoo-module */
import { renderToElement } from "@web/core/utils/render";
import publicWidget from "@web/legacy/js/public/public_widget";
import { rpc } from "@web/core/network/rpc";
publicWidget.registry.get_product_tab = publicWidget.Widget.extend({
   selector : '.categories_section',
   async willStart() {
       const result = await rpc('/get_product_categories', {});
       if(result){
           this.$target.empty().html(renderToElement('dynamic_snippet.category_data', {result: result}))
       }
   },
});
5. Add Assets to Manifest
These entries ensure the module is fully wired into Odoo’s frontend pipeline. The manifest registers the snippet’s XML structure, loads the OWL template and JavaScript logic into web.assets_frontend, and declares required dependencies. By adding these references to the manifest, you guarantee that Odoo bundles the snippet, its templates, and its dynamic behavior during page rendering, enabling the feature to function seamlessly on the website.
# -*- coding: utf-8 -*-
{
   'name': 'Website Dynamic Snippet',
   'version': '19.0.1.0.0',
   'category': 'Website',
   'depends': ['website_sale'],
   'data': [
       'views/snippets/category_template.xml',
   ],
   'assets': {
       'web.assets_frontend': [
           '/dynamic_snippet/static/src/xml/category_highlight_content.xml',
           '/dynamic_snippet/static/src/js/product_category.js',
       ],
   },
}
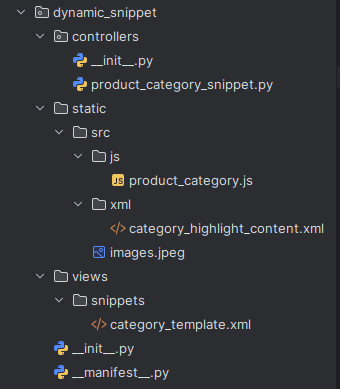
The final structure of the module will be like:
6. Install and Upgrade the Module
Once the module is installed from the Apps menu, the new snippet will appear under the Categories section in the website editor.
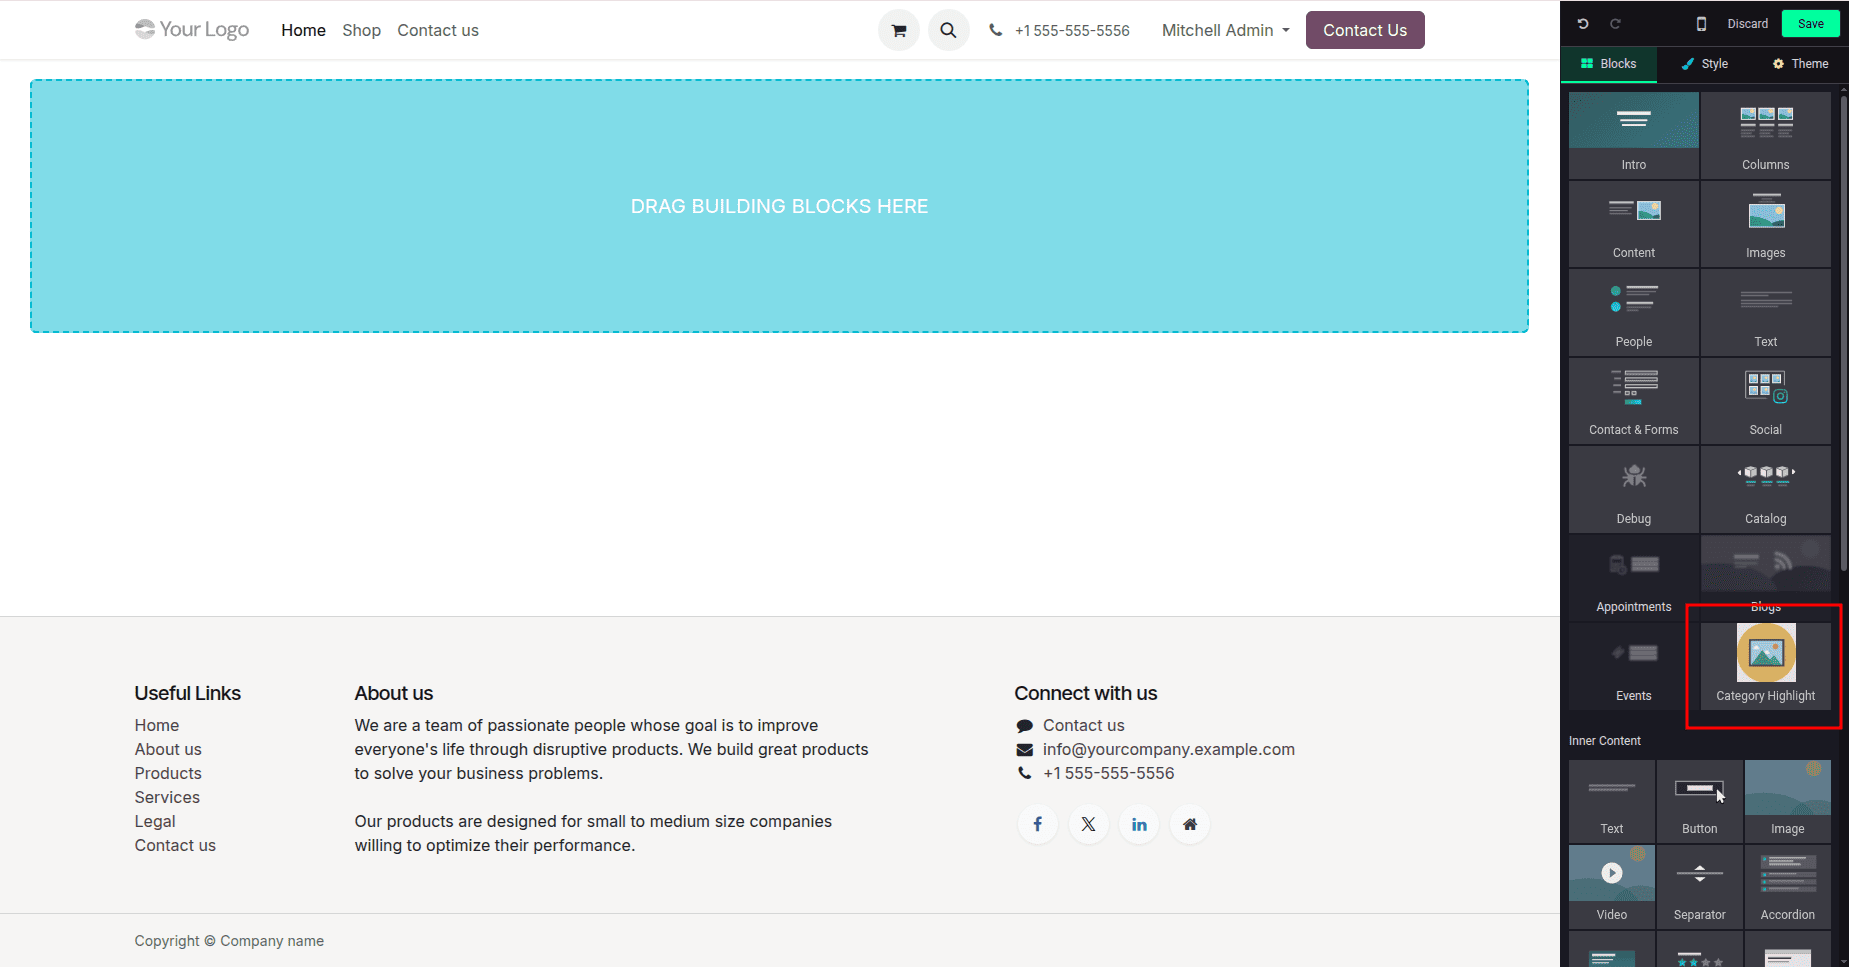
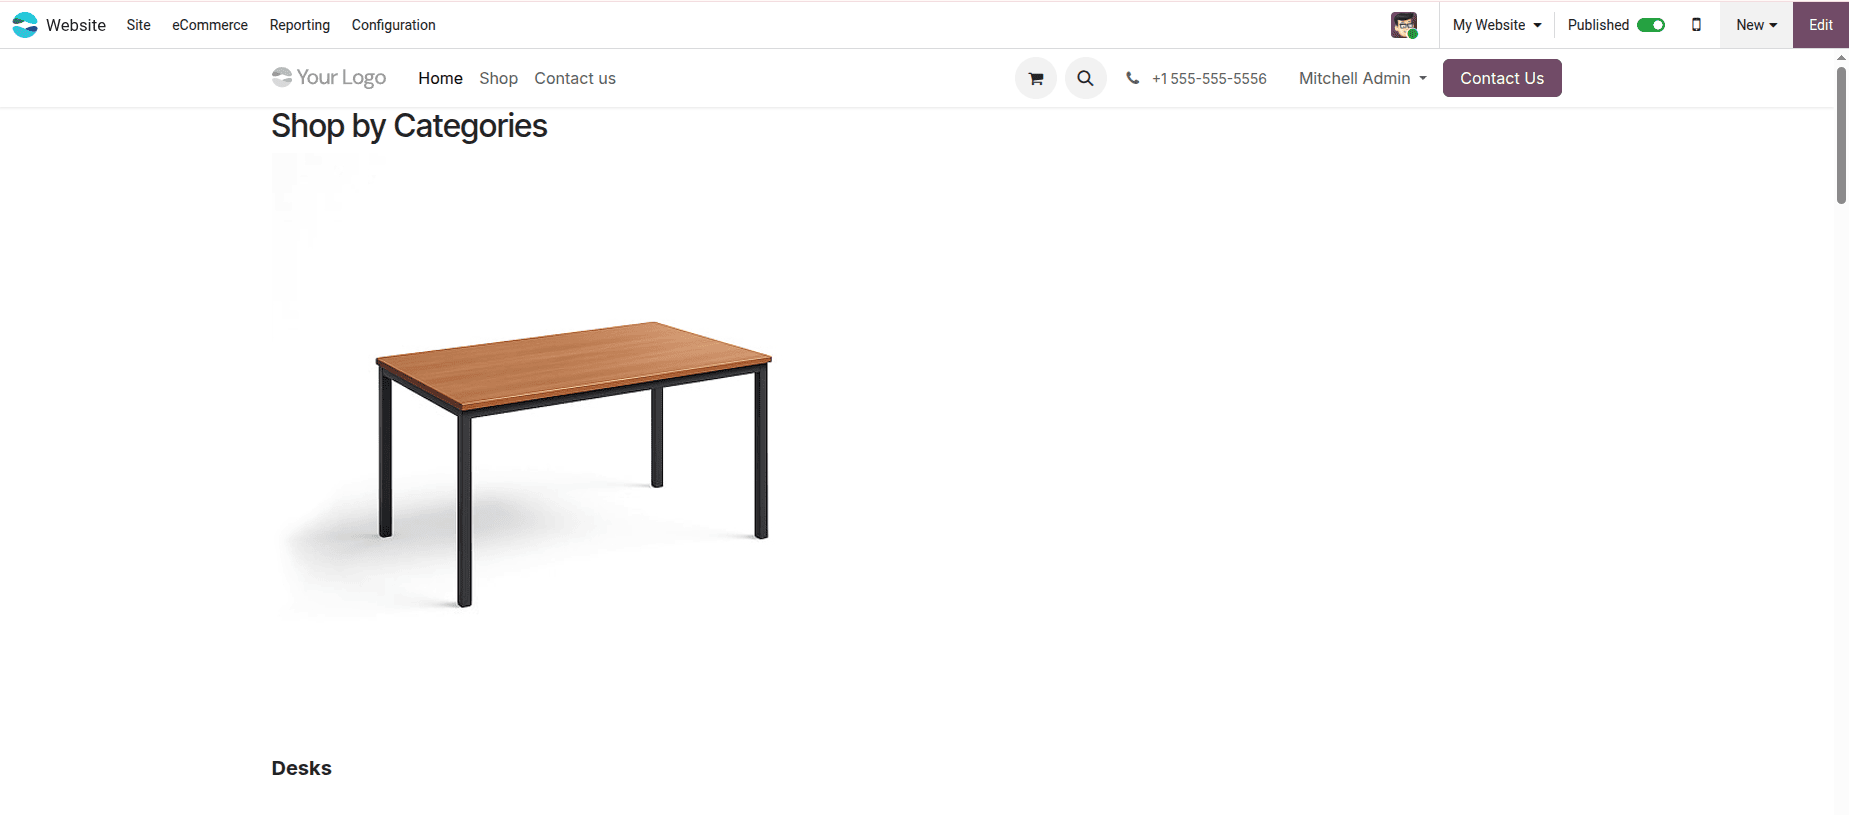
You can then drag and drop the snippet onto any page to display the available product categories dynamically.
Dynamic snippets in Odoo 19 provide a streamlined, scalable way to surface real-time data directly within the website builder. By combining XML layouts, OWL templates, controllers, and frontend widgets, developers can deliver interactive components that update automatically as backend records evolve. This approach enhances content agility, reduces manual maintenance, and elevates the overall user experience. As organizations continue to prioritize dynamic and personalized web content, Odoo 19’s snippet framework delivers a strong, future-ready foundation for building responsive and data-driven website features.
To read more about How to Create a Dynamic Snippet in Odoo 18, refer to our blog How to Create a Dynamic Snippet in Odoo 18