Managing user permissions is one of the most crucial elements in the operation of an Odoo 19 business. Without proper management of user permissions, there is the possibility that unauthorized users could access sensitive business data, cause unintended changes to business data, or delete necessary business records. Fortunately, Odoo 19 provides a structured means for accessing Control Lists (ACL) to manage user access.
In this blog, we will illustrate the process of creating security groups and how to assign users to them while managing their access rights.
What is a Security Group?
A security group is essentially a group of users in Odoo that have similar access rights. Rather than granting each user individual permissions, using groups allows you to establish a single set of permissions that applies to all members of that particular group of users.
For example:
- Salon User (Chair User) > Basic employees working in the salon.
- Salon Manager > Higher authority with full control over salon operations.
- Portal or Public Users > Customers or external users with restricted access.
Security groups give you the ability to be flexible and clear about your security policies. You can create as many Security Groups as you need and assign users to as many groups as required based on their job functions.
What is an Access Control List (ACL)?
Access Control Lists are a way to assign permissions to specific groups of users at the Model level in Odoo. An Odoo Model is a way of representing a database table (e.g., salon.order, salon.service, or salon.booking).
Each ACL determines whether a group of users can:
- Read records (view data).
- Write records (edit existing data).
- Create new records.
- Unlink or delete records.
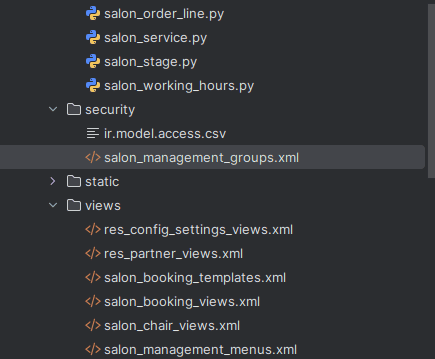
The Access Control Lists are created in the Security Directory for your Custom module, stored in a Security CSV file called 'security/ir.model.access.csv'. Each line in the CSV defines a model and user group permissions.
Step 1: Create Your Security Groups
The first step in creating your security groups would be to create the security directory for your custom module and add an XML file to that directory that defines the security groups and their associated permissions.
Example:
<?xml version="1.0" encoding="utf-8"?>
<odoo>
   <data>
       <record model="ir.module.category" id="module_category_salon_management">
           <field name="name">salon</field>
           <field name="sequence">5</field>
       </record>
       <record model="res.groups.privilege" id="res_groups_privilege_salon">
           <field name="name">Salon Management</field>
           <field name="category_id" ref="salon_management.module_category_salon_management"/>
       </record>
       <!-- Salon user group-->
       <record id="group_salon_user" model="res.groups">
           <field name="name">Chair User</field>
           <field name="privilege_id" ref="res_groups_privilege_salon" />
           <field name="implied_ids" eval="[(4, ref('base.group_user'))]" />
       </record>
       <!-- Salon manager group-->
       <record id="group_salon_manager" model="res.groups">
           <field name="name">Salon Manager</field>
           <field name="privilege_id" ref="res_groups_privilege_salon" />
           <field name="implied_ids" eval="[(4, ref('group_salon_user'))]" />
           <field name="user_ids" eval="[(4, ref('base.user_root')), (4, ref('base.user_admin'))]" />
       </record>
   </data>
</odoo>
Here, we created two groups:
- Chair User > which inherits from the regular Odoo User Group.
- Salon Manager > which inherits from the Chair User Group and has all the rights of the Chair User Group.
Step 2: Define Access Rights (ir.model.access.csv)
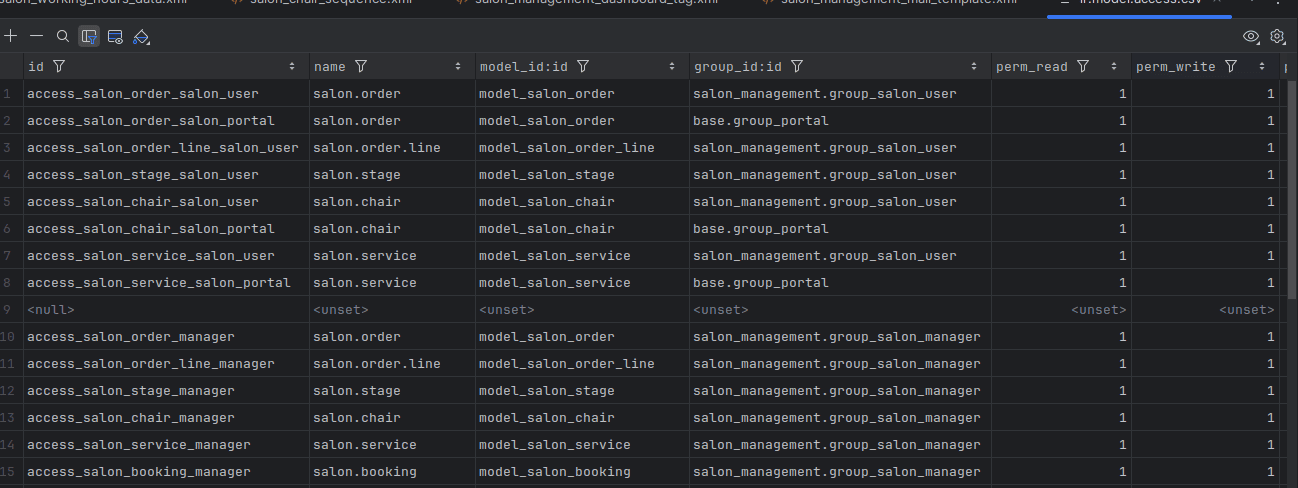
Next, create the file security/ir.model.access.csv. Each entry defines permissions for a model and group.
Example:
id,name,model_id:id,group_id:id,perm_read,perm_write,perm_create,perm_unlink
access_salon_order_user,salon.order,model_salon_order,salon_management.group_salon_user,1,1,1,0
access_salon_order_manager,salon.order,model_salon_order,salon_management.group_salon_manager,1,1,1,1
access_salon_order_public,salon.order,model_salon_order,base.group_public,1,0,0,0
Explanation:
- Salon User > Can read, write, and create salon orders but cannot delete them.
- Salon Manager > Has full control over salon orders.
- Public Users > Can only view salon orders.
This method can be repeated for models like salon.service, salon.booking, and salon.chair.
Step 3: Assign Users in the UI
Once the groups and access rights are defined, you can assign them to users from the Odoo interface:
- Navigate to Settings > Users & Companies > Groups.
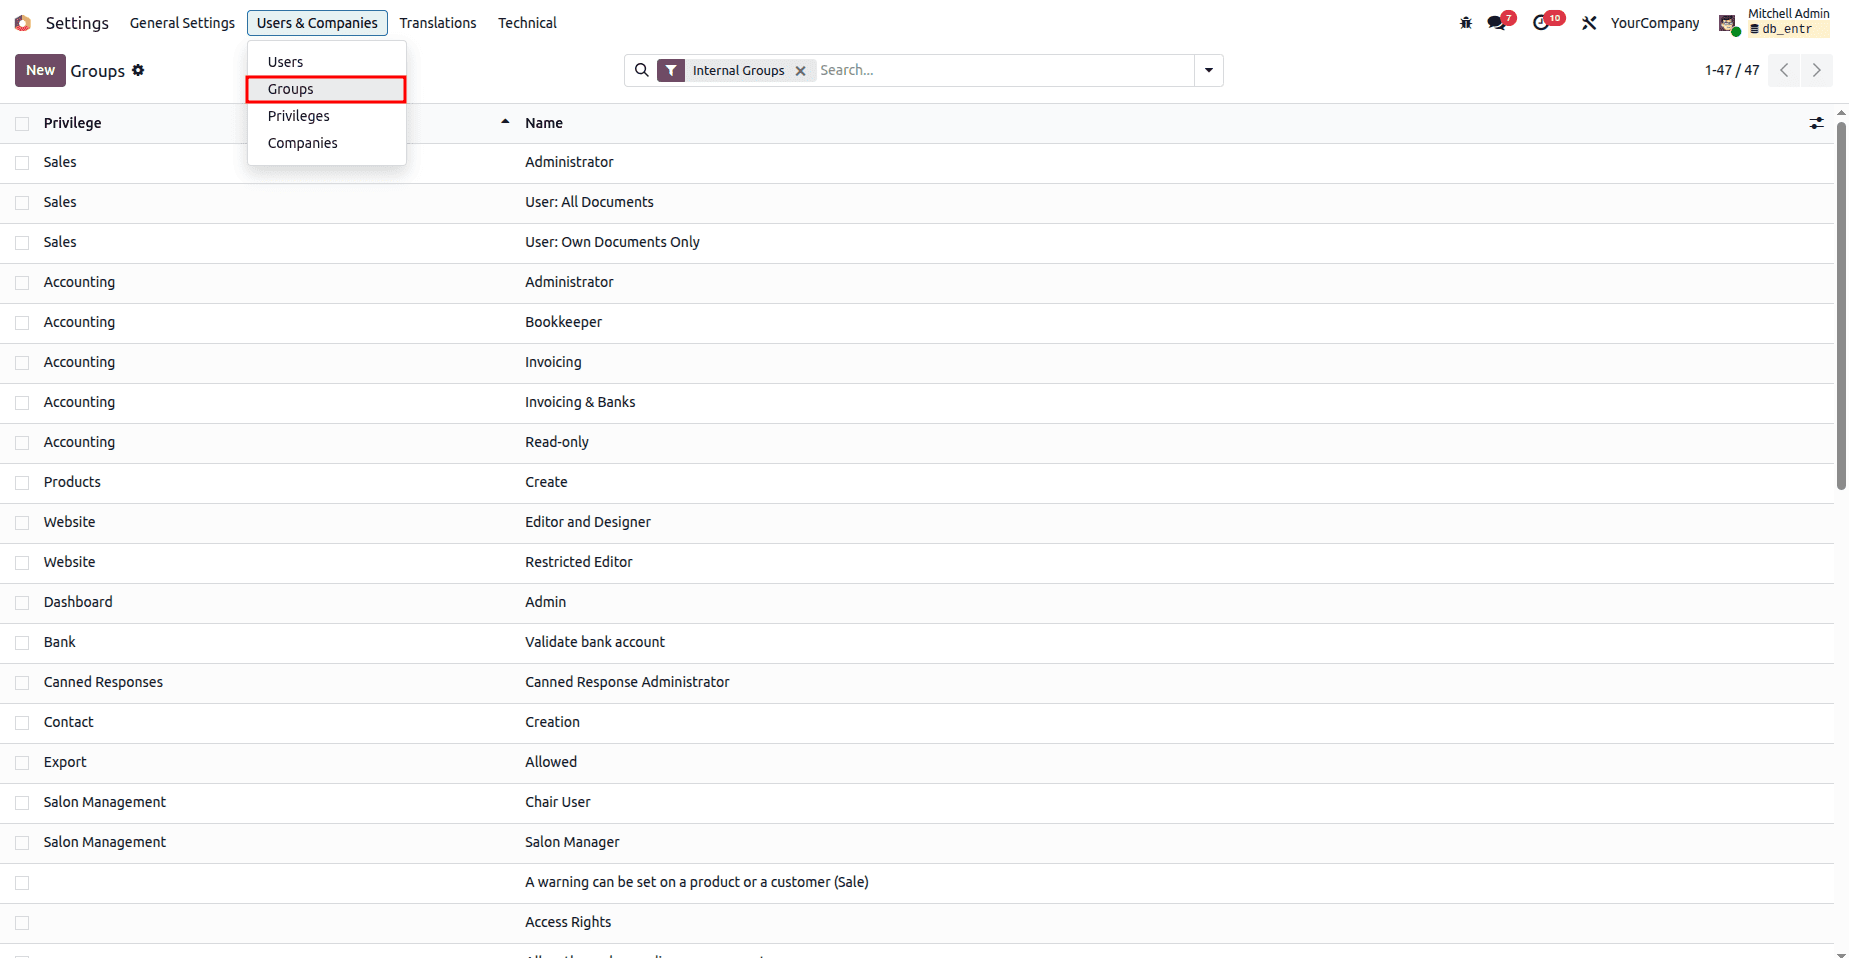
- Open the group you created, for example, Salon Manager.
- In the Users tab, add the required users.
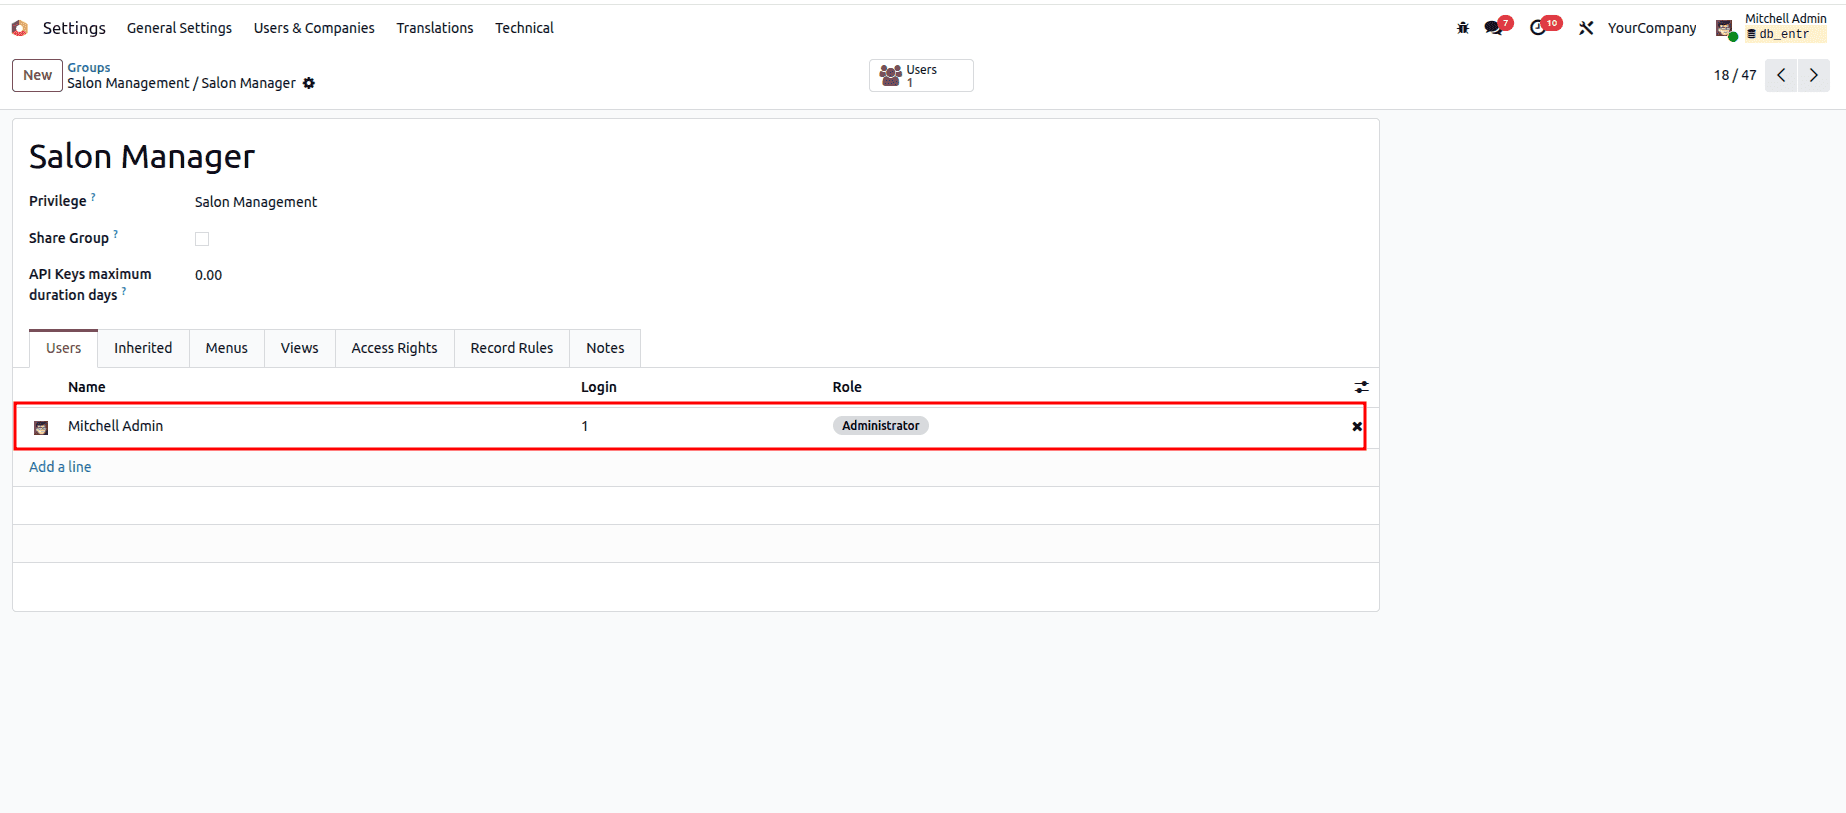
From now on, each user will only see and interact with the models permitted by their group.
Advantages of Managing Access Rights in Odoo 19
Improved Security: To safeguard sensitive information, such as financial information and customer bookings.
Role-based Access Control: Establishes a clear distinction of the roles and responsibilities between managers and employees.
Error Prevention: Prevents unintentional deletion or alteration of critical data by restricting access to certain functions.
Scalability: New models/roles may quickly be added to the system as the company expands.
Conclusion
Access Control Lists (ACLs) and Security Groups are the basis of the security structure for Odoo 19. Security Groups allow you to group users into different groups and assign security rules on a per-group basis. The use of Security Groups and ACLs to provide access to various user roles in the Salon Management example was illustrated here. Each user role can manage their access to the system independently while also providing them with access to only what they need, which will mitigate risk and allow for maximum productivity for each user role. With proper planning and configuration, this setup can be expanded upon to integrate other Odoo modules, which will help to create a more efficient and secure business process.
To read more about Overview of Error Management in Odoo 19, refer to our blog Overview of Error Management in Odoo 19.